Table of Contents
Halloween is just around the corner, and what better way to get into the spooky spirit than with some awesome arts and crafts for kids halloween? Forget the store-bought decorations; this year, we're making our own! This article is your go-to guide for turning your home into a haunted haven with easy, fun, and totally kid-friendly projects. We'll start with creepy crawlies like spider webs and bats, perfect for adding a touch of eerie elegance. Then, we’ll move on to ghoulishly great decorations, think ghosts and pumpkins that’ll make your house the talk of the block. Not spooky enough? We’ve got monster mash creations, including handprint monsters and gooey slime, because what’s Halloween without a little mess? Finally, we'll wrap things up with ideas for adapting these crafts for all ages, so no one misses out on the fun. Get ready to unleash your inner artist and make this Halloween the most creative one yet!
Creepy Crawly Crafts: Spider Webs and Bats
Creepy Crawly Crafts: Spider Webs and Bats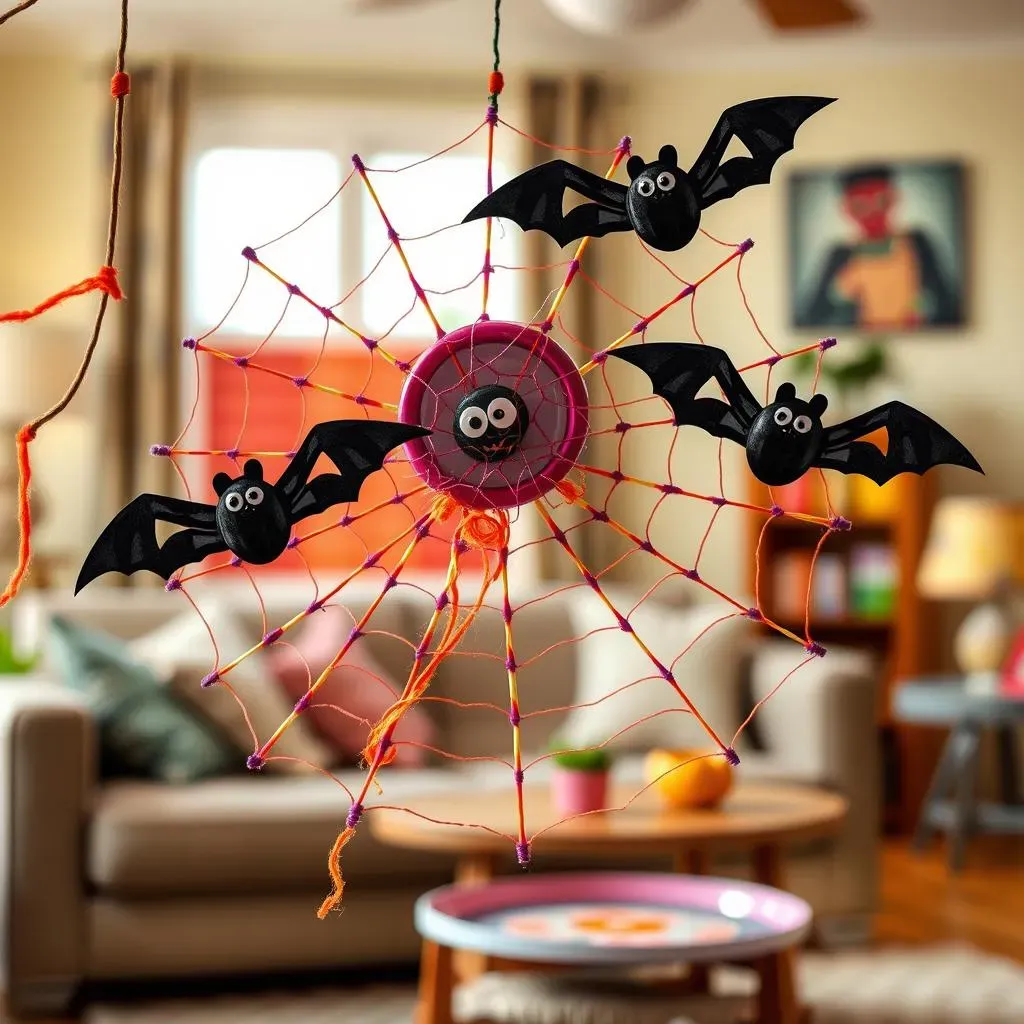
Alright, let's kick things off with some seriously spooky fun! When it comes to Halloween, nothing screams "creepy" quite like spider webs and bats. And the best part? They're super easy and fun to make with kids. Forget those flimsy store-bought webs; we’re talking DIY masterpieces that'll make your house the envy of the neighborhood. We can make spider webs out of yarn, paper plates, or even by using a glue gun for a more intricate design. For the bats, construction paper is your best friend – black, of course, because we're going for that classic spooky vibe. You can cut out bat shapes and add googly eyes to make them extra cute. I remember one year, my little cousin decided to add glitter to his bat creations, and they looked like they were straight out of a disco-themed haunted house; it was hilariously awesome!
One of my favorite ways to make spider webs is with paper plates. You cut out the center, leaving a ring, and then punch holes around the edge. Then, grab some yarn and let the kids weave their way around to create a web. It’s a great activity for little hands. And for the bats, don't feel like they all have to look the same. Get creative with different wing shapes, and maybe even add some little paper fangs. It's all about having fun and letting those imaginations run wild. We once had a whole family of bats hanging from the ceiling, each one with its own unique personality; it was like having a tiny, adorable bat colony in our living room! It's amazing how something so simple can transform a space into something so fun.
Craft | Materials | Tips |
|---|---|---|
Paper Plate Spider Webs | Paper plates, yarn, scissors, hole punch | Use different colored yarn for a vibrant look. |
Construction Paper Bats | Black construction paper, scissors, googly eyes, glue | Vary the wing shapes for unique bats. |
Ghoulishly Great Decorations: Ghosts and Pumpkins
Ghoulishly Great Decorations: Ghosts and Pumpkins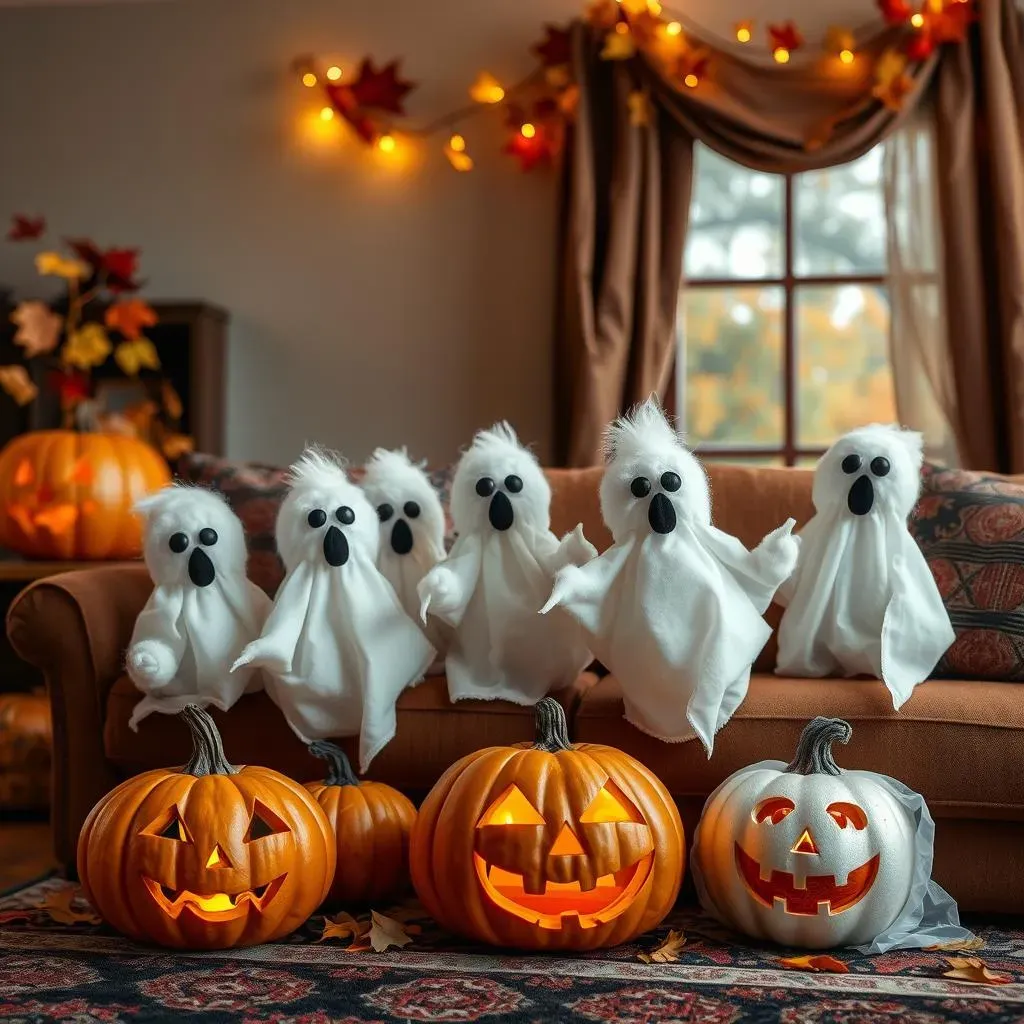
Okay, so we've got our creepy crawlies covered, but what about some classic Halloween charm? That's where ghosts and pumpkins come in! These are like the bread and butter of Halloween decorations. We're not talking about those scary, jump-out-at-you types, though. We're aiming for cute, fun, and totally kid-friendly. For ghosts, think cotton balls, cheesecloth, or even white paper bags. You can draw on silly faces or add some googly eyes to make them extra adorable. And for pumpkins? Well, the possibilities are endless! You can paint them, glue things on them, or even carve them with the kids. Last year, we had a pumpkin painting party, and the kids came up with the most hilarious designs, from superhero pumpkins to polka-dotted ones! It was a blast, and the best part is, it's a great way to get everyone involved in the decorating fun.
One super simple ghost idea is to use white paper bags. Just stuff them with some newspaper or cotton balls, tie the top with a string or ribbon, and then draw on a spooky or silly face. They’re great to hang from the ceiling or place around the house. For pumpkins, if you’re not keen on carving (it can be a bit tricky for little ones), painting is the way to go. You can use acrylic paints, markers, or even create some fun designs with glitter glue. And, if you want to get really fancy, you can add things like yarn, buttons, or googly eyes to give your pumpkins some extra personality. I remember one year, we even made a pumpkin family, with a big papa pumpkin, a mama pumpkin, and a bunch of tiny baby pumpkins. It was the cutest, and it’s a fun way to use up all those little pumpkins you might have lying around.
Craft | Materials | Tips |
|---|---|---|
Paper Bag Ghosts | White paper bags, cotton balls or newspaper, string, markers | Draw funny faces for a friendly ghost. |
Painted Pumpkins | Pumpkins, acrylic paint, brushes, glitter glue | Use different colors and add fun designs. |
Monster Mash Creations: Handprints and Slime
Monster Mash Creations: Handprints and Slime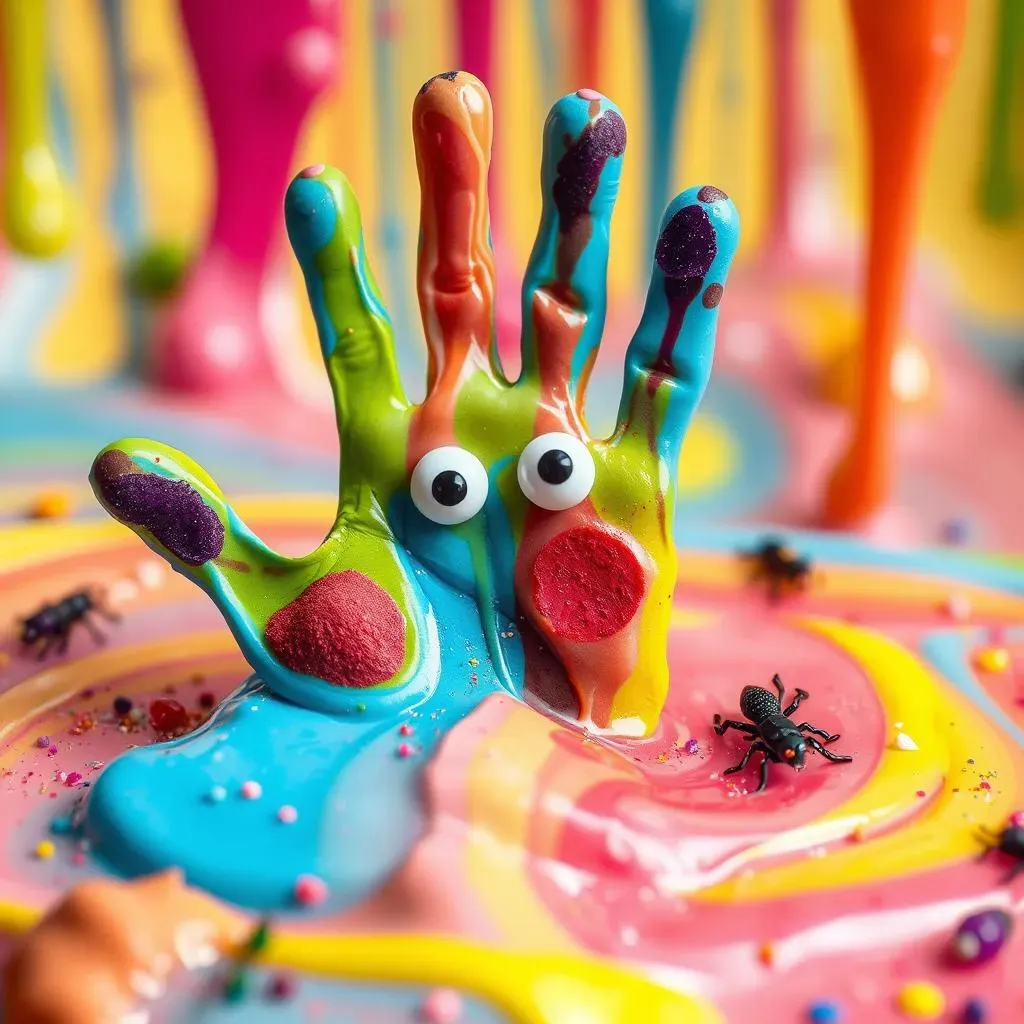
Handprint Monsters: A Personal Touch
Alright, let’s get our hands dirty! Literally. Handprint monsters are not only super fun to make, but they also make awesome keepsakes. Think about it, a little monster made from your kid's own handprint? It’s like a snapshot of their tiny hand at this age. All you need is some paint, paper, and a whole lot of imagination. We’re not aiming for scary here, though, unless that’s your jam. These monsters can be silly, cute, or even a little bit goofy. One year, my niece made a handprint monster with about five eyes and a big, goofy grin, and honestly, it was the star of our Halloween decorations. It's amazing how a simple handprint can turn into a unique little character.
To make these little guys, you just paint your child's hand (or foot, if you’re feeling adventurous) with whatever color you like, press it onto some paper, and then add details like eyes, mouths, and even some crazy hair with markers or paint. Get creative with it! Maybe use different colors for the fingers to make it look like a multi-colored monster, or add some glitter for a little sparkle. The best part is that each handprint monster is unique, just like the little artists who make them. I remember when I was little I made a whole family of handprint monsters, I even gave them names and created stories about them. It's a great way to encourage creativity and make some lasting memories.
Slime Time: Gooey and Gross Fun
Now, let’s talk slime. Because what’s a monster mash without some gooey, gross, and utterly delightful slime? Making slime is like a mini science experiment that kids absolutely love. It’s also a great sensory activity, and it can be customized with all sorts of spooky additions. We’re not just talking about plain old slime here, oh no. We’re talking about monster slime with googly eyes, glitter, or even little plastic spiders mixed in. It's a fun way to add a touch of the creepy to this classic kids' activity. Remember the time my brother accidentally dropped a whole bowl of slime on the floor? It was a mess, but honestly, it was one of the funniest Halloween memories we have!
There are tons of recipes out there, but a simple one is to mix glue, water, and borax solution. You can add food coloring to make it green, purple, or any monstrous color you like. Then, mix in your spooky additions to make your slime extra special. For a truly creepy effect, you can add plastic bugs, little fake eyeballs, or even some glow-in-the-dark powder. I love how versatile slime is. It's like a blank canvas that can become anything you want it to be. And, of course, the kids love playing with it, stretching it, and squishing it. It’s the perfect way to add a little bit of messy fun to your Halloween festivities.
Craft | Materials | Tips |
|---|---|---|
Handprint Monsters | Paint, paper, markers, googly eyes | Use different colors and add fun details. |
Monster Slime | Glue, water, borax, food coloring, spooky additions | Add glitter, googly eyes, or plastic bugs for a creepy effect. |
Combining Handprints and Slime: The Ultimate Monster Mash
Why stop at just handprint monsters and slime when you can combine them? Imagine using your handprint monster as a base, then surrounding it with a pool of slime. It’s like creating a mini monster world right in your living room! This is taking your Halloween crafts to the next level. You can even make a whole scene with different handprint monsters and different colors of slime. It’s a fantastic way to get the kids’ imaginations going and create something truly unique. Last year, we made a whole monster mash scene on a big piece of cardboard, and it was the highlight of our Halloween decorations. It's all about bringing those creepy, crawly, and gooey elements together for the ultimate monster experience.
Halloween Arts and Crafts Fun for All Ages
Halloween Arts and Crafts Fun for All Ages
Alright, so we've covered a ton of spooky and fun crafts, but let's be real, not all kids are the same age. That's why it's so important to think about making these crafts suitable for everyone! The beauty of Halloween arts and crafts fun for all ages is that you can adapt almost anything to fit different skill levels and interests. For the little ones, think big, chunky materials that are easy to handle, like large paintbrushes and big pieces of paper. For older kids, you can introduce more intricate designs and techniques. It's all about adjusting the complexity, not the fun. Last year, we had a mix of toddlers and teens doing these crafts, and it was amazing to see how they each approached the same project with their own unique flair.
For the toddlers, think about simplifying the spider webs by using pre-cut paper shapes instead of cutting them out. For the bats, maybe use big chunky crayons instead of small paintbrushes. With older kids, you can encourage them to design their own stencils or even try out some origami techniques to make more elaborate bat shapes. With the ghosts, let them draw their own funny faces and you can help them with cutting. And for the pumpkins, why not try different painting techniques like splatter painting or using sponges? I remember one time, my nephew who is a teenager, made a detailed portrait of a spooky character on his pumpkin, using paint and some really fine brushes, It was incredible!
And when it comes to slime, you can adapt the recipes to make them easier for younger kids or add more challenging ingredients for older ones. The key is to make sure everyone feels involved and can participate in their own way. It's not about perfection, it’s about having fun and getting creative together. So, whether you’re dealing with toddlers, preschoolers, or tweens, there’s a way to make these Halloween crafts enjoyable for everyone. It's all about being flexible, creative, and most importantly, having fun together. Remember, the goal is to create memories and have a blast, not to make Pinterest-perfect crafts!
Age Group | Adaptations | Example |
|---|---|---|
Toddlers | Larger materials, simpler designs | Big paper bats, pre-cut spider webs |
Preschoolers | Basic shapes, easy cutting | Paper plate ghosts, painted pumpkins |
Elementary | More intricate designs, variety of techniques | Handprint monsters with details, slime with mix-ins |
Tweens/Teens | Complex designs, independent crafting | Origami bats, detailed pumpkin portraits |