Table of Contents
Christmas is just around the corner, and what better way to spread holiday cheer than with handmade Christmas cards? This year, ditch the store-bought greetings and embark on a creative adventure with your little ones! This article is your ultimate guide to fun and easy Christmas card crafts for kids, brimming with ideas that will ignite their imaginations and create cherished keepsakes. We'll explore a delightful range of projects, from simple footprint and handprint designs perfect for toddlers to more intricate crafts that older children will love. Get ready to unleash your creativity as we dive into festive techniques using readily available materials. Whether you're looking for quick and simple ideas or more elaborate projects, we've got something for everyone. Prepare to be amazed by the adorable results and the joy of creating something truly special together. So grab your craft supplies, gather your little elves, and let's get crafting! This isn't just about making cards; it's about creating lasting memories and fostering a love for creativity this holiday season. Let's turn those tiny hands and feet into festive masterpieces!
Easy Christmas Card Crafts for Kids: Footprint Fun
Easy Christmas Card Crafts for Kids: Footprint Fun
Festive Footprint Snowmen
Let's start with a classic! Snowmen are super easy to make with little footprints. Simply paint the bottom of your child's foot white, and make three prints on your card – one large one for the body, and two smaller ones on top for the head. Then, let them get creative with markers or paint to add eyes, a carrot nose, buttons, and a jaunty scarf. It's a fun activity for even the littlest artists, and the results are absolutely adorable. Don't forget the tiny twig arms! Remember to use non-toxic paints that are safe for little ones.
To make it extra special, consider using different shades of white and grey paints to create a more textured snowman. You can also add glitter or sequins for extra sparkle! And, if you're feeling adventurous, try using different colored paints for a more whimsical snowman. A pink or blue snowman might be a fun twist!
Material | Quantity | Notes |
|---|---|---|
White paint | 1 bottle | Non-toxic and washable |
Black marker | 1 | For eyes and buttons |
Orange paint | A small amount | For the carrot nose |
Footprint Reindeer
Reindeer are another fantastic option for footprint art. This time, brown paint is your best friend! Make one large footprint for the reindeer's body. Then, add smaller prints for the head and legs. Use googly eyes, pom-poms for the antlers, and a red pom-pom for the nose. For the antlers, you could get creative with brown pipe cleaners or even cut out some antlers from felt. The possibilities are endless! It’s amazing how a simple footprint can transform into a festive reindeer.
Remember to let the paint dry completely before adding any extra details. This prevents smudging and ensures that your reindeer looks its best. You can also use different shades of brown to give your reindeer a more realistic look. Consider adding a little bit of white to the tips of the antlers to give them a frosted look. And don't forget the jingle bells!
- Brown paint (non-toxic)
- Googly eyes
- Brown pipe cleaners or felt
- Red pom-pom
- Glue
Adorable Handprint Christmas Card Ideas for Little Ones
Adorable Handprint Christmas Card Ideas for Little Ones
Handprint Christmas Trees
Transform those tiny handprints into adorable Christmas trees! Simply have your child paint their hand green (or any festive color!). Press their hand firmly onto the card to create the tree shape. Once dry, add a brown trunk with a marker, and let them decorate with colorful glitter, small pom-poms, or even tiny cut-out stars and ornaments. It's a simple yet effective way to create a unique and personalized Christmas card. The best part? It's super easy to clean up!
To make it extra special, consider using different shades of green paint to create a more realistic Christmas tree. You could also use a stencil to add a more defined shape to the tree. Don't forget to add a festive message inside the card, perhaps written in your child's own handwriting, or a pre-printed message.
Material | Quantity | Notes |
|---|---|---|
Green paint | 1 bottle | Non-toxic and washable |
Brown marker | 1 | For the tree trunk |
Glitter/Pom-poms | As needed | For decoration |
Handprint Santa Claus
Santa's coming to town… via your child's handprint! Use a red handprint for Santa's coat, a white handprint (slightly smaller) for his beard, and a pink handprint for his rosy cheeks. Add black marker details for his eyes, belt buckle, and boots. You can even use cotton balls for extra fluffy beard details. It's a fun and festive way to create a unique Santa Claus card! This is a great way to personalize your Christmas cards. Think of all the unique Santas you could make!
To make it extra festive, consider using different shades of red for Santa's coat. You could also add a little bit of white to the edges of his beard to give it a more realistic look. Don't forget to add a little black hat and a jolly smile!
- Red paint
- White paint
- Pink paint
- Black marker
- Cotton balls (optional)
Handprint Snowman
Create a charming snowman using handprints! Use white paint for the body, and smaller handprints for the head. Use orange paint for a carrot nose, and black paint or markers for the eyes, mouth, and buttons. You could also add a scarf using strips of colored paper or ribbon. It’s a simple but effective way to create a festive card that shows off your child's creativity. The possibilities are truly endless with this one!
"The best things in life are handmade." - Unknown. This is so true when it comes to these simple handprint Christmas cards. This simple yet lovely craft is perfect for kids of all ages. Let their creativity shine!
Color | Use |
|---|---|
White | Body and head |
Orange | Nose |
Black | Eyes, mouth, buttons |
Creative Christmas Card Crafts for Kids: Beyond Prints
Creative Christmas Card Crafts for Kids: Beyond Prints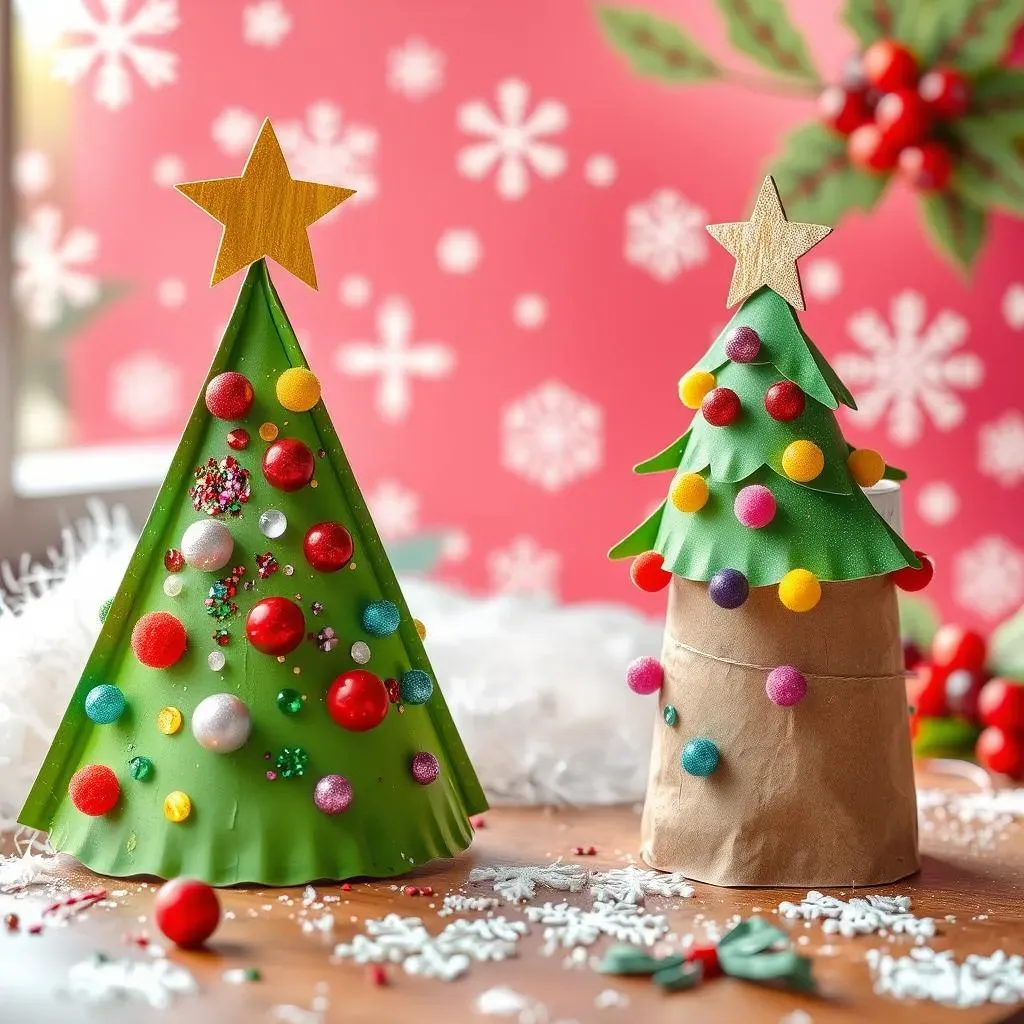
Paper Plate Christmas Cards
Let's move beyond hand and footprints! Paper plates offer a fantastic base for creating unique Christmas cards. Cut a paper plate in half, and let your child decorate it with festive designs. They can paint, glue on glitter, sequins, or even small pieces of felt. Once decorated, attach the plate half to a cardstock backing to create a sturdy and eye-catching card. The curved shape of the plate adds a fun and unexpected element to the design. You can even cut the plate into different shapes before decorating – think stars, trees, or even snowmen!
For extra flair, consider using different textures and materials. Try adding some puff paint for a 3D effect, or use different colored glitter to create a sparkling masterpiece. Let your child's creativity shine! Remember, there's no right or wrong way to do this – it's all about having fun and making something special.
Material | Use |
|---|---|
Paper plates | Card base |
Paints | Decoration |
Glitter/Sequins | Added sparkle |
Felt | Textured embellishments |
Toilet Paper Roll Christmas Trees
Transform ordinary toilet paper rolls into miniature Christmas trees! Simply paint the rolls green, let them dry, and then decorate them with small pom-poms, glitter, or tiny cut-out stars. Once decorated, glue the mini trees onto a card to create a festive scene. You can even add a small star on top to complete the look. This is a fantastic way to repurpose everyday items and create something beautiful. It's also a great way to teach children about recycling and upcycling.
"The best things in life aren't things." – Unknown. This sentiment perfectly encapsulates the joy of creating these handmade Christmas cards using recycled materials. It's about the process and the shared experience, not just the end result. Let’s embrace the magic of simple crafts!
- Toilet paper rolls
- Green paint
- Pom-poms
- Glitter
- Small stars
- Glue
Unique Christmas Card Crafts for Kids: DIY Decorations & More
Unique Christmas Card Crafts for Kids: DIY Decorations & More
DIY Button Christmas Trees
Let's get crafty with buttons! Gather a variety of colorful buttons in different sizes and shapes. Arrange them on your card to form a Christmas tree, starting with the largest buttons at the base and working your way up to the smallest at the top. Use glue to secure the buttons in place. You can add a small star or a bow at the top for an extra touch of festive flair. This simple craft is a great way to use up leftover buttons and create a unique and textured Christmas tree. It’s also a great way to teach children about patterns and shapes. The possibilities are endless when it comes to button arrangements!
To make it extra special, consider using buttons with different textures or finishes. You could even use sequins or glitter glue to add extra sparkle. Don't be afraid to experiment with different color combinations to create a truly unique Christmas tree. And remember, it's all about having fun!
Button Type | Quantity | Notes |
|---|---|---|
Small Buttons | 20-30 | Various colors and shapes |
Medium Buttons | 15-20 | Various colors and shapes |
Large Buttons | 10-15 | Various colors and shapes |
Glue | 1 Bottle | Craft glue |
Homemade Christmas Card Embellishments
Take your Christmas cards to the next level with homemade embellishments! Cut out simple shapes from felt, construction paper, or even recycled cardboard. Think stars, snowflakes, or even tiny Christmas trees. Let your child decorate these shapes with glitter, paint, or markers. Once decorated, glue the shapes onto your cards to add a pop of color and texture. These embellishments can be as simple or as elaborate as you like, making it a perfect craft for kids of all ages and skill levels. This is a great way to personalize your Christmas cards and make them truly unique.
"Creativity takes courage." – Henri Matisse. Don't be afraid to let your child's imagination run wild when creating these embellishments. The more creative and unique they are, the better! Let your child's personality shine through in their designs. Encourage them to experiment with different colors, shapes, and textures. The possibilities are endless!
- Felt or construction paper
- Scissors
- Glue
- Glitter, paint, or markers
- Cardstock