Table of Contents
The holidays are almost here, and what better way to celebrate than by getting crafty? This year, ditch the generic store-bought gifts and unleash your inner artist with our amazing collection of Christmas crafts for 12-year-olds! Forget boring, predictable projects – we've gathered together a treasure trove of fun, festive, and totally unique DIY ideas that will keep your twelve-year-old entertained and engaged. Whether they're looking to create dazzling decorations to adorn your home, design thoughtful gifts for friends and family, or tackle more challenging projects to showcase their growing skills, this article has something for everyone. Get ready to explore creative Christmas crafts for 12-year-olds, from simple and festive DIY decorations to more advanced projects that will challenge their creativity and leave them with a sense of accomplishment. We'll guide you through each step, offering tips and tricks to ensure a smooth and enjoyable crafting experience. So, gather your supplies, put on your holiday playlist, and prepare for some serious crafting fun! Let's dive into a world of imaginative possibilities and discover the perfect Christmas crafts for 12-year-olds to make this holiday season!
Creative Christmas Crafts for 12 Year Olds: Festive Fun
Creative Christmas Crafts for 12 Year Olds: Festive Fun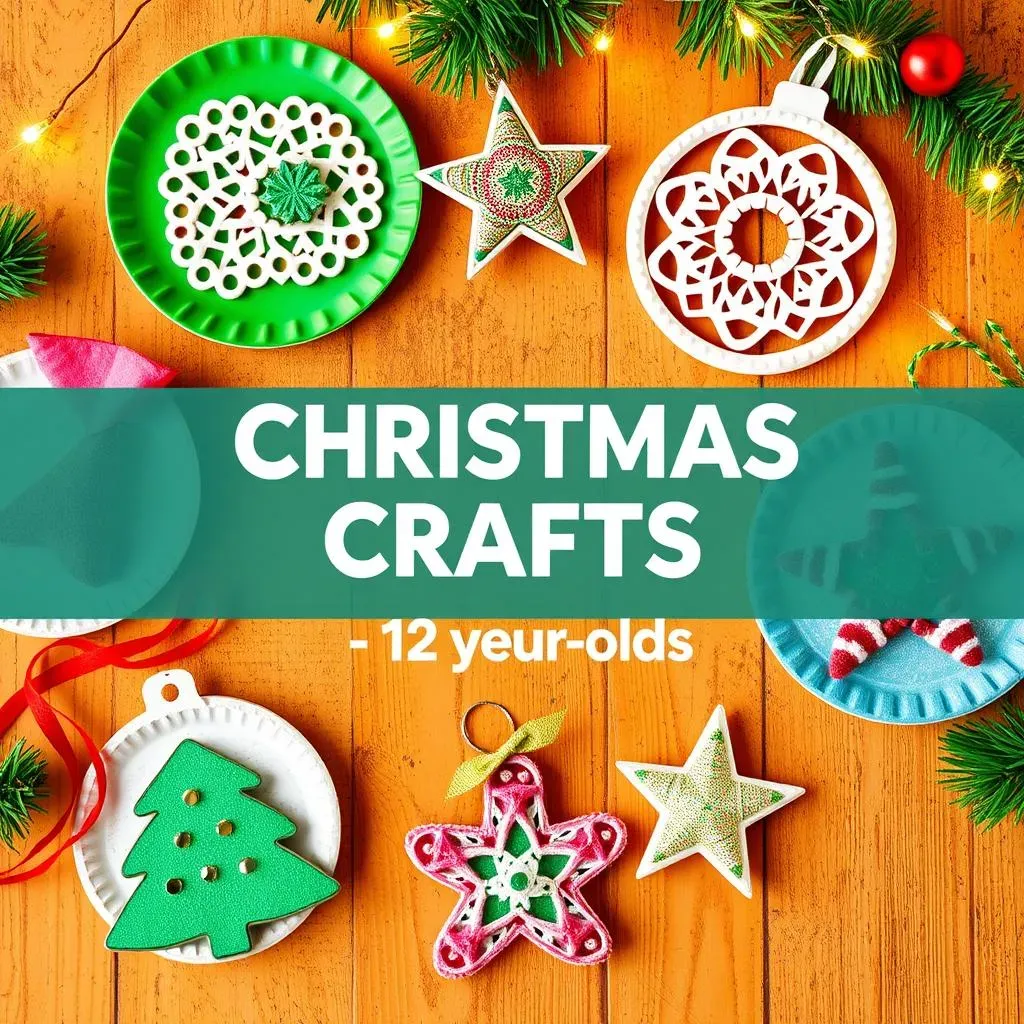
Festive Paper Plate Creations
Let's kick things off with a classic: paper plates! They're inexpensive, readily available, and incredibly versatile. Think beyond simple reindeer faces. Twelve-year-olds are ready for more complex designs. How about transforming paper plates into intricately decorated Christmas ornaments? You can cut them into shapes like stars, snowflakes, or even miniature Christmas trees. Then, let their creativity run wild with paint, glitter, sequins, and other embellishments. Add some festive ribbon for hanging, and voila! Instant festive décor. Don't forget the possibilities of layering different plates for 3D effects!
Consider incorporating different textures, too. Glue on bits of felt, pipe cleaners, or even small pom-poms for added dimension and visual interest. The possibilities are endless! It’s all about letting them experiment and express their unique style. Remember, the goal is fun and creativity, not perfection.
Craft Idea | Materials | Tip |
|---|---|---|
Paper Plate Snowflakes | Paper plates, scissors, glue, glitter | Fold the plates in creative ways before cutting! |
Layered Paper Plate Ornaments | Multiple paper plates, paint, glue, embellishments | Use different sized plates for a 3D effect. |
DIY Beaded Ornaments: A Touch of Elegance
For a touch of elegance, let's explore the world of beaded ornaments. This craft offers a fantastic opportunity to experiment with colors, patterns, and textures. Start with simple designs, perhaps creating festive bead strands to be incorporated into ornaments or garlands. Gradually, you can introduce more intricate techniques like bead weaving or making small beaded figures like Santa Claus or snowmen. This project is perfect for those who like a bit more precision and detail in their creations.
To make it extra special, consider using high-quality beads in various colors and finishes. Think about adding small charms or pendants to personalize each ornament. These beaded creations make beautiful additions to the Christmas tree or can be given as thoughtful handmade gifts. You could even use wire to create simple shapes to add further interest to the beads.
- Gather beads in various colors and sizes.
- Use strong thread or fishing line.
- Add small charms or pendants for personalization.
DIY Christmas Decorations: 12YearOld Approved Projects
DIY Christmas Decorations: 12YearOld Approved Projects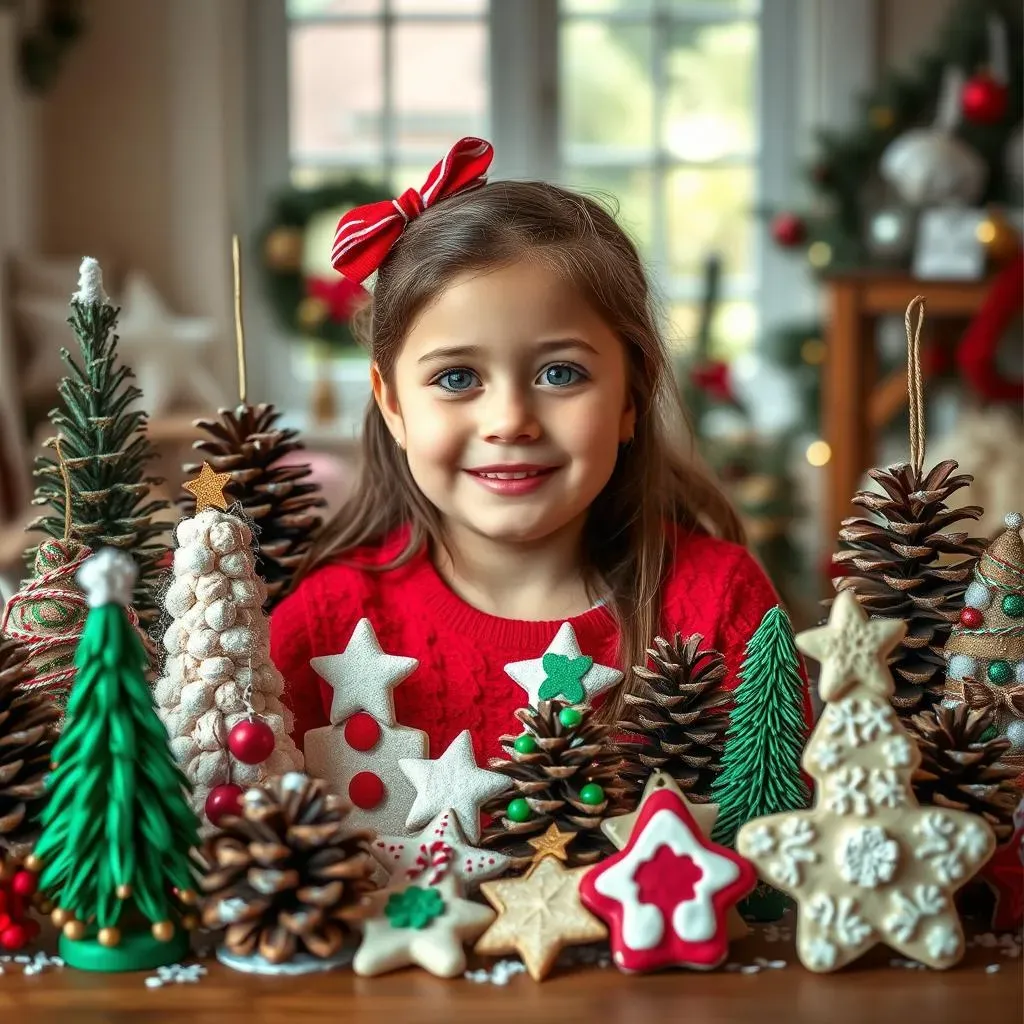
DIY Pinecone Christmas Trees: Rustic Charm
Let's move on to something a little more rustic and natural: pinecone Christmas trees! This is a fantastic project that combines creativity with a touch of nature's artistry. Forget the plastic trees; these charming miniature trees bring a unique touch to any holiday décor. Plus, it's a great way to upcycle natural materials, making it eco-friendly too! The best part? It’s surprisingly easy, even for beginners. You just need to gather some pinecones (preferably ones that are already open and sturdy), some paint (green is classic, but feel free to get creative!), glue, small embellishments (glitter, tiny pom-poms, beads), and a small base (a small piece of wood or cardboard works perfectly). Once you’ve painted your pinecones, let them dry completely before adding your decorations. Get creative with the embellishments – tiny lights, miniature ornaments, or even some festive ribbon will add a touch of extra magic.
These little trees can be arranged in a group to create a miniature forest, or placed individually as charming ornaments. They're also great as centerpieces for a festive table setting! Consider adding a small star or a tiny angel to the top of each tree for an extra festive touch. And remember, no two pinecones are exactly alike, so each mini-tree will have its own unique character!
- Gather pinecones (open and sturdy).
- Choose your paint colors (green, white, or even multicolored!).
- Select small embellishments (glitter, beads, miniature ornaments).
- Find a small base (wood, cardboard, or even a small pot).
Salt Dough Ornaments: A Keepsake to Cherish
Salt dough ornaments are another fantastic option for your DIY Christmas decorations. These ornaments are not only fun to make, but they also become cherished keepsakes, holding memories of the holiday season. They're incredibly versatile – you can cut them into any shape imaginable using cookie cutters, and then decorate them with paint, glitter, or even pressed flowers. Once baked and cooled, they’re surprisingly durable, meaning they can be treasured for years to come. This project is perfect for those who enjoy a bit of baking and decorating mixed with their crafting!
The best part about salt dough ornaments is that they’re completely customizable. Let your 12-year-old choose their favorite shapes and colors, and encourage them to add personal touches. They can incorporate their own drawings, add glitter for extra sparkle, or even use different textures to create unique effects. The possibilities are endless! Once decorated, these charming ornaments can be hung on the Christmas tree or used as unique gift tags.
Ingredient | Amount |
|---|---|
Flour | 2 cups |
Salt | 1 cup |
Water | 1 cup |
Unique Gift Ideas: Christmas Crafts for 12 Year Olds to Make and Give
Unique Gift Ideas: Christmas Crafts for 12 Year Olds to Make and Give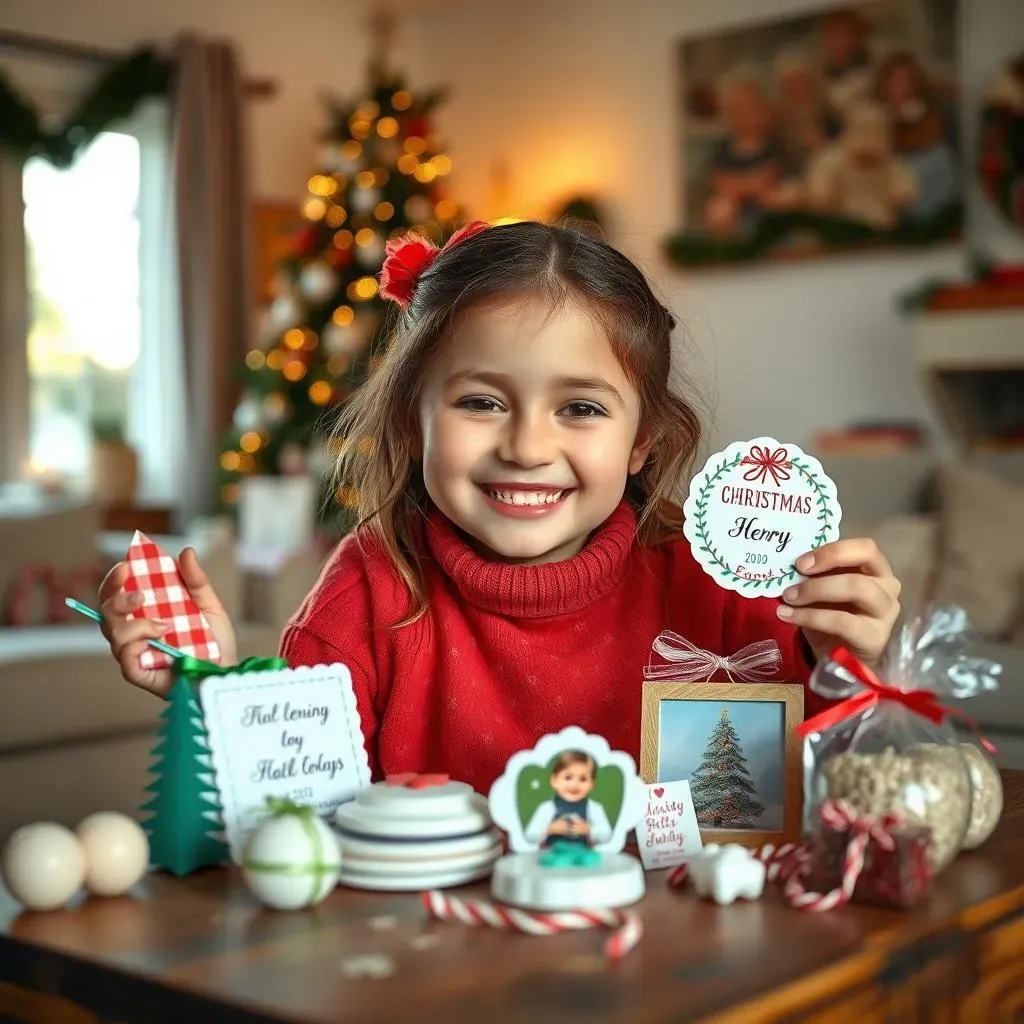
Personalized Photo Coasters: A Sentimental Gift
Let's explore some unique gift ideas that your 12-year-old can create for friends and family. Personalized photo coasters are a fantastic choice, combining practicality with a sentimental touch. All you need are some plain ceramic tiles (easily found at craft stores), Mod Podge (a glue specifically designed for adhering photos to surfaces), some of their favorite photos, and a sealant to protect the finished product. They can choose photos of fun memories shared with the recipient, creating a truly unique and heartwarming gift. The process is simple: print out the photos to the correct size, apply a layer of Mod Podge to the tile, carefully place the photo on top, and then seal it with another layer of Mod Podge to protect the image. Let it dry completely. Easy peasy!
To make these coasters extra special, consider adding a personal touch. They could decorate the edges of the tiles with paint, glitter, or even small embellishments. They could also add a short, heartfelt message on the back. These personalized coasters are not only beautiful but also incredibly functional, making them a thoughtful and practical gift that will be cherished for years to come. Consider using waterproof sealant for extra durability.
- Plain ceramic tiles
- Mod Podge
- Favorite photos
- Waterproof sealant
DIY Bath Bombs: A Relaxing Treat
Another fantastic gift idea is homemade bath bombs! These are not only fun to make but also incredibly luxurious and relaxing. They're a perfect gift for anyone who enjoys a pampering bath. The process involves combining baking soda, citric acid, Epsom salts, and essential oils (lavender, chamomile, or eucalyptus are popular choices). You can also add colorants, dried flowers, or other embellishments to personalize the bath bombs. Your 12-year-old can experiment with different scents and colors to create unique and beautiful bath bombs. This is a great opportunity to teach them about measuring and mixing ingredients accurately, while also allowing them to express their creativity through color and scent combinations.
Once the bath bombs are made, you can wrap them in cellophane or pretty gift bags, adding a personal touch with a ribbon or tag. The recipient will adore this thoughtful and luxurious gift, perfect for a relaxing evening. Remember to clearly label any essential oils used, particularly for those with sensitive skin. The internet is full of different recipes for bath bombs if you want to expand your options.
Ingredient | Amount (approx.) |
|---|---|
Baking Soda | 2 cups |
Citric Acid | 1 cup |
Epsom Salts | 1/2 cup |
Essential Oil | 10-20 drops |
Advanced Christmas Crafts for 12YearOlds: Challenging and Rewarding Projects
Advanced Christmas Crafts for 12YearOlds: Challenging and Rewarding Projects
Intricate Paper Quilling Ornaments: A Delicate Art
For the truly ambitious crafter, paper quilling offers a rewarding challenge. This delicate art involves rolling and shaping thin strips of paper to create intricate designs. Twelve-year-olds can create stunning ornaments, snowflakes, or even miniature Christmas trees using this technique. It requires patience and precision, but the results are breathtakingly beautiful. It's a fantastic way to develop fine motor skills and artistic expression. The key is to start with simple designs and gradually work towards more complex patterns. Plenty of online tutorials can help guide them through the process. The finished ornaments will be unique and sophisticated, perfect for adding an extra touch of elegance to the Christmas tree.
To get started, you'll need quilling paper (available in craft stores), a quilling tool (or a simple toothpick can work!), glue, and some embellishments for added flair. Consider using different colors and textures of paper to create visually interesting ornaments. They can also incorporate beads, glitter, or small charms for extra sparkle. The possibilities are truly limitless! Remember, practice makes perfect, so encourage them to experiment and have fun with the process.
Material | Purpose |
|---|---|
Quilling Paper | Creating the rolled and shaped paper designs |
Quilling Tool | Rolling and shaping the paper strips |
Glue | Securing the paper pieces together |
Embellishments | Adding extra sparkle and detail |
Creating a Miniature Village: A 3D Masterpiece
For a truly ambitious project, consider creating a miniature Christmas village. This is a fantastic way to combine artistic skills with design and planning. Twelve-year-olds can design and build houses, churches, shops, and other structures using various materials like cardboard, craft foam, or even recycled materials. They can paint and decorate each building to create a unique and charming village scene. This project encourages creativity, problem-solving, and attention to detail – all valuable skills. The village can be as simple or complex as they desire, allowing for a project that can grow and evolve over time.
To make this project extra special, encourage them to think about the overall theme and story of their village. They can add small details like tiny lights, miniature figures, or even a miniature Christmas tree to bring their village to life. Once completed, their miniature village will be a stunning centerpiece, showcasing their creativity and artistic talent. Consider incorporating different textures and materials for a more realistic look. A great way to add character is to use different paint techniques and add small details like windows and doors.
- Cardboard or craft foam for building structures
- Paint and brushes for decorating
- Small embellishments (lights, figures, trees)
- Glue and other crafting tools
Upcycled Sweater Ornaments: Giving Old Clothes New Life
Finally, let's explore the world of upcycling! Turning old clothes into something new is both eco-friendly and creatively satisfying. Twelve-year-olds can transform old sweaters into charming ornaments, using felting techniques or simply cutting and sewing pieces into festive shapes. This is a great way to teach them about sustainability and repurposing materials. They can choose their favorite sweater colors and patterns, creating personalized and unique ornaments. They can get creative with different embellishments, adding buttons, beads, or even small bells for an extra festive touch. This project encourages resourcefulness and creativity, and the resulting ornaments will be truly one-of-a-kind.
To make these ornaments, they'll need old sweaters (preferably wool or a similar material), scissors, needle and thread (or a sewing machine if they're comfortable using one), stuffing (cotton or polyester), and any embellishments they'd like to add. They can cut out shapes like stars, snowflakes, or even simple animals. If felting, they'll need to use hot water and soap to felt the wool together. Once the shapes are formed, they can be stuffed and sewn shut, and then decorated. These charming ornaments will not only add a personal touch to the Christmas tree but will also be a testament to their creativity and resourcefulness. Remember to supervise younger children when using needles and scissors.