Table of Contents
The holiday season is brimming with excitement, and what better way to share that joy than by creating adorable Christmas crafts with your little ones? This article is your ultimate guide to crafting unforgettable memories with fun and easy Christmas crafts for preschoolers to make. Get ready to unleash your creativity and transform simple materials into festive masterpieces! We'll explore a range of simple projects perfect for tiny hands, from adorable handprint ornaments to creative recycled-material creations. Each project is designed to be engaging, developmentally appropriate, and most importantly, fun! You'll discover how to turn everyday items into festive decorations, fostering creativity and fine motor skills along the way. We'll also share helpful tips and tricks to make your crafting experience smooth and enjoyable, ensuring that the focus remains on the fun and bonding time with your preschooler. So gather your supplies, put on your festive hats, and let's dive into a world of Christmas crafting magic! Prepare to be amazed by the simple yet stunning results you and your child can achieve together. Let’s get started on these delightful Christmas crafts for preschoolers to make!
Easy Christmas Crafts for Preschoolers to Make: Simple & Fun Projects
Easy Christmas Crafts for Preschoolers to Make: Simple & Fun Projects
Paper Plate Snowflakes
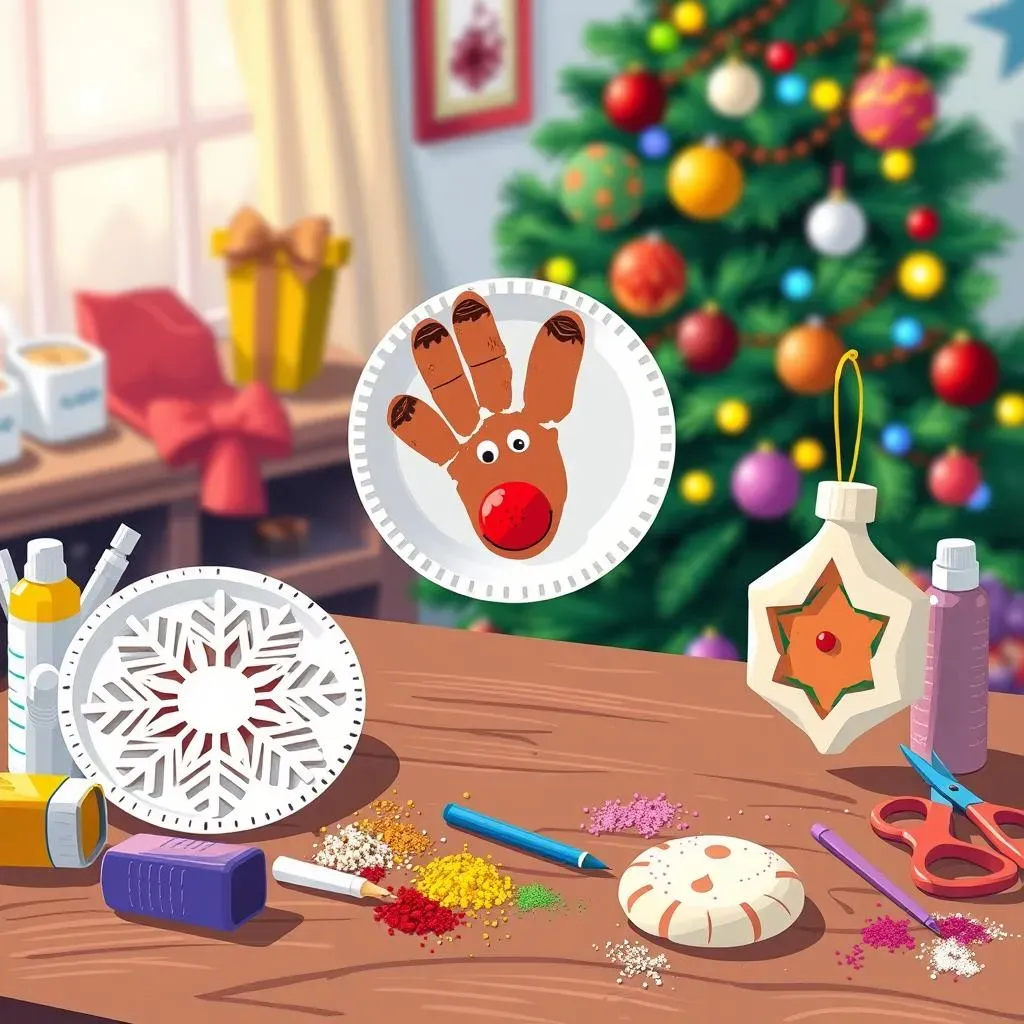
Let's start with a classic! Paper plates are inexpensive and readily available, making them perfect for crafting with little ones. Simply fold a paper plate in half, then in thirds, and then in quarters. Cut various shapes into the folded edges – triangles, zigzags, or even simple circles will do. Unfold your creation to reveal a stunning snowflake! You can add glitter glue or paint for extra sparkle. It's surprisingly simple, yet the results are always impressive.
This project encourages fine motor skills through the cutting and folding, and it allows for lots of creativity and personalization. Each snowflake will be uniquely beautiful, reflecting your preschooler's own artistic flair. Don't be afraid to let them experiment with different shapes and designs. The more irregular, the more charming!
Materials | Instructions |
|---|---|
Paper plates | Fold plate in half, then thirds, then quarters. |
Scissors | Cut shapes into folded edges. |
Glitter glue/paint (optional) | Unfold and decorate! |
Handprint Reindeer
Handprint crafts are always a winner with preschoolers. They're quick, easy, and provide a lovely keepsake. For this project, trace your child's hand onto brown construction paper. This will form the reindeer's body. Cut it out. Then, add simple details: googly eyes, a red pom-pom nose, and brown pipe cleaner antlers. It’s that easy! You can even add a tiny jingle bell collar for extra festive flair.
This craft is perfect for developing hand-eye coordination and creativity. It’s also a great way to create a personalized ornament for your Christmas tree or a cute gift for a grandparent. Remember to let your child take the lead; their unique approach to decorating will make each reindeer truly special.
- Brown construction paper
- Scissors
- Googly eyes
- Red pom-poms
- Brown pipe cleaners
- Glue
- Jingle bells (optional)
Salt Dough Ornaments
Salt dough ornaments are a fantastic option because they’re durable, customizable, and a fun sensory experience for little hands. Mix equal parts flour and salt, adding just enough water to create a pliable dough. Roll it out, and use cookie cutters to create festive shapes like stars, trees, or snowmen. Bake until hardened, then let your preschooler decorate with paint, glitter, or markers. You can even add a hole for stringing them up as ornaments.
This project involves several steps, making it ideal for building patience and fine motor skills. The baking process adds an element of anticipation, and the decorating phase allows for maximum creativity. Remember to supervise closely during the baking and decorating stages. The finished ornaments will be treasured keepsakes for years to come.
"The best things in life are homemade." - Unknown
Adorable Christmas Crafts for Preschoolers: Handprint Wonders & More
Adorable Christmas Crafts for Preschoolers: Handprint Wonders & More
Handprint Christmas Trees
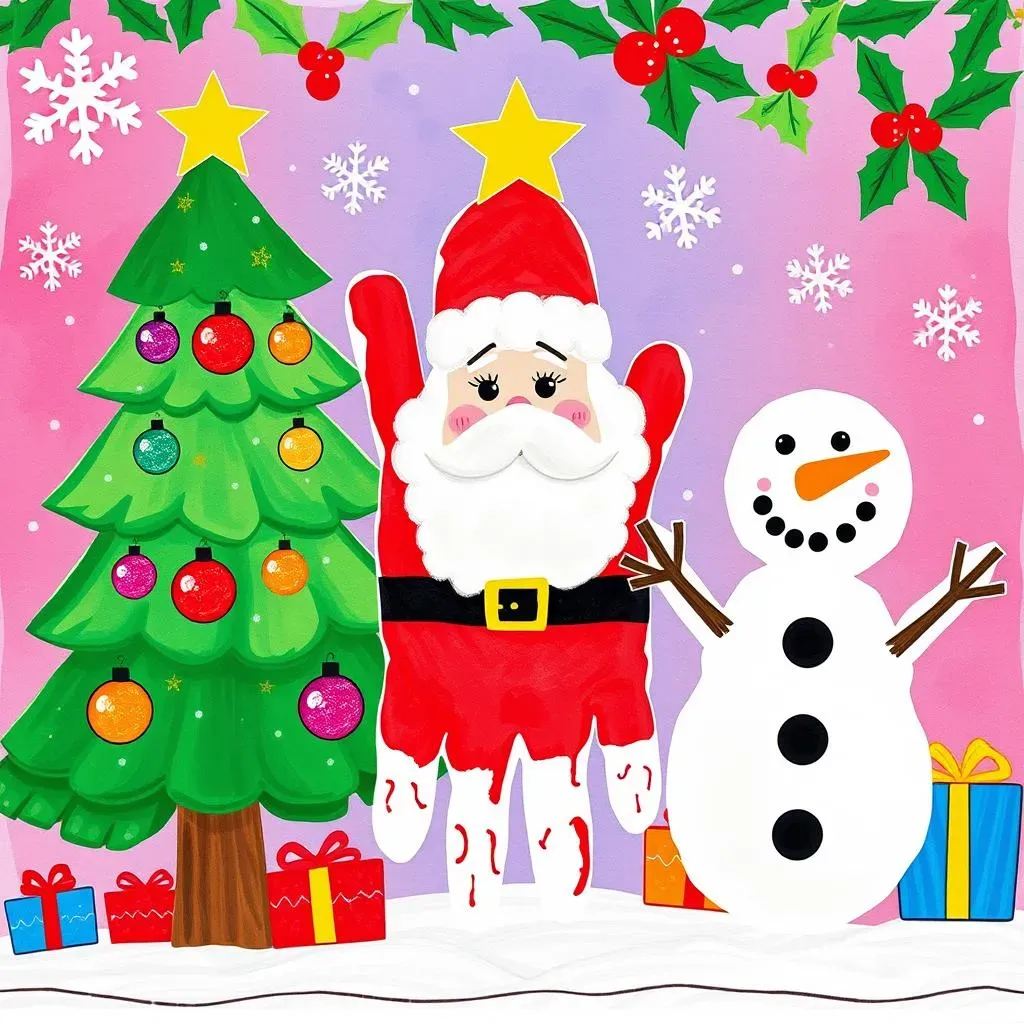
Oh, handprints! They're the ultimate preschool craft staple, aren't they? And for Christmas, they're simply magical. Have your little one paint their hand green (or any festive color!), then press it onto a piece of construction paper. Repeat for as many "tree layers" as you like, creating a wonderfully textured and unique Christmas tree. Add some glitter glue or tiny pom-poms for ornaments, and you have a beautiful and personalized decoration. It's a wonderfully simple way to turn a tiny handprint into a big Christmas memory.
This project is fantastic for developing fine motor skills, color recognition, and spatial awareness. It's also incredibly versatile; you can experiment with different paper colors, add other details like a star or trunk, and even turn it into a Christmas card. The possibilities are endless!
Materials | Instructions |
|---|---|
Green paint | Paint child's hand green. |
Construction paper | Press hand onto paper, repeating for layers. |
Glitter glue/pom-poms (optional) | Add ornaments and details. |
Handprint Santa Claus
Here's another classic handprint idea that's guaranteed to delight. Trace your child's hand onto red construction paper to create Santa's coat. Cut it out. Then, add a white circle for his beard (using another handprint, perhaps?), a black circle for his hat, and some cotton balls for his fluffy beard. Add googly eyes and a cheery smile, and voila! You've got a jolly Santa Claus crafted with love. This is a quick and easy project perfect for a spontaneous crafting session.
This project is super fun and easy to adapt. You could add a little Santa hat to a pre-made snowman craft, for example. The handprint Santa is also a great opportunity to chat about the Christmas story or Santa's traditions. Let your child's imagination run wild with the decorating!
- Red construction paper
- White construction paper
- Black construction paper
- Cotton balls
- Googly eyes
- Glue
- Markers
Handprint Snowman
Snowmen are synonymous with winter fun, and creating a handprint snowman is a delightful way to capture that festive spirit. Use white paint for the base and add three handprints of decreasing size to create the snowman's body. Then, add details like a carrot nose, coal eyes, and a twiggy smile. A small orange circle makes a great scarf. The possibilities are endless! You can even add a simple hat from construction paper. It's another great project for little ones to express their creativity.
This craft is perfect for teaching about shapes, sizes, and colors. It's also a chance to talk about the different parts of a snowman and the winter season. Don't forget to let your child choose the colors and add their unique touches. Every snowman will be one of a kind!
"The magic of Christmas is not in the presents, but in its presence." - Unknown
Creative Christmas Crafts for Preschoolers: Using Recycled Materials
Creative Christmas Crafts for Preschoolers: Using Recycled Materials
Toilet Paper Roll Snowmen
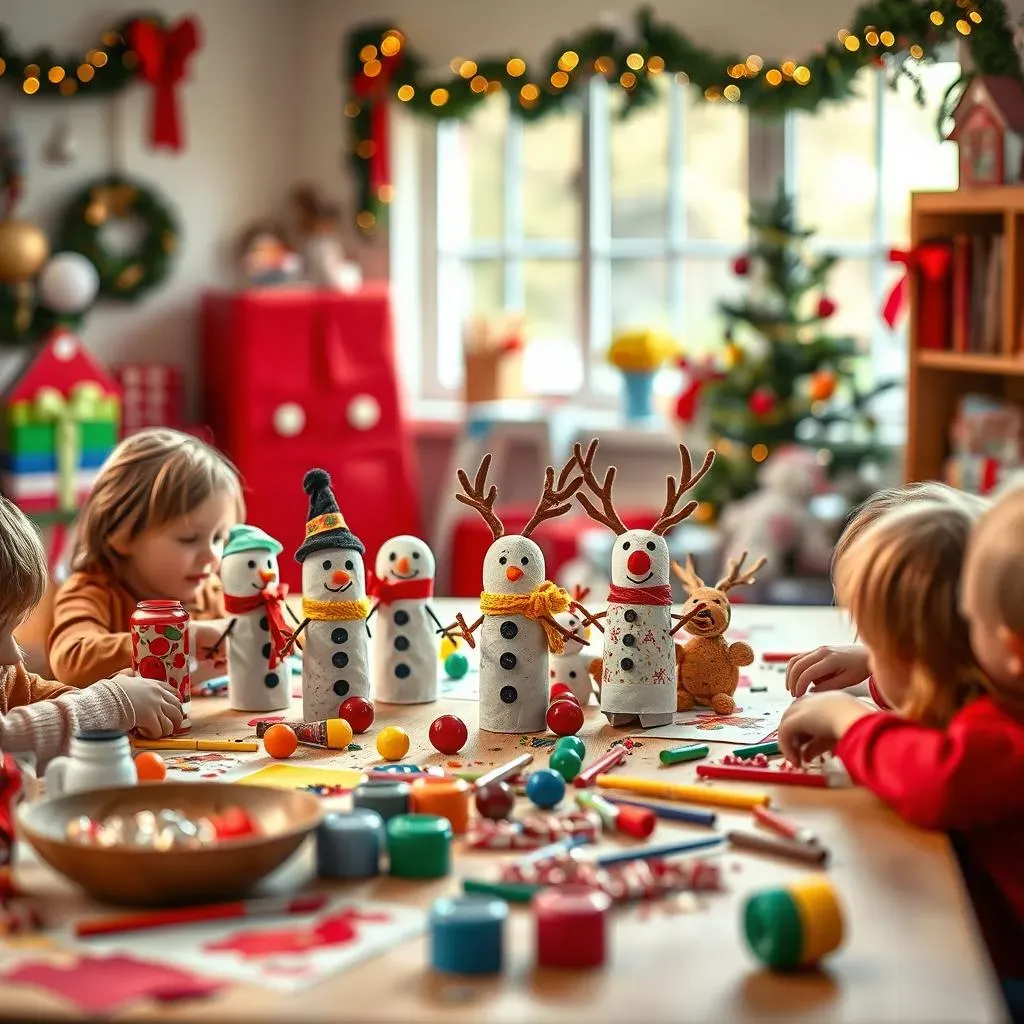
Let's transform those humble toilet paper rolls into adorable snowmen! These little guys are surprisingly charming and a fantastic way to teach about recycling. Simply paint the rolls white and let them dry. Once dry, add details like googly eyes, a carrot nose (a small orange pom-pom works great!), and a twiggy smile. A small strip of black construction paper makes a perfect hat. You can even glue on small buttons or sequins for extra flair. These little snowmen are perfect for decorating a mantelpiece or hanging on the Christmas tree.
This project is a wonderful way to show preschoolers how to repurpose everyday items. It's also a great opportunity to talk about environmental responsibility. The simple construction makes it perfect for even the youngest crafters, and the decorative possibilities are endless! Let your preschooler's creativity shine.
Materials | Instructions |
|---|---|
Toilet paper rolls | Paint rolls white and let dry. |
White paint | Add googly eyes, carrot nose, and smile. |
Googly eyes, pom-poms, construction paper | Decorate with buttons or sequins (optional). |
Egg Carton Reindeer
Egg cartons are a treasure trove of crafting possibilities! For this project, use individual egg cups to create tiny reindeer. Paint the cups brown and let them dry. Once dry, glue on googly eyes, a small red pom-pom nose, and tiny pipe cleaner antlers. You can even add a little jingle bell collar for extra festive cheer. These miniature reindeer can be hung on the Christmas tree, used as ornaments, or even added to a festive scene. It’s a wonderfully creative way to use something that would normally be thrown away.
This craft helps children understand that even discarded items can be transformed into something beautiful. It's also a great way to practice fine motor skills and develop creativity. The small size of the reindeer makes them perfect for little hands, and the simple construction means that even the youngest crafters can participate. The finished reindeer are a testament to the power of imagination and recycling!
- Egg carton
- Brown paint
- Googly eyes
- Red pom-poms
- Brown pipe cleaners
- Glue
- Jingle bells (optional)
Making Christmas Crafts for Preschoolers: Tips for a Smooth Crafting Experience
Making Christmas Crafts for Preschoolers: Tips for a Smooth Crafting Experience
Preparation is Key
So, you're ready to dive into some festive crafting with your preschooler? Fantastic! But before you unleash the glitter, a little preparation goes a long way. First, gather all your materials beforehand. Having everything readily available minimizes interruptions and keeps those little hands focused on the task at hand. Think of it as a pre-flight checklist for your crafting adventure! Next, choose a dedicated crafting space. This could be a table, a corner of the floor, or even a large sheet of paper spread on the ground. The key is to have a designated area that's easy to clean up afterward. Finally, consider the mess factor. Some crafts are inherently messier than others, so be prepared with drop cloths, wipes, and a sense of humor. Embrace the chaos! It's all part of the fun.
Remember, the goal is to create a positive and enjoyable experience for both you and your child. A little planning goes a long way in ensuring a smooth and stress-free crafting session. Keep the atmosphere relaxed and encouraging, focusing on the joy of creating together rather than striving for perfection. After all, the most important ingredient in any craft project is love!
Preparation Step | Action |
|---|---|
Gather Materials | Collect all necessary supplies before starting. |
Designate Space | Choose a dedicated crafting area that's easy to clean. |
Anticipate Mess | Prepare for spills and splatters with drop cloths and wipes. |
Keep it Simple and Age-Appropriate
Preschoolers have short attention spans and limited fine motor skills. Therefore, it's crucial to choose crafts that are simple, easy to follow, and age-appropriate. Avoid projects with too many intricate steps or tiny parts that could pose a choking hazard. Look for crafts that involve basic shapes, large movements, and minimal tools. Remember, the focus should be on the fun and the creative process, not on creating museum-quality artwork. Think big, bold, and fun! Let your child's imagination lead the way, and encourage them to personalize their creations. Every child is an artist in their own right.
Don't be afraid to adapt or simplify instructions to suit your child's abilities. If a project seems too challenging, break it down into smaller, more manageable steps. And most importantly, let your child lead the way! Their unique perspective and creativity will bring a special touch to each project. Remember, the goal is to have fun and bond as you create together.
- Choose simple designs with large parts.
- Use age-appropriate tools and materials.
- Break complex projects into smaller steps.
- Encourage experimentation and personalization.
- Focus on the fun, not perfection.