Table of Contents
Get ready for some serious holiday fun! This article is packed with amazing Christmas painting crafts for kids, perfect for unleashing your little ones' creativity this festive season. Whether you're looking for simple projects to keep toddlers entertained or more complex crafts to challenge older children, we've got you covered. We'll explore a range of easy-to-follow ideas, from classic Christmas themes like snowmen and Santa Claus to more unique and imaginative designs. You'll discover how to use different painting techniques and materials to create truly spectacular works of art. We'll also share some helpful tips and tricks to ensure your Christmas painting projects are smooth sailing, from prepping your workspace to cleaning up the inevitable glitter explosions! So gather your paints, brushes, and festive spirit – let's dive into a world of colourful Christmas creativity with these fun Christmas painting crafts for kids!
Easy Christmas Painting Crafts for Kids: Simple & Fun Projects
Easy Christmas Painting Crafts for Kids: Simple & Fun Projects
Handprint Christmas Trees
This is a classic for a reason! It's super simple, even for the littlest artists. Just have your kids paint their hands green (or any festive color!), press them onto paper to create the tree shape, and then let them add on details like sparkly ornaments (glitter glue is a winner!), a brown trunk, and a yellow star topper. It's a wonderfully personal keepsake, and they'll be so proud of their unique creation. The best part? Minimal mess and maximum fun!
This project is a fantastic way to capture those tiny handprints before they get too big. It's also great for developing fine motor skills as they add the tiny details. Plus, it's a truly personal piece of art that you can treasure for years to come. Think of it as a little time capsule of their Christmas spirit!
Materials | Instructions |
|---|---|
Green paint, paper, glitter glue, brown and yellow paint, paintbrushes | 1. Paint hands green. 2. Press onto paper to create tree shape. 3. Add ornaments, trunk, and star. |
Sponge-Painted Snowmen
Grab some sponges and white paint! Cut the sponges into simple shapes – circles for the body, smaller circles for the head, and even smaller ones for buttons. Let your kids dip the sponges in paint and create their snowmen on paper. They can add carrot noses using orange paint, twig arms with brown, and coal eyes with black. This technique is great for building hand-eye coordination and exploring different textures and shapes. It's also a fantastic introduction to colour mixing if you want to get a little more advanced.
Don't worry about perfection; the slightly imperfect nature of sponge painting adds to the charm. The kids will love the tactile experience of using the sponges, and the results are always surprisingly cute. It’s a great way to encourage experimentation and self-expression.
- White paint
- Sponges (cut into shapes)
- Orange, brown, and black paint
- Paper
- Paintbrushes
Simple Christmas Lights
This one is incredibly easy and fun! All you need is some construction paper (various colours work great!), scissors, and glue. Cut out small circles to represent the Christmas lights. Then, let your kids arrange and glue them onto a piece of black paper to create a string of lights. They can add details like sparkles or different coloured lights for a more personalized touch. It's a great way to teach them about patterns and spacing while fostering their creativity. Plus, it's a lovely decoration for your home!
This project allows for plenty of individual expression. Kids can be as creative as they want with colors, arrangement, and additions. The result is a festive decoration that they can proudly display. And it teaches them basic cutting and gluing skills.
Creative Christmas Painting Ideas for Kids: Beyond the Basics
Creative Christmas Painting Ideas for Kids: Beyond the Basics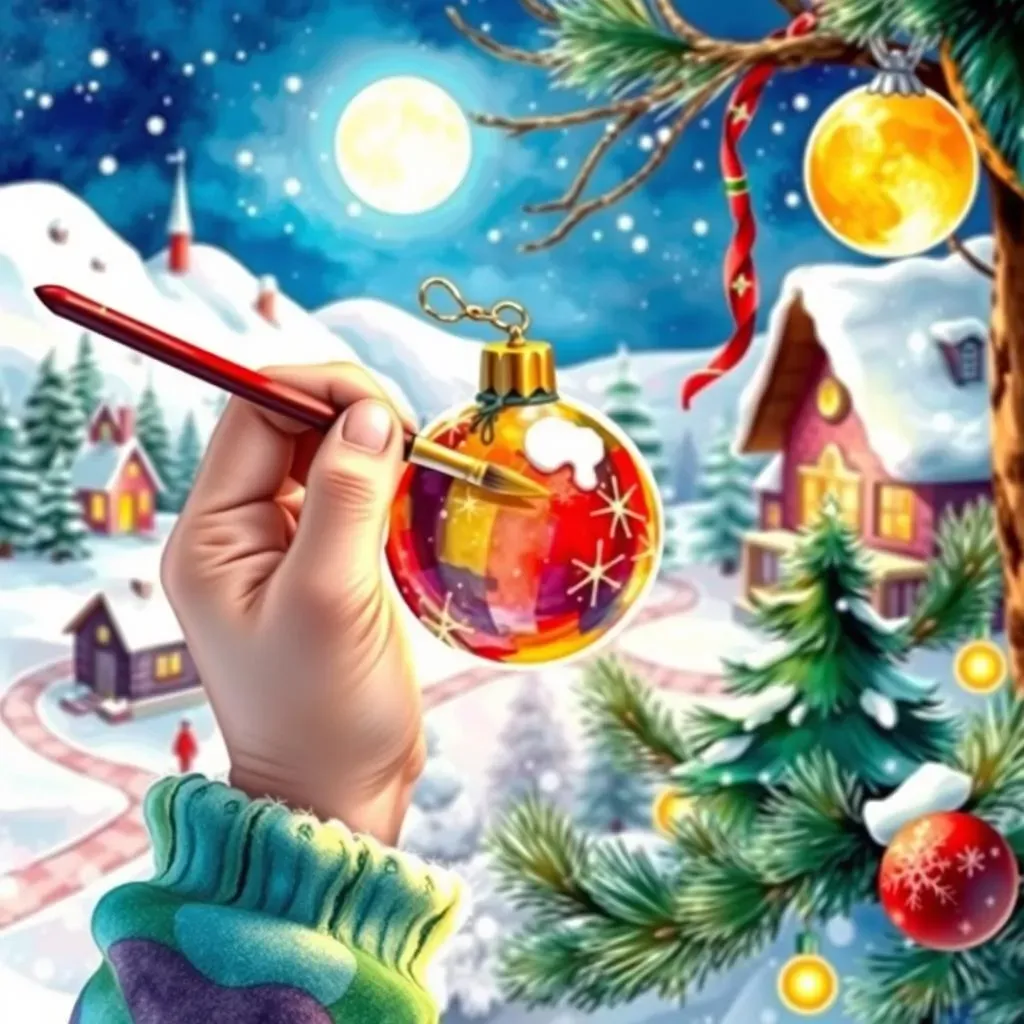
DIY Christmas Ornament Painting
Let's step up the creativity! Instead of painting on paper, why not decorate actual Christmas ornaments? You can find inexpensive plain ornaments at most craft stores. Kids can paint them with festive designs, add glitter, sequins, or even small bits of dried pasta for texture. This is a great project for developing fine motor skills and adding three-dimensional elements to their artwork. They can create personalized ornaments for the family tree, making the decorations even more meaningful. Think about it: each ornament becomes a tiny, handcrafted memory.
This project encourages problem-solving as they navigate the round surface of the ornament. It also allows for a wide range of techniques – from simple paint strokes to intricate designs. The finished ornaments are beautiful, unique, and make wonderful gifts.
Materials | Instructions |
|---|---|
Plain Christmas ornaments, acrylic paints, glitter, sequins, small pasta shapes, glue, paintbrushes | 1. Choose an ornament. 2. Paint your design. 3. Add embellishments. 4. Let it dry. 5. Hang it on the tree! |
Christmas Village Scene Painting
This is a more ambitious project, perfect for older kids who enjoy detail work. Start by drawing a simple Christmas village scene on a large piece of paper or canvas. Then, let your kids paint the houses, trees, and characters. They can add snow using white paint or even salt for a textured effect. Encourage them to use different painting techniques, like layering colors or using different brushstrokes to create depth and dimension. It's a chance to tell a story through art, and the resulting scene can be a stunning addition to your holiday decor.
This project fosters creativity and storytelling skills. The village scene can be as simple or complex as your child desires. It's a great way to combine art with imaginative play.
- Large sheet of paper or canvas
- Assorted acrylic paints
- Paintbrushes of various sizes
- Pencil for sketching
- Optional: Salt for texture
Christmas Painting Crafts for Kids: Using Different Materials
Christmas Painting Crafts for Kids: Using Different Materials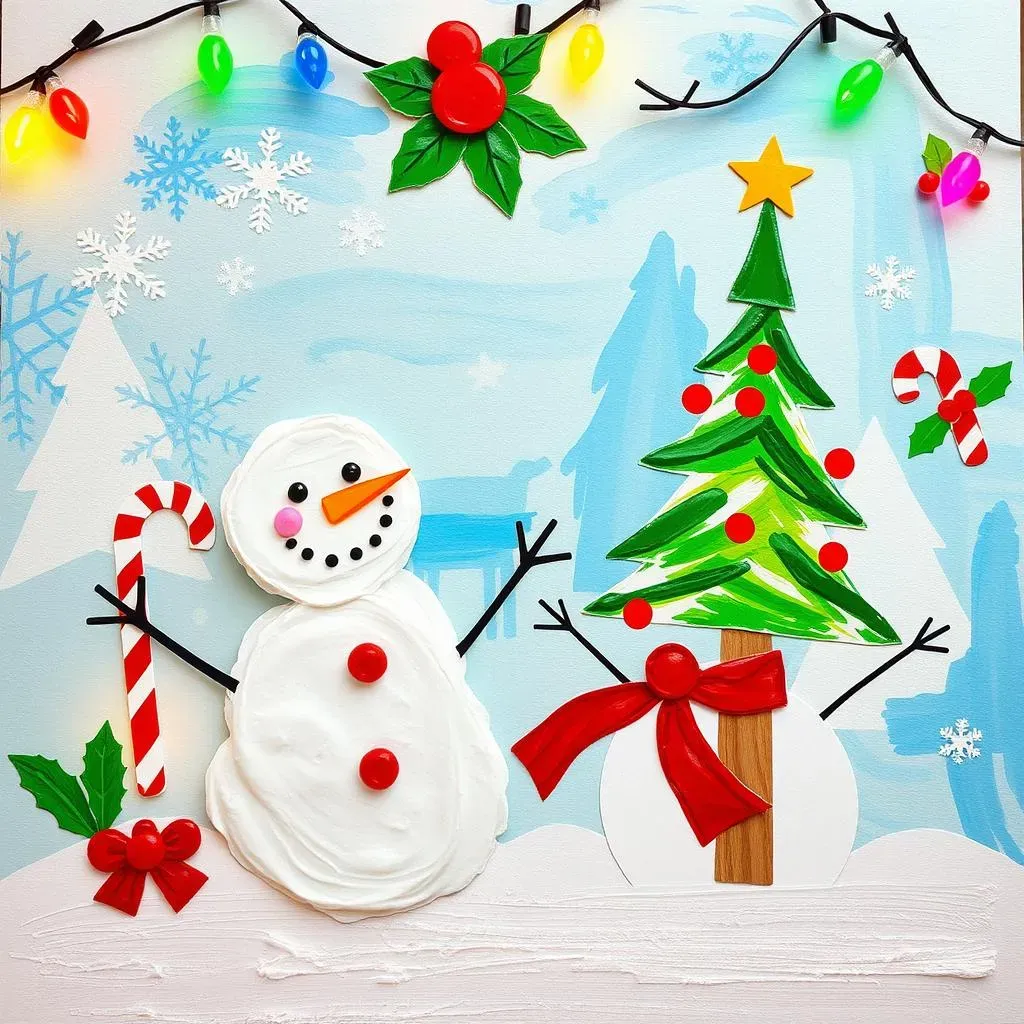
Finger Painting Fun
Let's get messy! Finger painting is a fantastic sensory experience for young children. The tactile nature of the paint encourages exploration and self-expression. For Christmas, you can use festive colors like red, green, and white to create simple designs. Kids can make handprints to create Christmas trees, snowmen, or even Santa's beard! The lack of brushes encourages creativity and lets them focus on the pure joy of making marks. It's also a great way to introduce color mixing in a playful way.
Finger painting is all about the process, not the product! Don't worry about creating perfect pictures; just let the kids explore and enjoy the sensory experience. The vibrant colors and tactile nature of the paint will engage them, and the results are always wonderfully unique. It’s a fantastic way to build confidence and encourage experimentation.
Materials | Instructions |
|---|---|
Non-toxic finger paints (red, green, white), paper, washable surface protector | 1. Spread out paper. 2. Let kids explore the paints with their fingers. 3. Encourage them to create Christmas shapes. 4. Clean up the mess! |
Exploring Texture with Puffy Paint
Puffy paint adds a whole new dimension to Christmas painting crafts for kids! It's easy to make at home by mixing shaving cream with paint. The resulting mixture is light, fluffy, and creates raised designs. Kids can use it to create textured snow on landscapes, fluffy snowmen, or even sparkly ornaments. The added dimension makes the paintings more engaging and tactile. It's also a great way to encourage creativity and exploration of different textures and techniques.
Puffy paint is a fantastic way to add a unique element to any Christmas painting. The surprise of watching it puff up as it dries is always exciting for kids. It allows for a unique form of self-expression and provides a different sensory experience compared to traditional paints. It’s a truly magical painting experience!
- Shaving cream
- Acrylic paints (festive colors)
- Paper or canvas
- Mixing bowls
- Optional: Glitter for extra sparkle
Tips & Tricks for Successful Christmas Painting Crafts for Kids
Tips & Tricks for Successful Christmas Painting Crafts for Kids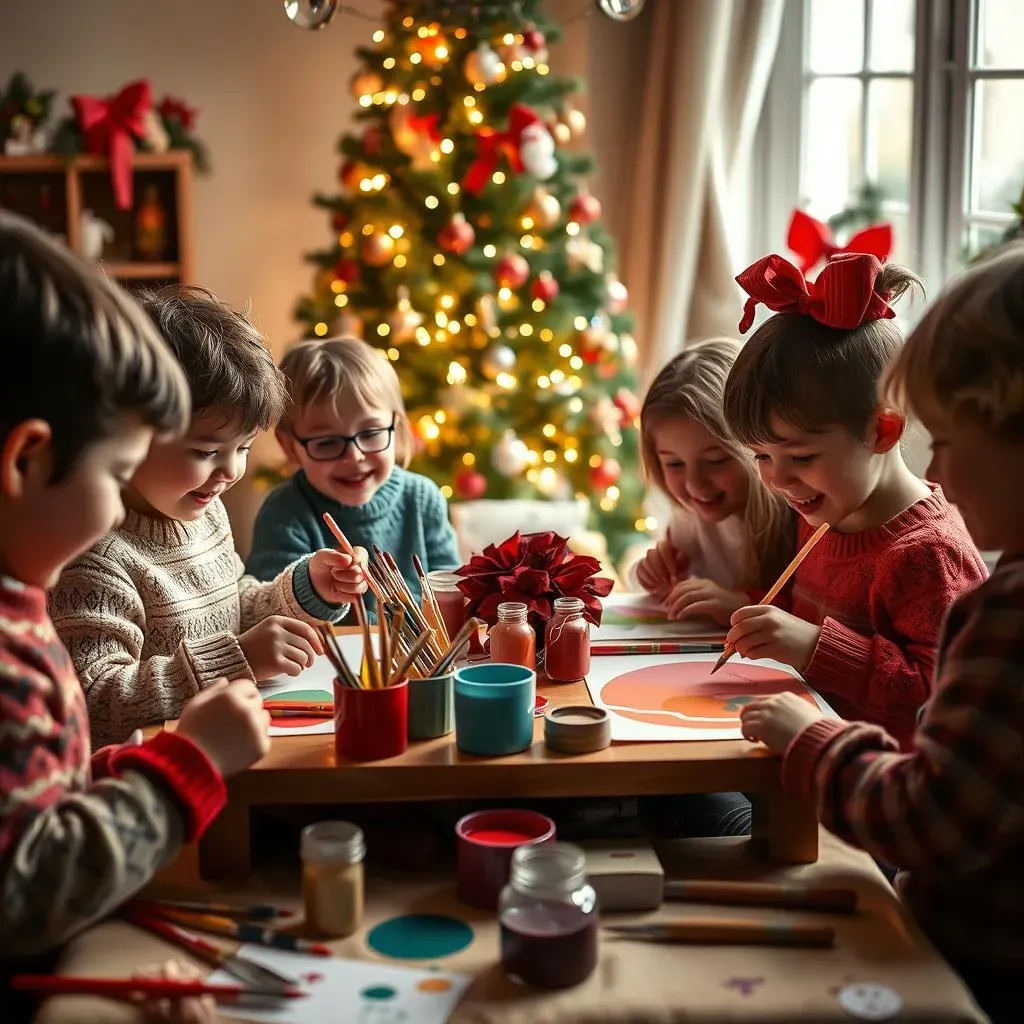
Prep Your Workspace: Setting the Stage for Success
Before you unleash the paint, prepare your battleground! Cover your work surface with newspaper or a plastic tablecloth – trust me, you'll thank me later. Gather all your materials in advance: paints, brushes, paper, palettes, water cups, and anything else your little Picassos might need. Having everything organized makes the whole process smoother and less stressful, both for you and for the kids. This ensures a more enjoyable experience for everyone involved, minimizing frustration and maximizing fun.
Think of it like prepping for a delicious meal – you wouldn't start cooking without gathering your ingredients, would you? The same applies to art. A well-organized space sets the stage for creativity to flourish. It helps kids focus on the creative process rather than searching for missing supplies.
Preparation Step | Why It's Important |
|---|---|
Cover your work surface | Protects your furniture from paint spills. |
Gather all materials | Reduces interruptions and keeps the flow going. |
Organize your space | Creates a calm and focused environment. |
Embrace the Mess (and Minimize It!): Mastering the Art of Cleanup
Let's be realistic: painting with kids inevitably involves some mess. But we can minimize it! Have plenty of wipes or paper towels handy for quick cleanups. Consider using a smock or old shirt to protect their clothes. And most importantly, remember that a little mess is part of the creative process – don't stress about perfection! Focus on the fun and the learning experience, and remind yourself that memories are more important than a perfectly clean floor.
The key is to manage expectations and have fun. Don't be afraid to let your kids experiment and express themselves, even if it means a little bit of a mess. Remember, the goal is to create lasting memories, not a museum-quality masterpiece.
- Use washable paints and materials whenever possible.
- Have plenty of wipes or paper towels on hand.
- Protect your child's clothing with a smock or old shirt.
- Don't stress over small spills or messes.
- Make cleanup part of the creative process.