Table of Contents
Get ready for some serious sparkle! This holiday season, ditch the store-bought decorations and unleash your child's creativity with amazing Christmas star crafts. Forget boring, predictable ornaments – we're diving headfirst into a world of shimmering paper stars, whimsical recycled creations, and dazzlingly decorated masterpieces. This article is your ultimate guide to fun, easy, and memorable Christmas star craft projects for kids of all ages and skill levels. We’ll start with simple paper star crafts, perfect for little hands and big imaginations. Then, we’ll explore more advanced techniques using recycled materials and other fun supplies. Finally, we’ll help you transform those beautiful stars into stunning decorations for your tree, your home, or even thoughtful gifts. So gather your glitter, glue, and kid-sized enthusiasm, because we're about to embark on a crafting adventure that's as joyful as the holidays themselves! Prepare for a burst of festive fun with our curated selection of Christmas star crafts for kids – let the crafting commence!
Fantastic Christmas Star Crafts for Kids: Easy Paper Stars
Fantastic Christmas Star Crafts for Kids: Easy Paper Stars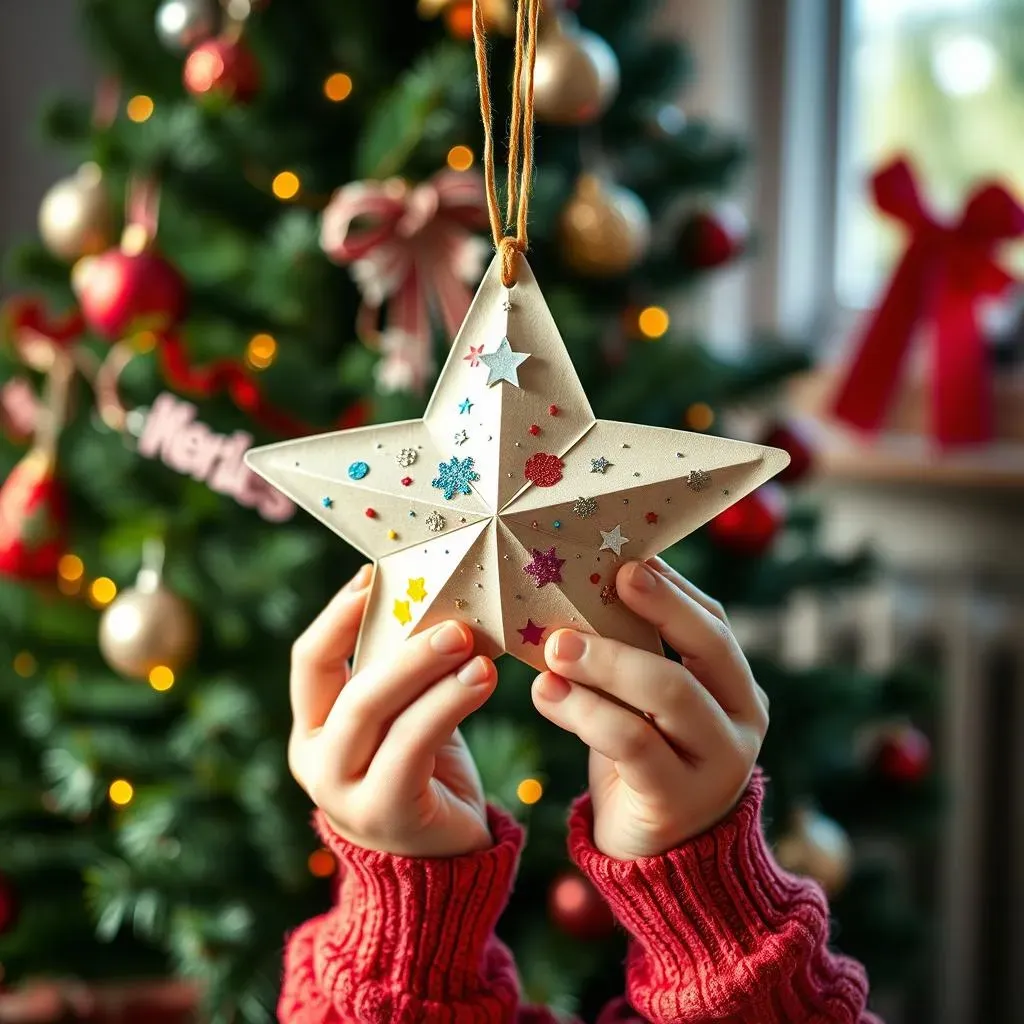
Simple Paper Star Ornaments
Let's kick things off with the easiest Christmas star craft for kids: paper stars! These are perfect for little ones, requiring minimal supplies and offering maximum creative fun. All you need is some colorful construction paper, scissors, glue (the stick kind is easiest for tiny hands!), and maybe some glitter for extra sparkle. There are tons of tutorials online showing you how to make simple folded stars, or you can even find printable star templates to make things even simpler. Let the kids choose their favorite colors and get to work! It's amazing how much joy they get from making something beautiful with their own hands. The best part? You can customize these stars to fit any theme – add snowflakes, reindeer, or even tiny Santa hats for a personalized touch!
Remember, the goal is fun, not perfection. Don't stress about making them look exactly alike or perfectly symmetrical. The imperfections are part of their charm and add a unique, handmade feel. Think of it as a chance to express their individuality. Let them experiment with different colors and patterns, or add extra details with crayons, markers, or stickers. The possibilities are endless!
Material | Quantity | Notes |
|---|---|---|
Construction Paper | Various colors, several sheets | Choose festive colors like red, green, gold, and silver! |
Scissors | 1 pair (child-safe) | Adult supervision recommended for younger children. |
Glue Stick | 1 | Easy for little hands to use. |
Glitter (optional) | Various colors | Add some extra sparkle! |
From Simple Folds to Festive Fun
One of the simplest paper star designs involves folding a square piece of paper into a series of triangles and then cutting out shapes to create a three-dimensional star. There are many variations on this basic technique, allowing for various sizes and levels of complexity. For younger children, simpler folds and cuts work best, while older kids might enjoy the challenge of creating more intricate designs. You can even use different types of paper, such as patterned scrapbook paper or even wrapping paper, to add extra visual interest.
Don't forget the finishing touches! Once the stars are made, let the kids decorate them with glitter glue, stickers, markers, or even tiny pom-poms. They can also add ribbons or string to hang them on the Christmas tree or use them as festive garland. This is a fantastic opportunity to encourage creativity and self-expression. The possibilities are as limitless as their imaginations.
- Fold and cut simple stars.
- Experiment with different paper types and colors.
- Add glitter, stickers, or other embellishments.
- Hang them on the Christmas tree or use as garland.
Creative Christmas Star Crafts for Kids: Beyond Paper
Creative Christmas Star Crafts for Kids: Beyond Paper
Recycled Materials Magic
Let's get creative and think outside the paper box! We can transform everyday items into stunning Christmas stars. Think about using recycled cardboard from cereal boxes or toilet paper rolls. Cut them into star shapes, decorate them with paint, glitter, or even fabric scraps. You can also use pipe cleaners to make fluffy, colorful stars. Older kids might enjoy the challenge of using more complex materials like wood or even creating stars from natural materials like twigs and leaves – perfect for an eco-friendly Christmas.
Remember to involve the kids in every step of the process. Let them choose the materials, decide on the design, and handle the decorating. This is a great way to teach them about recycling and repurposing, while also fostering their creativity and problem-solving skills. The end result will be unique and meaningful, far surpassing anything store-bought.
Material | Source | Preparation |
|---|---|---|
Cardboard | Cereal boxes, toilet paper rolls | Cut into star shapes |
Pipe Cleaners | Craft store | Twist and shape into stars |
Twigs/Leaves | Nature! | Gather and clean |
Nature's Festive Stars
Bring the outdoors in! Nature provides a wealth of materials for unique Christmas star crafts. Pine cones can be transformed into rustic stars with a little paint and glue. Twigs can be woven together to create simple, natural stars. Even leaves can be used to create beautiful, organic star shapes. These crafts are not only fun to make, but they also connect kids with the natural world and encourage appreciation for the beauty of their surroundings. These nature-inspired stars offer a unique, earthy charm that perfectly complements a rustic or woodland-themed Christmas.
Think beyond just glue and paint. Consider using natural fibers like twine or yarn to wrap around the pine cones or twigs, adding texture and visual interest. Older kids can even explore more advanced techniques like using natural dyes to color the leaves or twigs. The possibilities are as vast as the natural world itself, inspiring kids to think creatively about what they can achieve with what nature provides.
- Pine cone stars: Paint and embellish pine cones.
- Twig stars: Weave twigs into star shapes.
- Leaf stars: Arrange leaves to create star patterns.
- Natural dye stars: Experiment with natural dyes.
Beaded and Button Brilliance
Let's add some shimmer and shine! Beads and buttons offer a fantastic way to create unique and textured Christmas stars. You can glue beads onto cardboard or foam stars, creating dazzling patterns and textures. Buttons can be used to create dimensional stars, adding an extra layer of visual interest. This is a great way to use up leftover craft supplies and encourage creativity by experimenting with different colors, shapes, and sizes of beads and buttons.
For younger children, larger beads and buttons are easier to handle. Older kids might enjoy the challenge of creating more intricate designs, perhaps even incorporating small sequins or glitter for extra sparkle. Remember to supervise younger children while using small craft supplies to prevent any accidental ingestion. These beaded and button stars are perfect for adding a touch of elegance and sparkle to your Christmas tree or mantelpiece.
"The best things in life aren't things; they're memories made with loved ones." - Unknown
Glittery Christmas Star Crafts for Kids: Decorating and Displaying
Glittery Christmas Star Crafts for Kids: Decorating and Displaying
Adding the Sparkle: Glitter, Glue, and More!
Now for the fun part: decorating! Once your little artists have created their beautiful Christmas stars, it's time to add some extra sparkle and shine. Glitter is a must-have for any festive craft project, and Christmas stars are no exception. Simply apply a generous layer of glitter glue to your creations, let it dry completely, and watch them transform into shimmering masterpieces. But don't stop at glitter! Consider adding other embellishments like sequins, tiny beads, colorful ribbons, or even miniature pompoms. Let the kids choose their favorite embellishments and get creative with their designs. This is the perfect opportunity to encourage their artistic expression and create truly unique decorations.
Remember, there's no such thing as too much glitter (at least not at Christmas!). Encourage the kids to experiment with different colors and textures. They can create ombre effects, mix and match colors, or even create intricate patterns with their chosen embellishments. The possibilities are endless, and the result will be a collection of truly unique and dazzling Christmas stars.
Embellishment | Effect | Application Tip |
|---|---|---|
Glitter Glue | Shimmering finish | Apply generously and let dry completely. |
Sequins | Added sparkle and texture | Use glue dots for easy application. |
Tiny Beads | Subtle sparkle and texture | Use strong adhesive for small beads. |
Ribbons | Festive flair | Tie ribbons around the stars for hanging. |
Displaying Your Masterpieces: From Tree to Mantel
With your dazzling Christmas stars complete, it's time to showcase your little artists' handiwork! The most classic way to display these beautiful creations is, of course, on the Christmas tree. Simply attach a small loop of ribbon or string to the top of each star before decorating, and hang them on the branches. They'll add a touch of handmade charm and festive sparkle to your tree. But don't limit yourself to the Christmas tree! These stars can also be used to create festive garland, adorning your mantelpiece, windows, or even doorways. You can string them together using ribbon or twine, creating a beautiful and unique festive display.
Consider the overall theme of your holiday décor when displaying your stars. If you have a rustic theme, the nature-inspired stars will fit perfectly. If you have a more modern or minimalist theme, the sleek paper stars or those made with beads and buttons might be a better fit. Think about different ways to display your stars - you could glue them onto gift tags, create a festive mobile, or even arrange them in a beautiful glass bowl as a centerpiece. The possibilities are as limitless as your imagination!
- Hang on the Christmas tree.
- Create festive garland.
- Adorn mantelpieces, windows, or doorways.
- Use as gift tags or ornaments.
- Create a festive mobile.