Table of Contents
Christmas is just around the corner, and what better way to get into the festive spirit than by creating some magical memories with your little ones? This year, ditch the expensive store-bought decorations and embrace the joy of crafting with our guide to easy paper Christmas crafts for kids. Forget complicated instructions and frustrating projects – we’re focusing on simple, fun, and surprisingly impressive creations that even the youngest crafters can master. Inside, you'll discover a treasure trove of ideas, from dazzling decorations to heartwarming handmade cards. We’ll walk you through each project step-by-step, providing clear instructions and helpful tips along the way. Get ready to unleash your child's creativity and fill your home with the warmth and charm of homemade Christmas cheer. This article is packed with easy paper Christmas crafts for kids, perfect for festive fun and creating lasting memories. Prepare to be amazed by what you and your children can achieve with just paper, scissors, and a little imagination! Let's dive into a world of paper snowflakes, adorable reindeer, and much more – all designed to be simple and enjoyable for everyone involved. Whether you're looking for classroom activities, family fun, or unique gifts, this collection of easy paper Christmas crafts for kids has something for everyone. So grab your craft supplies, gather your little helpers, and let's get crafting!
Fantastically Festive Paper Christmas Crafts for Kids
Fantastically Festive Paper Christmas Crafts for Kids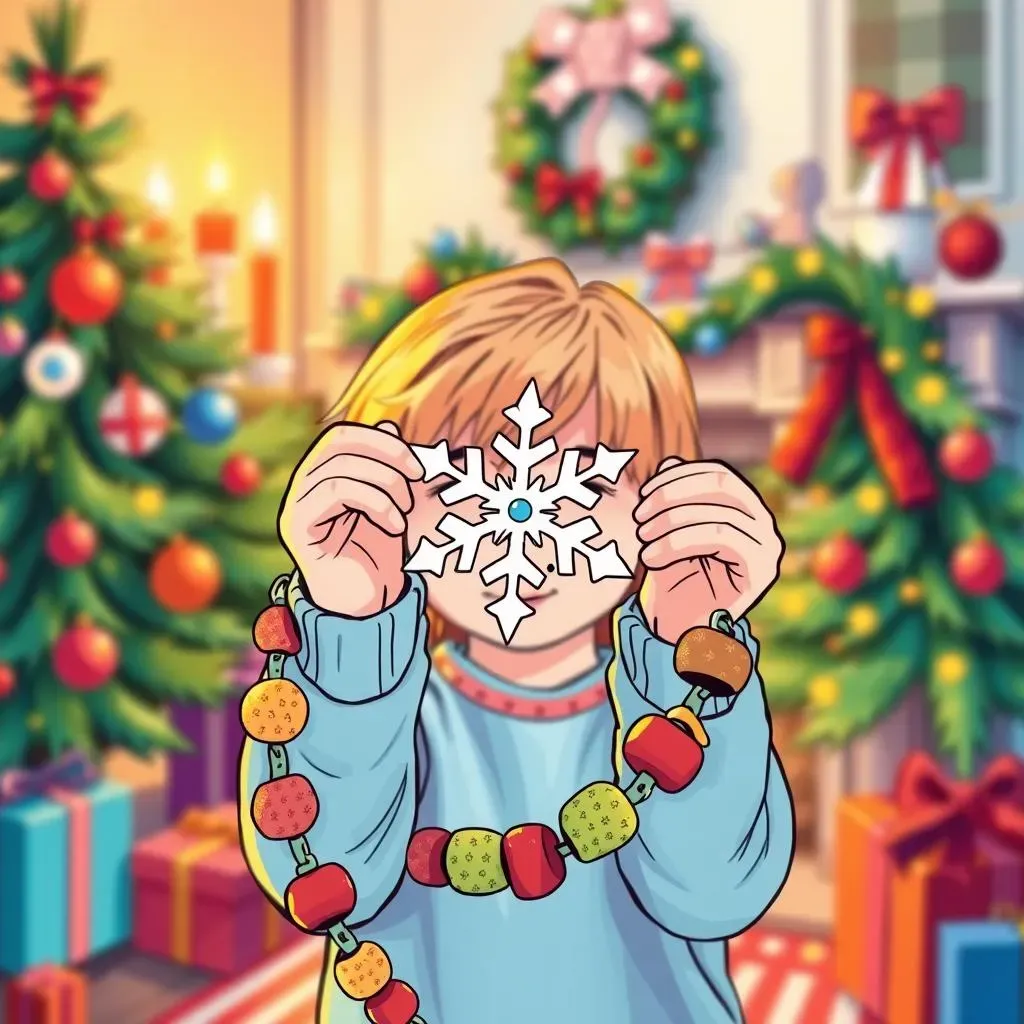
Paper Snowflakes: A Classic Christmas Craft
Let's start with a timeless favorite: paper snowflakes! These delicate decorations are surprisingly easy to make and offer endless possibilities for creativity. The basic method involves folding a square piece of paper several times, then cutting various shapes into the folded edges. Unfolding reveals a unique, symmetrical snowflake. You can experiment with different folds and cuts to create an array of stunning designs. Encourage kids to let their imaginations run wild – no two snowflakes need to be alike!
To make it even more fun, try using different types of paper. Colored paper adds a vibrant touch, while metallic paper creates a shimmering effect. You can even add glitter or sequins for extra sparkle! Once your snowflakes are complete, hang them from the ceiling, use them to decorate a Christmas tree, or even string them together to create a beautiful garland. The possibilities are endless!
Paper Type | Effect | Tip |
|---|---|---|
White | Classic look | Use a sharp pair of scissors |
Colored | Vibrant and festive | Experiment with different color combinations |
Metallic | Shimmering and elegant | Use a cutting mat to protect your surface |
Paper Chain Garlands: A Collaborative Effort
Paper chain garlands are another fantastically festive craft that's perfect for a collaborative effort. Simply cut strips of colored paper (construction paper works great!), and have the kids link them together to form a long chain. You can vary the colors and even add some glitter or stickers to personalize each link. This is a fantastic project for younger children, as it's simple enough for them to participate in, but also allows for a lot of creativity and personalization. It's a great way to involve the whole family in the holiday decorating process.
Once you’ve created a long, festive chain, you can drape it around your Christmas tree, hang it across a doorway, or even use it to decorate a mantelpiece. The beauty of paper chain garlands is that they’re incredibly versatile and can be adapted to suit any style of Christmas decoration. You could even have each family member create their own chain, then combine them to form one giant, collaborative garland. The result is a unique and memorable decoration that everyone can be proud of.
- Use different colors and patterns of paper
- Add glitter, stickers, or markers for extra decoration
- Make it a family project – each person can make their own chain
Simple Christmas Decorations: Easy Paper Crafts for Kids
Simple Christmas Decorations: Easy Paper Crafts for Kids
Paper Christmas Trees: Tiny Festive Forests
These miniature trees are adorable and surprisingly easy to make! Start by cutting out various sized green paper triangles. Layer them, slightly overlapping each other, to create a tree shape. Glue them together, and then add a small star or circle cut from yellow or gold paper to the top. You can also add small decorations like tiny pom-poms, glitter glue, or even tiny beads. These little trees are perfect for decorating a mantelpiece, windowsill, or even a child's bedroom. They add a touch of festive cheer without being overwhelming.
To make them even more special, try using different shades of green or even patterned paper. You could create a whole forest of unique trees, each with its own personality. Kids can personalize their trees by adding their own unique designs or small ornaments. It's a fun and engaging project that allows for plenty of creative expression. The best part? They're small enough to be easily packed away after the holidays!
Material | Use | Tip |
|---|---|---|
Green construction paper | Tree shapes | Use different shades for variety |
Yellow/gold paper | Treetops | Cut stars or circles |
Glue | To assemble | Use a low-mess glue stick |
Optional Decorations | Pom-poms, glitter, beads | Let your creativity shine! |
Paper Plate Ornaments: Festive and Fun
Paper plates offer a fantastic base for creating a variety of festive ornaments. You can cut them into various shapes – stars, snowflakes, even Santa hats – and then decorate them with paint, markers, glitter, or collage materials. Once decorated, simply punch a hole at the top and thread some ribbon or string through to hang them on your Christmas tree or use them as unique gift tags. This is a great project for younger children, as it allows them to express their creativity in a fun and mess-free way.
Think beyond simple shapes! You can transform a paper plate into a festive snowman, a reindeer, or even a charming Christmas elf. The possibilities are endless! Let your children’s imagination run wild and encourage them to experiment with different colors, textures, and materials. This is a fantastic opportunity to teach them about color mixing, texture, and design principles in a fun and engaging way. The result will be a collection of unique and heartwarming ornaments that capture the spirit of the season.
- Use different colors and patterns of paper plates
- Add glitter, stickers, paint, or collage materials
- Punch a hole at the top and add ribbon or string for hanging
- Consider turning them into characters like snowmen or reindeer
Paper Bag Puppets: Bring Your Characters to Life
Transform simple brown paper bags into adorable Christmas puppets! Draw festive faces on the bags, add colorful hats, and create simple costumes from scraps of fabric or paper. These puppets are perfect for putting on a Christmas show for family and friends or just for some imaginative play. It's a great way to encourage storytelling and creative expression. The best part? The cleanup is minimal!
Encourage kids to create their own unique characters, adding personal touches like funny hairstyles or quirky accessories. They can even use different materials like felt, yarn, or buttons to add texture and dimension to their puppets. This project is fantastic for developing fine motor skills and imaginative play. It's a fun and engaging way to bring the magic of Christmas to life!
Adorable Paper Christmas Cards: Easy Crafts for Kids
Adorable Paper Christmas Cards: Easy Crafts for Kids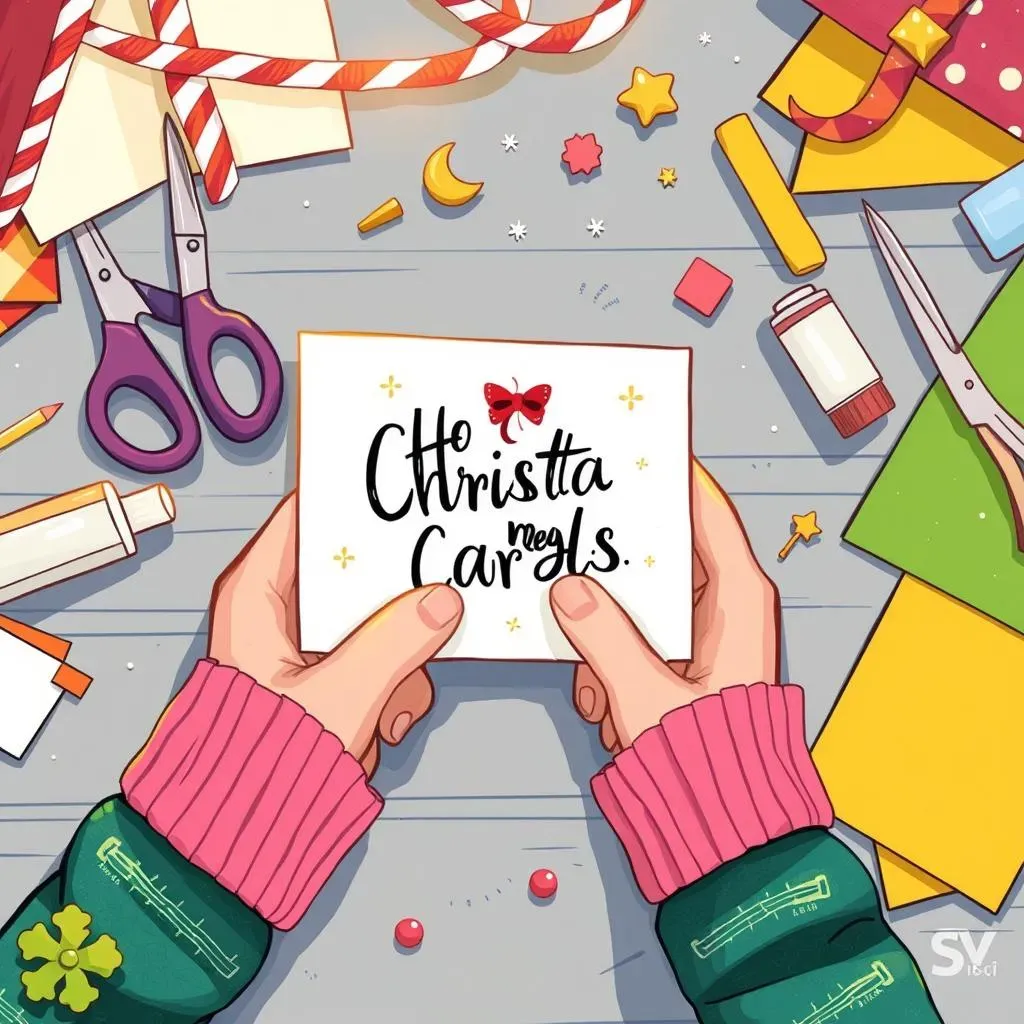
Simple Folded Cards: A Beginner's Delight
Let's start with the easiest option: simple folded cards! All you need is some colorful construction paper, scissors, and glue (or tape). Fold a piece of paper in half to create a card base. Then, let the kids decorate the front with drawings, stickers, glitter, or even small cutouts of Christmas shapes. They can add a personal touch by writing a heartfelt message inside. This is a perfect project for younger children, encouraging creativity and fine motor skill development. The simplicity of this design makes it ideal for large-scale crafting projects, like making cards for the whole class.
To make it even more festive, pre-cut some simple shapes from colored paper – stars, trees, snowmen – and let the kids glue them onto their cards. You can also add some glitter glue or sequins for extra sparkle. Don't forget the personal touch! Encourage children to draw pictures or write short messages inside their cards. This adds a personal and meaningful element to their creations, making them even more special to the recipients. The process is quick and easy, allowing for lots of cards to be made in a short time. This is a great way to get children involved in the gift-giving process, teaching them the importance of thoughtful gestures.
Material | Use | Tip |
|---|---|---|
Construction Paper | Card base, decorations | Use a variety of colors and patterns |
Scissors | Cutting shapes and decorations | Supervise younger children |
Glue/Tape | Attaching decorations | Use a glue stick for less mess |
Markers/Crayons | Drawing and writing | Encourage creativity! |
Pop-Up Christmas Cards: A Festive Surprise
For a more advanced project, try making pop-up Christmas cards! These cards reveal a festive surprise when opened, adding an extra element of fun and excitement. There are many simple pop-up designs available online, featuring Christmas trees, stars, or even Santa himself. These projects teach children about basic geometry and spatial reasoning, while providing a satisfying creative outlet. The surprise element adds a touch of magic, making the card-making experience even more rewarding.
Start by finding a simple pop-up design online. Many free tutorials are available, guiding you through the process step-by-step. Once you've chosen a design, carefully cut and fold the paper according to the instructions. Let the kids decorate the card's exterior and the pop-up element itself. This allows for a lot of creative freedom, letting children personalize their cards with their own unique style. The final result is a truly special and memorable card that's sure to impress the recipient. Remember to emphasize the importance of precision when cutting and folding to ensure the pop-up mechanism works correctly.
- Find a simple pop-up card tutorial online
- Use colorful paper and decorations
- Let the children personalize their cards
- Test the pop-up mechanism before decorating the exterior
Layered Christmas Cards: Adding Depth and Dimension
Layered Christmas cards add depth and dimension, creating a visually stunning effect. This technique involves cutting out various shapes from different colored papers and layering them to create a three-dimensional effect. For example, you could create a layered Christmas tree by cutting out different sized triangles and layering them on top of each other. This method provides an opportunity to explore color combinations and create visually appealing designs. It also teaches children about perspective and layering in art.
Start by sketching your design on paper. Then, cut out the different shapes from various colored papers, ensuring that the layers are slightly offset to create a three-dimensional look. Glue or tape the layers together carefully, ensuring that they are securely attached. Finally, add any finishing touches, such as glitter, sequins, or small embellishments. This allows for a high degree of customization, enabling children to express their creativity and develop their artistic skills. The result is a visually appealing and unique Christmas card that is sure to stand out from the rest.
More Easy Paper Christmas Crafts for Kids: Beyond the Basics
More Easy Paper Christmas Crafts for Kids: Beyond the Basics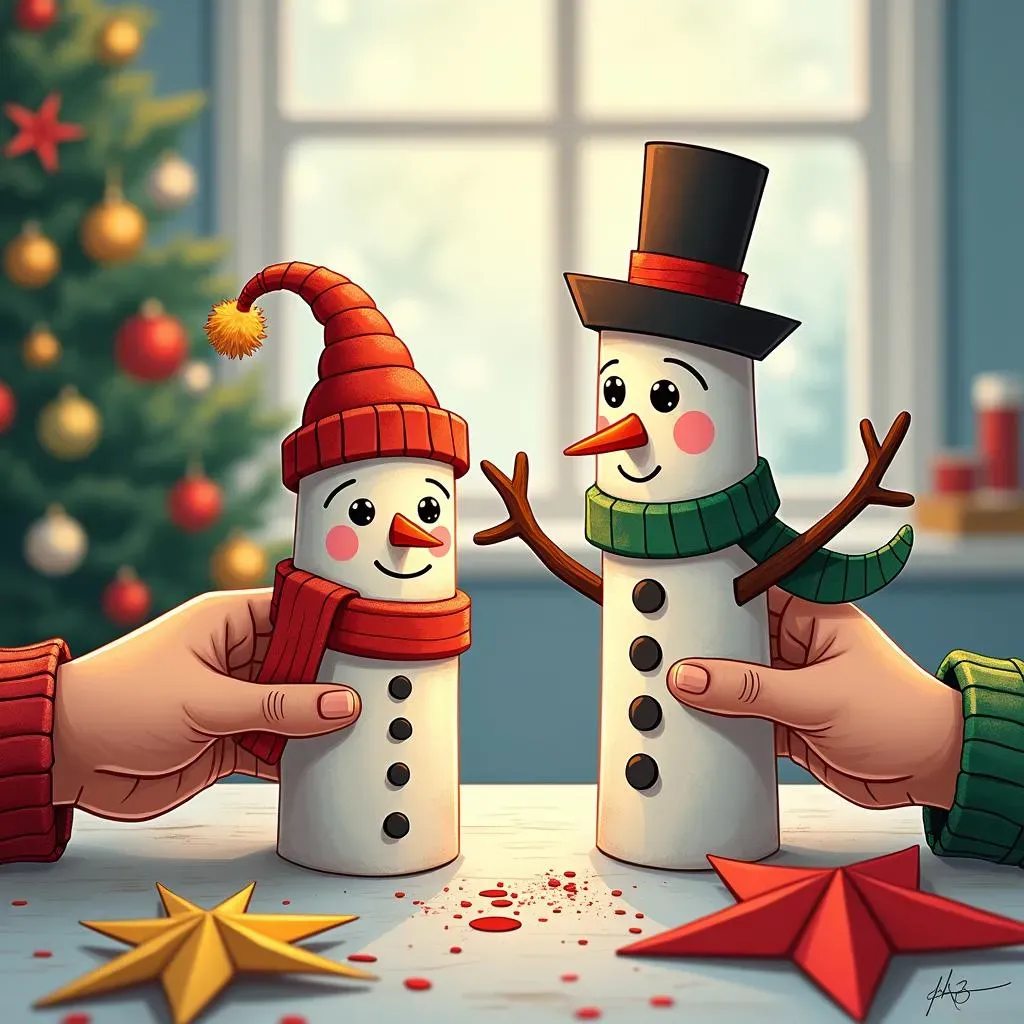
Paper Tube Snowmen: A Festive Winter Friend
Let's move beyond the basics with this charming craft! Save those toilet paper or paper towel tubes – they're perfect for creating adorable snowmen. Paint the tubes white, and once dry, add facial features with markers or paint. Use small pieces of colored paper or felt for hats, scarves, and buttons. These little snowmen can be decorated with glitter, pom-poms, or even tiny twigs for arms. They're a fun and eco-friendly way to add some festive cheer to your home. And the best part? They're incredibly easy for even the youngest crafters to make!
To make your snowmen even more unique, try adding accessories like miniature carrot noses or tiny coal eyes. You can also use different materials to add texture and dimension – think yarn for hair, buttons for eyes, or even tiny twigs for arms. The possibilities are endless! This is a great way to recycle and reuse materials, teaching children about environmental responsibility. It's also a wonderful opportunity to encourage creativity and fine motor skills development. The result will be a collection of unique and charming snowmen that will bring a smile to everyone's face.
Material | Use | Tip |
|---|---|---|
Paper Tubes | Snowman bodies | Use different sizes for variety |
White Paint | Base coat | Apply two coats for even coverage |
Markers/Paint | Facial features | Use black for eyes and mouth |
Colored Paper/Felt | Hats, scarves, buttons | Let your creativity shine! |
Origami Christmas Stars: A Touch of Elegance
Origami, the ancient art of paper folding, opens up a world of possibilities for creating beautiful and intricate Christmas decorations. While some origami designs can be complex, there are plenty of simple star patterns that even young children can master. These elegant stars can be used to decorate a Christmas tree, hang from the ceiling, or even use as part of a larger Christmas craft project. They add a touch of sophistication and elegance to any festive setting, showcasing the beauty of simple shapes and precise folds.
Start by searching online for easy origami star instructions. There are numerous free tutorials and diagrams available, guiding you through the folding process step-by-step. Once you've chosen a design, gather your square pieces of paper (colored paper works best!). Follow the instructions carefully, ensuring that each fold is precise and neat. Once you've completed your star, you can decorate it further with glitter, markers, or small embellishments. This project is a fantastic way to introduce children to the principles of geometry and spatial reasoning in a fun and engaging way. The result is a beautiful and intricate decoration that will impress everyone.
- Find simple origami star instructions online
- Use colorful paper for a vibrant effect
- Practice the folds carefully for neat results
- Add glitter or other embellishments for extra sparkle