Table of Contents
Thanksgiving is just around the corner, and if you've got a busy two-year-old, you might be wondering how to keep them entertained while also getting into the holiday spirit. Forget complicated projects that end in tears; we're talking about super simple, super fun, and super *easy thanksgiving crafts for 2 year olds*! This isn't about creating Pinterest-perfect masterpieces; it's about making memories, exploring textures, and maybe getting a little bit messy along the way. We'll look at some great ideas that even the tiniest hands can manage, from adorable turkey crafts to sensory activities that will keep them engaged. Get ready for some paint splatters, giggles, and the satisfaction of creating something special together. We’re all about making crafts that are as much fun for you as they are for your little ones. So, let's get started and make this Thanksgiving memorable for everyone!
Turkey Crafts for Tiny Hands: Easy Thanksgiving Fun
Turkey Crafts for Tiny Hands: Easy Thanksgiving Fun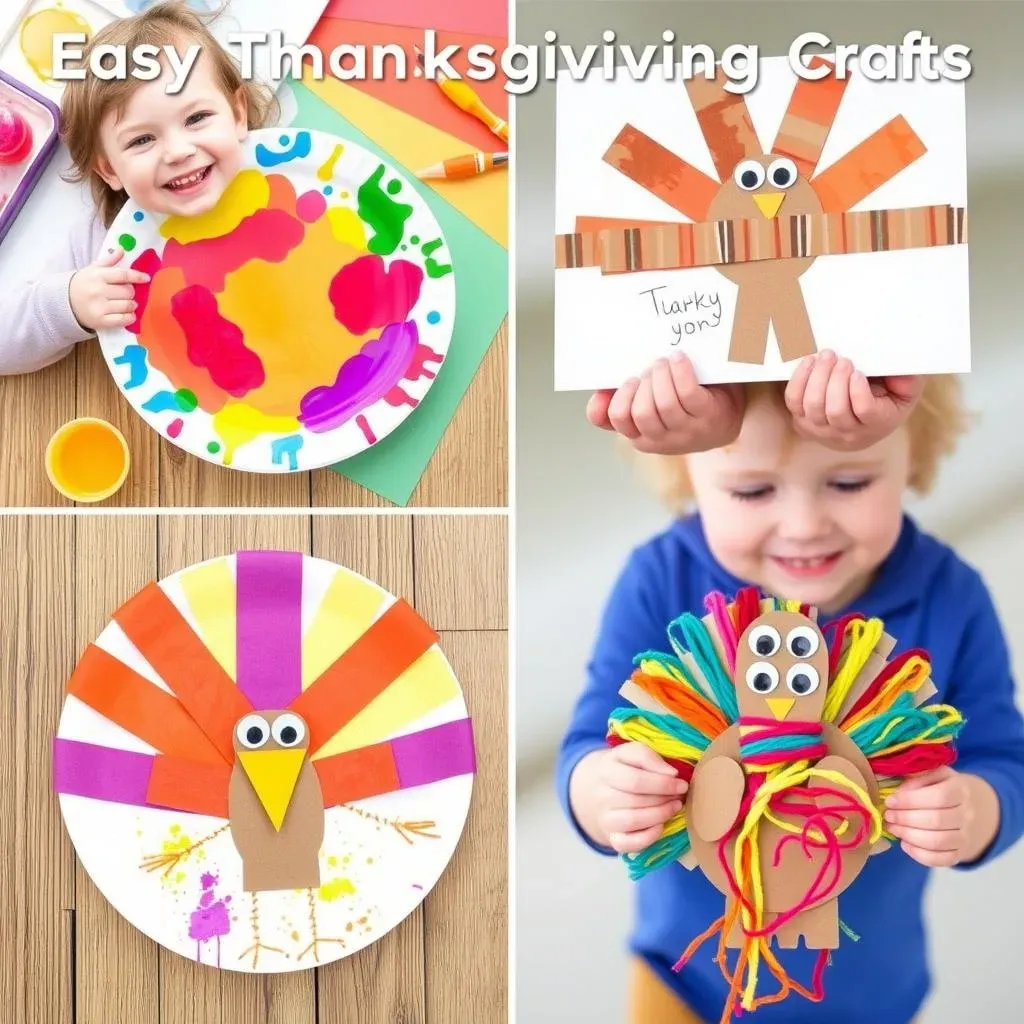
Paper Plate Turkeys
Let’s kick things off with a classic: the paper plate turkey. Seriously, it's so simple, even a two-year-old can get in on the action. Grab a paper plate – the cheap, flimsy ones work perfectly – and some paint. Don't stress about staying in the lines; let those little ones go wild with color. Once the paint dries, you can add some googly eyes and a construction paper beak. For feathers, you can use more construction paper or even some colorful yarn. It’s a great way to let them explore colors and textures. Plus, it's a craft that doesn't require a lot of precision, which is perfect for toddlers who are still mastering their fine motor skills.
To make it even easier, you can prep the pieces beforehand. Cut out some basic feather shapes from construction paper, or even use pre-cut craft feathers. Let your toddler stick them on with glue sticks or even just tape. The goal is fun, not perfection. And let's be honest, a toddler-made turkey with feathers stuck on at odd angles is way more charming than a perfectly symmetrical one anyway. You could also use their handprints to create the feathers, what a cute way to remember this age.
Craft | Materials Needed | Why it's Great |
|---|---|---|
Paper Plate Turkey | Paper plate, paint, googly eyes, construction paper, glue/tape | Simple, encourages color exploration, develops fine motor skills. |
Handprint Turkey | Paper, paint, googly eyes, marker | Personalized keepsake, easy to do, fun process. |
Tape Painting Turkeys
Okay, so maybe paint can get a little too messy sometimes, and that’s when tape painting swoops in to save the day. Take some painter's tape, or any kind of tape that peels off easily, and stick it to a piece of paper in random patterns. It doesn't have to be neat. Let your toddler paint all over the paper, covering the tape and the exposed areas. Once the paint is dry (or mostly dry, let's be real), carefully peel off the tape to reveal the design underneath. It's like magic, and toddlers absolutely love it! You can then add some eyes and a beak to turn it into a turkey.
This activity is fantastic for a few reasons. Firstly, it’s less messy than straight-up painting, which means less cleanup for you. Secondly, it introduces the concept of resist art in a way that’s totally accessible to a two-year-old. And thirdly, it's just plain fun to see the patterns emerge when the tape is removed. You can even use different colors of tape to add an extra element of surprise. If you don't want to make a turkey, the tape design is a great art piece on its own. The process is key here, more than the final product.
Yarn Wrapped Turkeys
For a craft that adds a bit of texture, try yarn-wrapped turkeys. Cut out a simple turkey shape from cardboard. It doesn't have to be perfect, a basic oval body and a triangle head work just fine. Then, let your toddler wrap colorful yarn around the cardboard. You can secure the ends with a bit of tape or glue. This is a great way to work on fine motor skills, and it’s a nice change of pace from painting. The different textures of the yarn will be super interesting to them. It's also a great way to use up leftover yarn scraps.
You can even add some googly eyes and a felt beak to make it look more like a turkey. This activity is excellent for developing their hand-eye coordination and introducing them to different materials. It’s also a tactile experience, which is beneficial for sensory development. Plus, these yarn-wrapped turkeys look adorable hanging up as decorations. Don’t worry if the yarn wrapping is a bit haphazard; that's part of the charm. Remember, the aim isn’t to create a museum-worthy piece, it’s about having fun and exploring new things.
MessFree Thanksgiving Art: Safe and Simple Projects
MessFree Thanksgiving Art: Safe and Simple Projects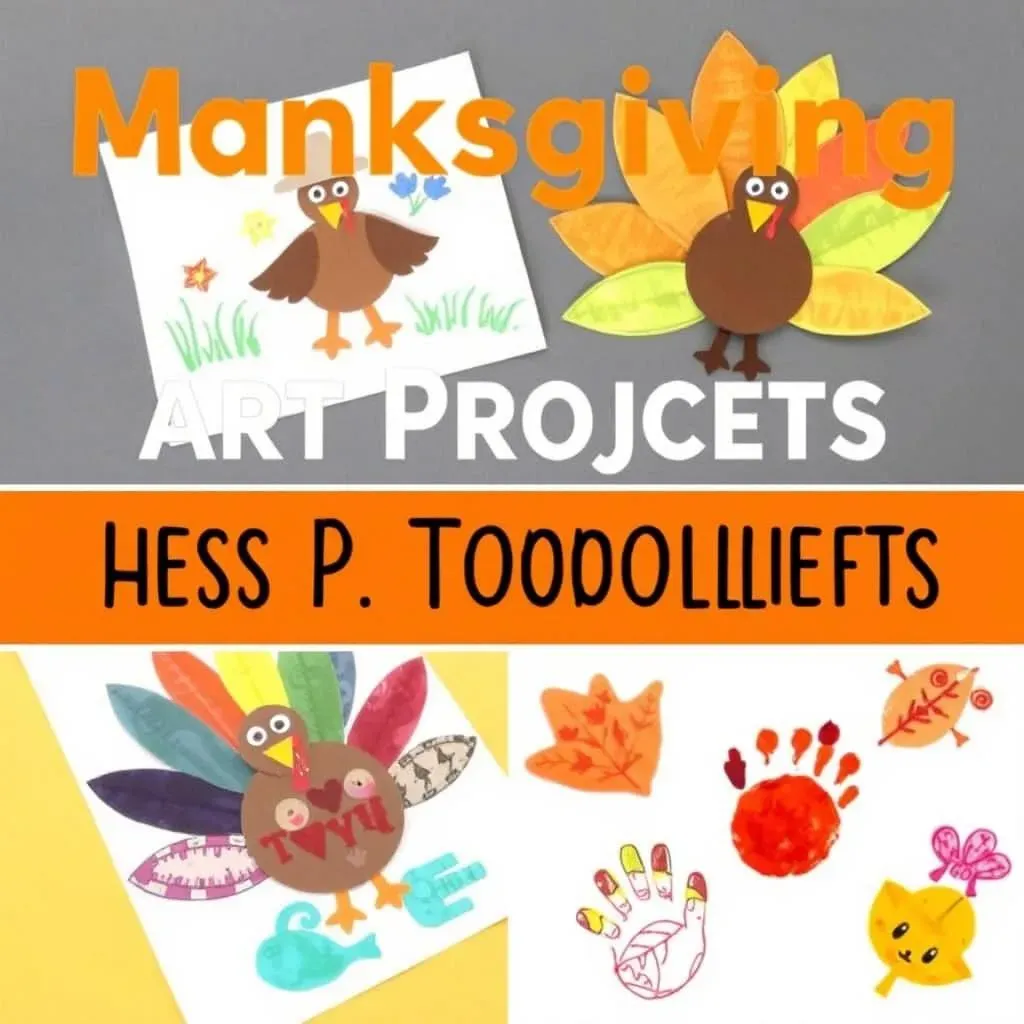
Sticker Scene Turkeys
Alright, let’s be real, sometimes the thought of paint and toddlers is enough to make anyone want to hide. That’s where the magic of stickers comes in. Grab a piece of paper or cardstock and draw a basic turkey shape – a simple oval for the body and a triangle for the head will do. Now, the fun part! Give your toddler a bunch of stickers, any kind will work: colorful dots, stars, shapes, whatever you have lying around. Let them go to town, sticking the stickers all over the turkey. It’s a fantastic way for them to explore colors and shapes without the mess of paint. Plus, it’s great for their fine motor skills as they peel and stick.
To make it even more engaging, you can use different types of stickers with varying textures. Think about puffy stickers, felt stickers, or even some sparkly ones. This adds a sensory element to the activity and keeps them interested. You could also pre-cut some simple feather shapes out of construction paper and let them decorate those with stickers before sticking them onto the turkey body. It's all about making it easy and fun. Remember, the goal is to have a good time and create something together, not to stress about perfection. This sticker turkey is a winner because it’s easy, it’s safe, and most importantly, it’s mess-free!
Crayon Rubbing Leaves
Here’s a cool project that combines a bit of nature with art, and guess what? It's mess-free! Go on a little adventure outside and collect some leaves. The more varied the shapes and textures, the better. Place a leaf under a piece of paper and hold it steady. Then, let your toddler rub a crayon over the paper. The leaf’s texture will magically appear on the paper! It's like a secret code that they're uncovering. This is a great way to introduce them to different leaf shapes and talk about the changes of the season. It's also a fun way to get them interested in nature. You can use different colors of crayons to make it even more exciting.
This activity is not only mess-free but also educational and fun. It’s a fantastic way to get them to explore textures and shapes. It's also surprisingly calming. You'll be surprised at how focused they become when they're discovering the patterns of the leaves. You can then use these leaf rubbings as part of a Thanksgiving card or just display them as fall-themed art. You can even use a variety of different leaves to create a whole collection of leaf rubbings. Once you have a few, you can turn them into a beautiful banner. This is a great way to create decorations and learn at the same time.
Craft | Materials Needed | Why it's Great |
|---|---|---|
Sticker Scene Turkeys | Paper/cardstock, stickers | Mess-free, fine motor skills, color/shape exploration. |
Crayon Rubbing Leaves | Paper, crayons, leaves | Nature exploration, mess-free, calming. |
Stamp It Up!
Okay, so maybe we're bending the rules a tiny bit, because it involves ink, but trust me, it's still pretty mess-free! Grab some stamp pads and some kid-friendly stamps. You can use animal stamps, shape stamps, or even some fall-themed stamps if you have them. Then, let your toddler go wild, stamping away on a piece of paper. It’s a different way to create art and they always love the action of stamping. You can even make a game of it: "Stamp the red square!" or "Stamp the little turkey!"
To keep it extra mess-free, use washable ink pads and make sure you have wipes handy. You can even use paint and sponges to make your own stamps. Cut out simple shapes from the sponges and let them dip and stamp. This is a great way to introduce them to different art techniques and develop their hand-eye coordination. You can then use their stamped artwork to make Thanksgiving cards, placemats, or even little banners. It's a simple activity that provides a lot of fun and it's also a great way to create art that you can use for decorating.
Sensory Thanksgiving Activities: Engaging All the Senses
Sensory Thanksgiving Activities: Engaging All the Senses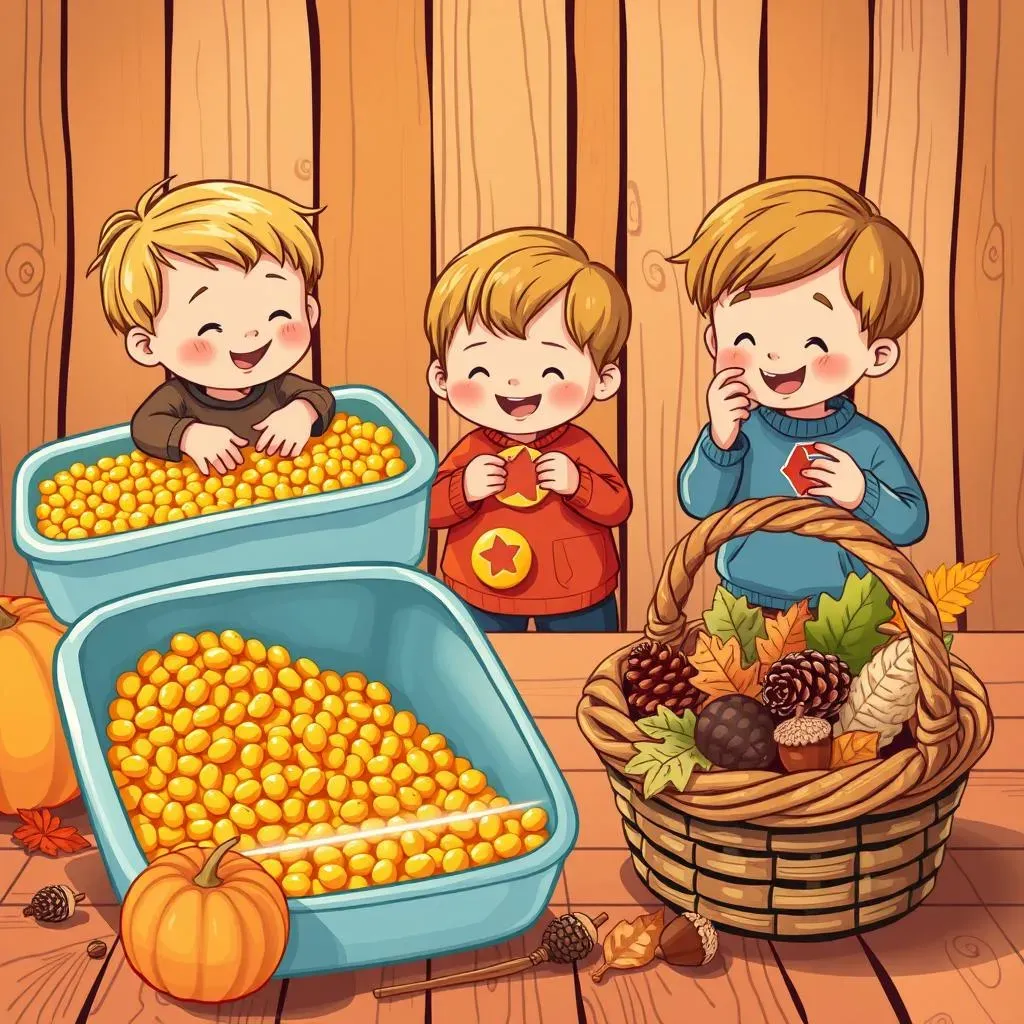
Corn Kernel Sensory Bin
Okay, let's get tactile! A sensory bin is like a playground for little hands, and it's super easy to set up. Grab a big plastic bin or tub and fill it with dried corn kernels. You can usually find these at the grocery store, especially around Thanksgiving. Now, add some scoops, cups, and maybe a few small toys. Think little plastic animals, toy cars, or even some fall-themed items like mini pumpkins or toy leaves. Let your toddler explore the bin, scoop the kernels, pour them, and just generally get their hands in there. It's a fantastic way to engage their sense of touch and encourage imaginative play. Plus, it's surprisingly calming for them. They can spend a good chunk of time just exploring the textures and sounds of the corn kernels.
To make it even more exciting, you can add some hidden treasures in the bin for them to find. Think small plastic acorns, colorful pom-poms, or even some jingle bells for a bit of sound. It’s like a mini treasure hunt right at their fingertips. Make sure the toys are age-appropriate and don't pose a choking hazard, of course. This isn't just about keeping them busy; it's about helping them develop their fine motor skills, spatial awareness, and sensory exploration. You can even talk about the colors and textures as they play, making it a sneaky learning experience, too.
Activity | Materials Needed | Sensory Focus |
|---|---|---|
Corn Kernel Sensory Bin | Plastic bin, dried corn kernels, scoops, cups, small toys | Touch, sight, sound |
Playdough Creations | Playdough, fall-themed cookie cutters, rolling pin | Touch, smell, sight |
Fall Scented Playdough
Let’s add another layer to our sensory exploration with some homemade playdough. But not just any playdough, we're talking about fall-scented playdough! It's super easy to make, and you can customize the scents to your liking. For a basic recipe, you'll need flour, salt, water, and a bit of oil. Then, the magic happens with the scent. Add a dash of cinnamon, nutmeg, or even some pumpkin pie spice to the mix. It will make the playdough smell like Thanksgiving, and your toddler will love squishing, rolling, and creating with it. You can add some fall-themed cookie cutters to make shapes like leaves or pumpkins.
This isn't just about the smell, it's about the whole experience. The squishy texture of the playdough is great for sensory development, and the fall scents add an extra layer of fun. You can even add some natural elements to the play, like small twigs, leaves, or acorns for them to press into the playdough. It’s a good way to bring the outdoors in and spark their imagination. The best thing about playdough is that it's versatile, so they can mold it into anything they want. And let's be honest, who doesn't love the smell of cinnamon and nutmeg? It's a comforting and festive activity that is great for little hands and minds.
Nature Walk and Texture Hunt
Time to get outside and go on a little nature adventure! A walk in the park or even your backyard can become a treasure hunt for textures. Before you head out, grab a bag or a bucket. As you walk, encourage your toddler to touch and collect different items. Look for smooth stones, rough tree bark, soft leaves, and prickly pine cones. Talk about how each item feels and what makes it different. This is a great way to get them moving and exploring their environment. It's also a great way to get them to use their senses in a natural setting. You can even turn this into a little game: "Can you find something soft?" or "Can you find something bumpy?".
Once you have collected your treasures, you can use them in your sensory bin or for art projects. You could even use the leaves to do some leaf rubbing or use the pine cones to decorate. It's a great way to connect them to nature and to the season. This isn't just about collecting items; it’s about experiencing nature and learning through exploration. Encourage them to describe what they are feeling and what they are seeing. It's a fantastic way to stimulate their senses and get them actively involved in the world around them. Plus, it’s a great way to burn off some energy before nap time!
Thanksgiving Decorations: ToddlerMade Festive Fun
Thanksgiving Decorations: ToddlerMade Festive Fun
Handprint Garlands
Let's get those little hands involved in creating some adorable Thanksgiving decorations! Handprint garlands are not only super cute, but they're also a fantastic keepsake you can treasure for years. Grab some construction paper in fall colors—think reds, oranges, yellows, and browns—and let your toddler make handprints all over them. Once the paint is dry, cut out the handprints and string them together with some yarn or twine. It's like a little banner of love, made by those tiny hands. You can hang it on the wall, across the fireplace, or even on the Thanksgiving table. It's a personalized decoration that will add a special touch to your celebration.
To make it even more festive, you can add some extra touches like small paper leaves or painted acorns. You can also use different colors of paint for each handprint to make it more vibrant. And, if you're feeling extra ambitious, you could write the year on each handprint to mark the occasion. The best thing about this project is that it's so simple and doesn’t require a lot of materials. It’s also a great way to see how much those little hands grow each year. It's a decoration that's both fun to make and heartwarming to display. This is a great way to make memories with your kids.
Paper Plate Wreaths
Paper plates are the ultimate crafting tool, and they're perfect for making an easy Thanksgiving wreath. Cut out the center of a paper plate to create a ring shape. Then, let your toddler decorate the ring with anything they want! Think colorful construction paper scraps, pieces of yarn, small leaves, or even some painted pasta. You can glue them on or even tape them, whatever works best. It's a great way to let them get creative and use their imagination. This isn’t about perfection; it’s about letting them explore different textures and colors. It’s a simple project that is very engaging for toddlers.
You can also add some extra flair by cutting out some simple shapes from construction paper, like leaves or pumpkins, and letting them glue them onto the wreath. You can make a hole at the top and add a ribbon or string for hanging. The best thing about this project is that it’s so versatile. You can make it as simple or as complex as you want. You can also adapt it to different themes or holidays. The main goal here is to let your toddler have fun and create something that they're proud of. It's a great way to make your home feel more festive and welcoming. It’s also a good way to use up any leftover craft supplies that you might have.
Craft | Materials Needed | Why it's Great |
|---|---|---|
Handprint Garlands | Construction paper, paint, yarn/twine | Personalized, keepsake, easy to make. |
Paper Plate Wreaths | Paper plates, construction paper, glue/tape, various craft supplies. | Versatile, encourages creativity, uses simple materials. |
Thankful Tree
Let's get into the spirit of Thanksgiving with a simple and sweet "Thankful Tree." Grab a large piece of paper or cardboard and draw the basic outline of a tree trunk and branches. It doesn't have to be perfect, a simple drawing will do. Then, cut out some leaf shapes from colorful construction paper. Now, the fun part! Let your toddler decorate the leaves with crayons, markers, or stickers. You can write down what they are thankful for on each leaf, or you can ask them and write it down for them. Then, glue the leaves onto the tree branches. It’s a great way to get them thinking about all the things they are grateful for.
This isn't just a decoration, it’s a conversation starter and a great way to teach them about gratitude. You can add to the tree throughout the Thanksgiving season, making it a continuous project. It's a beautiful reminder of all the things we have to be thankful for. The best thing about this project is that it's so simple and it can be adapted to different ages. You can make it a family project and have everyone write down what they are grateful for. It's a great way to bring the family together and reflect on the good things in life. Plus, it’s a beautiful decoration that will add a personal touch to your home.