Table of Contents
Halloween is just around the corner, and what better way to get your little ones excited than with some fun, not-so-scary crafts? If you've got a toddler aged 2 or 3, you're in the right place! This article is packed with easy and engaging **halloween crafts for toddlers age 2 3** that are perfect for tiny hands and big imaginations. We're not talking about complicated projects that will leave you covered in glitter for days – think simple, satisfying activities that will boost their creativity and fine motor skills. We will explore a variety of craft ideas, from spooky spider webs to adorable monster hands, using materials you likely already have at home. Get ready to create some festive decorations, make precious keepsakes, and most importantly, have a blast making memories with your little goblins. We'll guide you through each craft, highlighting how it helps your child's development and makes for a fantastic, not-too-spooky Halloween celebration. Let’s dive in and make this Halloween a crafty one!
Spooky Fun: Easy Halloween Crafts for Toddlers Age 23
Spooky Fun: Easy Halloween Crafts for Toddlers Age 23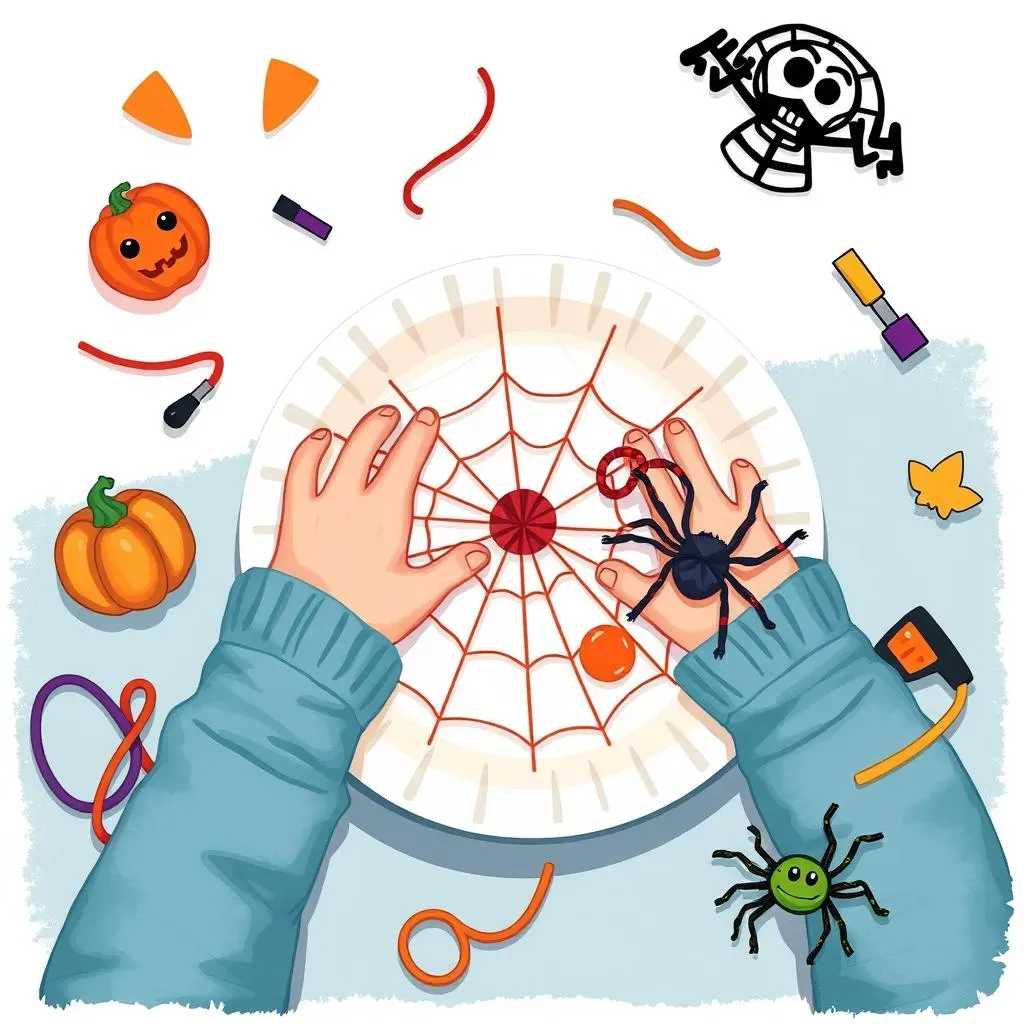
Simple Spider Web Plates
Okay, so you want to start with something super easy, right? Think spider webs, but way less creepy and way more fun for little hands. Grab some paper plates – the cheap kind are perfect. Then, let your toddler go wild with some non-toxic glue, making any pattern they want on the plate. Now, toss on some black yarn or even strips of black paper. It doesn't have to be perfect, it just needs to be fun! The goal is to let them explore the textures and stick stuff on things. Trust me, they'll love it, and it's a great way to get those little fingers moving and improve their hand-eye coordination. I did this with my nephew last year, and he was so proud of his "spider web," even though it looked more like a yarn explosion!
And if you're feeling extra crafty, you can add some googly eyes to make it extra spooky—or silly, depending on your toddler’s mood. We're not going for masterpiece level here, remember, it's all about the process. You can also use different colors of yarn or paper for a more colorful spider web. Think bright orange or purple to make it less scary and more festive. This activity is perfect because it's quick, it uses simple materials, and it helps your little one learn about sticking things together. Plus, they get to see their creation right away, which is always a win with this age group.
Monster Handprints
Next up, let's get messy! This one is a classic for a reason: monster handprints. It's super simple and adorable. Get some non-toxic paint – green, purple, orange, whatever colors scream "monster" to you. Then, simply paint your toddler's hand and press it onto a piece of paper. Ta-da! You have a monster hand. Now, let them add googly eyes, little paper horns, or even draw on some silly faces with markers. It’s like a personalized monster keepsake that's also a blast to make. I remember my daughter smearing paint everywhere, but the result was so cute, it was totally worth the cleanup.
Don’t worry too much about the perfect print, the messier the better! This is all about sensory play and letting them express themselves. You can even add some glitter for extra sparkle, because what monster isn’t just a little bit fabulous? And if you want to make it a bit more creative, you can cut out the handprint when it’s dry and make a monster garland or even stick it on a card. It’s a great way to capture their little handprints at this age and make them into fun, Halloween decorations. This craft is all about the fun, the mess, and the memories!
Craft | Materials | Skills |
|---|---|---|
Spider Web Plates | Paper plates, glue, yarn/paper strips | Fine motor, hand-eye coordination |
Monster Handprints | Non-toxic paint, paper, googly eyes, markers | Sensory play, creativity |
Crafting Adventures: Developing Skills with Halloween Projects
Crafting Adventures: Developing Skills with Halloween Projects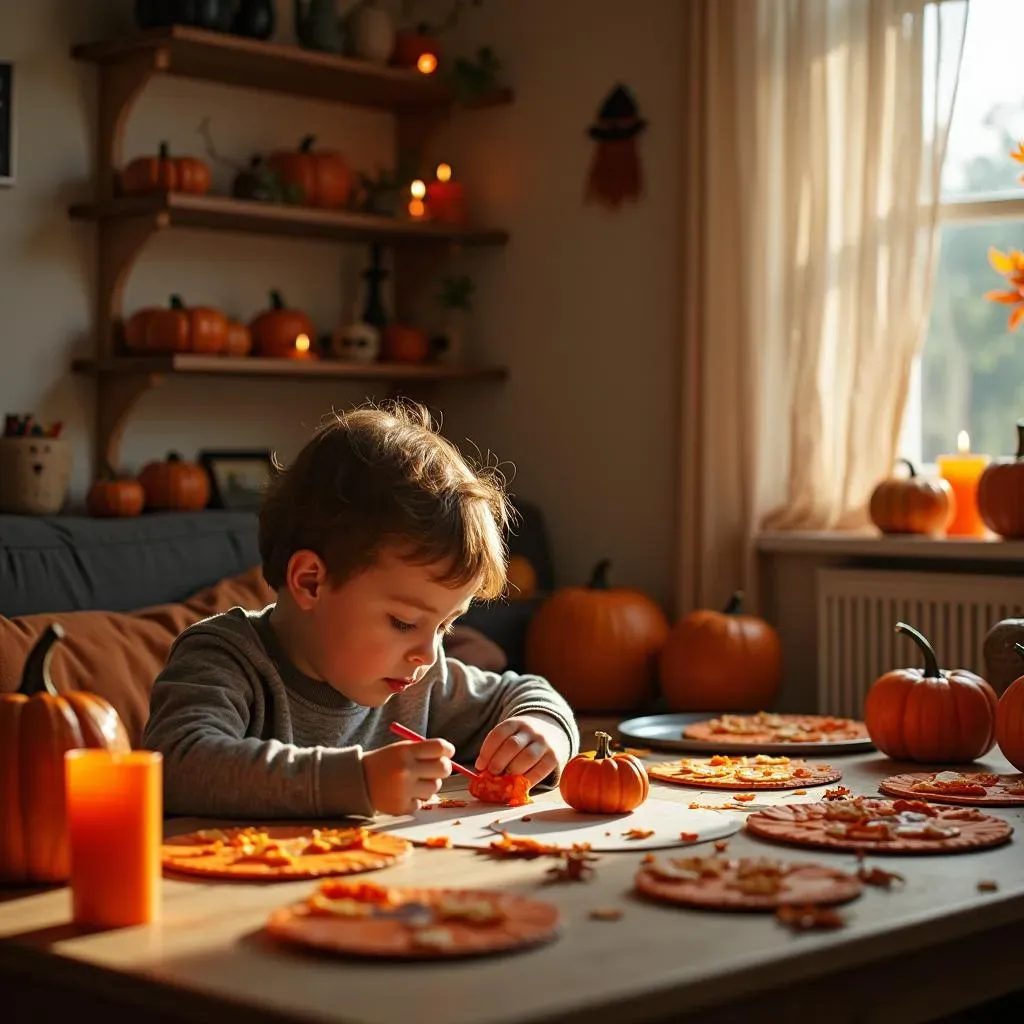
Pumpkin Clay Keepsakes
Alright, let's move on to something a little more hands-on, literally! We're going to make pumpkin clay keepsakes. Grab some air-dry clay, the kind that doesn't need to be baked. Roll it out into a flat-ish shape, and then let your toddler use cookie cutters to make pumpkin shapes. If you don't have cookie cutters, no biggie, just let them squish and shape the clay with their hands. The goal here is to get them using their hands in a different way, developing those fine motor skills. It's also a good sensory activity, feeling the cool, squishy clay between their fingers. My youngest thought it was hilarious to try and eat it. Don't let them do that!
Once the pumpkins are shaped, let them add little details with small tools like a toothpick to make faces or lines. You can also press in things like beads or small buttons for extra texture. After the clay dries, you can paint them with bright orange paint and add a green stem. These little pumpkins are not only cute decorations but also a great way to capture their early creativity. This activity is fantastic because it combines sensory exploration with fine motor skill development and a dash of creativity. Plus, you’ll have some cute keepsakes to look back on in the future.
Spooky Paper Plate Masks
Now, let's get into some role-playing with spooky paper plate masks! This is where creativity really takes flight. Grab some more paper plates and cut out eye holes for your toddler. Then, let them go wild with markers, crayons, or paint. They can create monster faces, silly ghosts, or even a friendly witch. The point is to let them design their own mask. This activity is fantastic for boosting their imagination and artistic expression. I remember my daughter making a mask with huge, goofy teeth that was both hilarious and a little bit scary.
Once they're done with the design, attach some string or elastic to the sides so they can wear their masks. This adds a whole new dimension of fun, allowing them to run around pretending to be their spooky characters. It’s also great for developing their understanding of shapes and how they can be transformed into different objects. Plus, they get to practice putting on and taking off the mask, which is good for their coordination. This craft combines art, imagination, and play, making it a real win for toddlers. It’s all about letting them see their creations come to life.
Craft | Skills Developed | Why It's Great |
|---|---|---|
Pumpkin Clay Keepsakes | Fine motor skills, sensory exploration | Hands-on, creative, lasting keepsake |
Spooky Paper Plate Masks | Imagination, artistic expression, shape recognition | Encourages role-playing, fun to make and wear |
Festive Decor: Making Halloween Magic with ToddlerMade Crafts
Festive Decor: Making Halloween Magic with ToddlerMade Crafts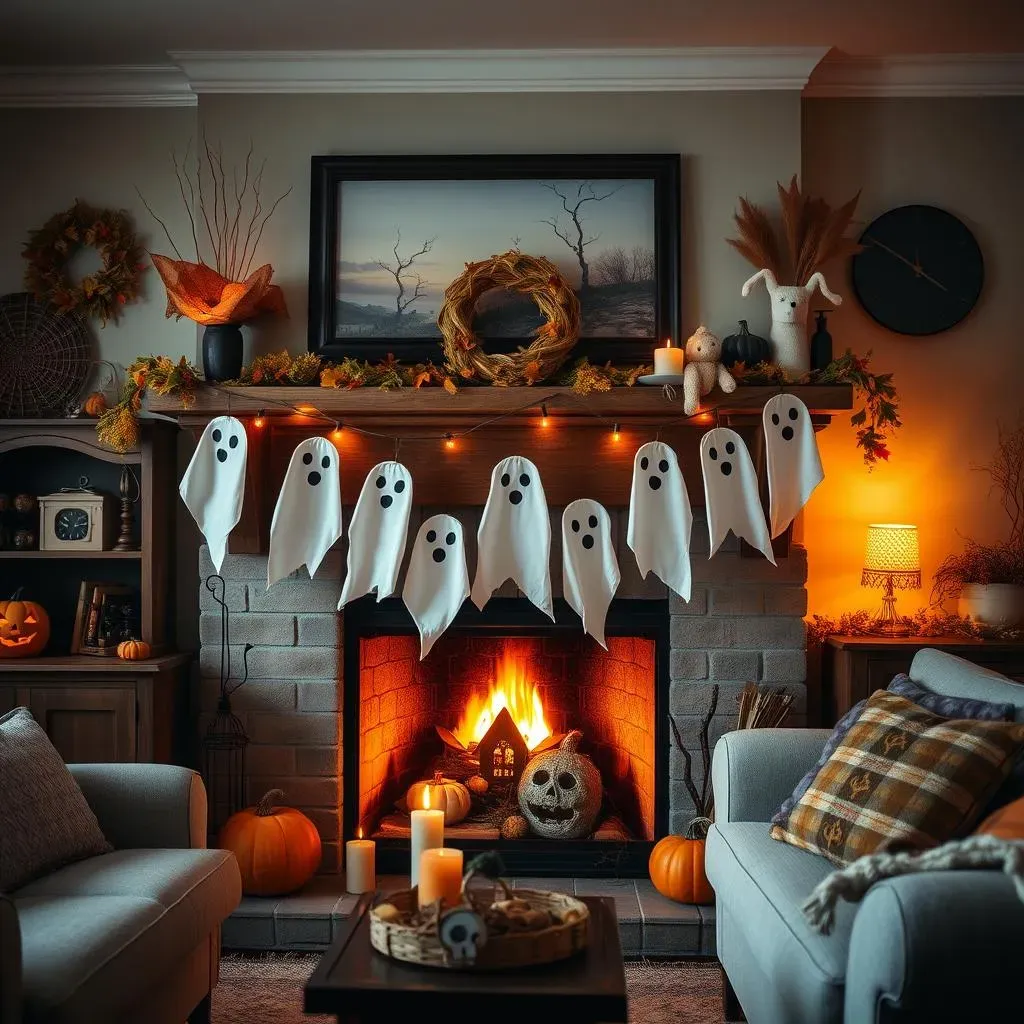
Ghostly Garland
Okay, so we've made some awesome crafts, now let's turn them into decorations! First up, a ghostly garland. Remember those cute monster handprints we made? Well, let's cut those out (once they’re dry, of course) and turn them into friendly ghosts. Grab some white paper – or even better, use those leftover paper plates – and let your toddler draw some simple ghost shapes. They don’t have to be perfect, a little bit wonky is part of the charm! Then, let them add some googly eyes to give their ghosts some character. Once you’ve got a bunch of ghosts and those handprint monsters, string them up with some yarn or string. It's super easy, and it instantly adds a spooky-cute touch to any room. I hung one of these up in my living room last year, and it was a huge hit – especially with the little ones!
This activity is great because it involves using their own creations to make something new. It helps toddlers understand how their art can be used to decorate and make things festive. Plus, it’s a fantastic way to showcase their work and make them feel proud. You can even add some small paper bats or spiders to the garland to make it a little more Halloween-y. The key here is to let your toddler take the lead in creating their garland, making it as unique and fun as they are. It's a simple way to transform their art into a festive decoration.
Spooky Window Clings
Next, let’s decorate the windows with some spooky window clings! This is a super fun and easy way to get your toddler involved in decorating. You’ll need some clear contact paper and some tissue paper in various Halloween colors like orange, black, purple and green. Let your toddler tear or cut the tissue paper into small pieces (cutting with toddler scissors is also a good fine motor activity). Then, peel off the backing of the contact paper and stick it to the window, sticky side out. Let your little one go wild sticking the tissue paper pieces onto the contact paper. Once you are happy with the design, stick another piece of contact paper over the top to seal it all in. These colorful window clings will catch the light and add a festive touch to your home. I did this with my niece, and she was mesmerized by the colors and how they looked on the window!
This activity is fantastic for sensory exploration, allowing your toddler to experience different textures and colors. It also encourages creativity and helps them understand how to create something that sticks. You can make all sorts of shapes, from simple squares to pumpkins, bats and ghosts. This is a great way to add some festive color to your home while letting your toddler get involved in a creative and simple way. These window clings are not only easy to make, but they also look fantastic, making them a perfect addition to your Halloween decorations.
Decoration | Materials | Why It's Great |
|---|---|---|
Ghostly Garland | Monster handprints, paper, yarn, googly eyes | Uses their art, festive, easy to make |
Spooky Window Clings | Contact paper, tissue paper, scissors (optional) | Sensory, creative, adds color |
Festive Table Centerpieces
Finally, let's create some festive table centerpieces. Remember those adorable pumpkin clay keepsakes? They’re perfect for this! Arrange them on a small tray or plate and surround them with some colorful fall leaves, small gourds, or even some Halloween candy (if you're feeling generous!). You can also add some battery-operated tea lights for a soft glow. This is a simple way to make your table look festive and inviting. My kids loved helping me set up the table with their creations, and it made our Halloween dinner extra special. This is a great way to include their art in your home decor and make them feel part of the celebration.