Table of Contents
Looking for a heartfelt and handmade gift for Mother's Day? Forget store-bought cards this year! Let's make a beautiful flower bouquet craft that's as unique as your mom. This isn't just any craft; it's a way for kids to show their love and creativity with a personalized touch. This "mother's day bouquet craft for kids" is perfect for little hands, whether they're in preschool, kindergarten, or even a bit older. We'll use a free printable template to make it super easy and fun. Inside, you will find out how to gather your supplies, follow step-by-step instructions to create your bouquet, and I will give you some extra creative ideas to make it extra special. So, grab your crayons, scissors, and glue, and let's get crafting! Prepare to make a Mother's Day gift that she’ll treasure forever; it's time to make some memories and a gorgeous bouquet.
Getting Started: Gathering Your Supplies for the Mother's Day Bouquet Craft
Getting Started: Gathering Your Supplies for the Mother's Day Bouquet Craft
The Essential Toolkit
Alright, let's get our craft station ready! Before we even think about those pretty flowers, we need to gather our trusty tools. Think of it like prepping for a super important mission – we need all the right gadgets. First up, you'll need the free printable template, which you can find on our website. It has all the flower shapes, stems, and leaves we need, ready to be brought to life. Don't forget some good old-fashioned paper; plain white is perfect, but cardstock works great for a sturdier bouquet. Then, grab your favorite coloring tools, whether it's crayons, colored pencils, or markers; whatever you like best!
Next on our list is a pair of scissors – make sure they're kid-friendly, and maybe have a grown-up nearby for some help if needed. We'll also need some tape or glue to stick everything together, and if you're feeling fancy, you can add some extra decorations. Glitter is always a hit, or maybe some stickers, or even some cute buttons. Remember, the goal is to make it personal and special for Mom. Think of it as your own little art studio, and these are the magic wands you will use to create something amazing.
Supply Checklist
- Free printable flower template
- White paper or cardstock
- Crayons, colored pencils, or markers
- Kid-friendly scissors
- Tape or glue
- Optional: Glitter, stickers, buttons
Picking Your Colors
Choosing colors is like picking your favorite candy, but instead of tasting them, we're going to use them to make a beautiful bouquet. This is the fun part where you get to let your personality shine. Do you know what your mom's favorite colors are? Maybe she adores sunshine yellow or a calming blue, or perhaps she has a soft spot for pink and purple. If you're not sure, don't worry! You can always use your own favorites. Remember, there are no wrong choices when you're making art.
Think about the feeling you want to create. Bright and bold colors can make the bouquet feel cheerful and energetic, while softer, pastel shades can give it a gentle and calming vibe. Don't be afraid to mix things up and try different combinations. Maybe you can make each flower a different color, or use a rainbow of shades to create a vibrant and happy bouquet. The most important thing is to have fun and make it something that you will be proud to give to your mom.
Color Inspiration
Color | Feeling | Perfect For |
|---|---|---|
Red | Love, Passion | Bold Statements |
Pink | Sweet, Gentle | Soft Touches |
Yellow | Joy, Happiness | Brightening Things Up |
Blue | Calm, Peaceful | Relaxing Vibes |
Purple | Creative, Unique | Adding a Special Touch |
StepbyStep Guide: Creating Your Personalized Mother's Day Bouquet
StepbyStep Guide: Creating Your Personalized Mother's Day Bouquet
Coloring Your Flowers
Okay, so you've got your template printed and your colors ready to go, now it's time for the fun part: coloring! Think of this as the heart of your bouquet, where you get to make each flower your own. Take your crayons, markers, or colored pencils, and start bringing those flowers to life. Don't worry about staying inside the lines if you don't want to; it's your art, after all! Maybe you want to make a rainbow flower, or a flower with polka dots, or even a flower with stripes. It's totally up to you. Let your imagination run wild and have fun with it!
As you're coloring, think about your mom and what she likes. Does she love bright, bold colors or softer, pastel shades? Maybe she has a favorite flower that you can try to recreate. You can also use different colors to express different feelings. For example, red might mean love, while yellow might mean joy. It's a great way to add a personal touch to your bouquet. Remember that each flower is like a little canvas, and you can make it as unique and special as you want.
Cutting Out the Pieces
Alright, you've colored your flowers beautifully, and now it’s time to cut them out. This is where those kid-friendly scissors come in handy. Take your time and carefully cut along the lines of each flower, stem, and leaf. Remember, it doesn’t have to be perfect; a little wobbly is okay. It's all part of the handmade charm. If you're having a tough time with the scissors, ask a grown-up for a little help. It's always good to have a helping hand when you need it.
Once you have all your pieces cut out, lay them out on a table and admire your work. You've transformed simple paper into colorful, unique flowers and leaves. This is a great time to get a sneak peek at how your bouquet will look. It’s also the moment where you can start to imagine how everything will come together. Are you happy with the colors? Do you like the shapes? If you want to make any changes, now is the perfect time!
Step | Action | Tips |
|---|---|---|
1 | Color the flowers | Use your favorite colors, no lines needed! |
2 | Cut out the shapes | Go slowly, ask for help if needed |
3 | Arrange the layout | Get a sneak peek how it will look like |
Assembling Your Bouquet
Now that you have all your pieces ready, it's time to put them all together and create your beautiful bouquet. Start by arranging the flowers in a way that you like. Maybe you want to put the biggest flowers in the middle or mix up the colors. Once you're happy with the arrangement, it's time to start sticking them down. Use either tape or glue to attach the stems to the back of the flowers and then to the main stem. Don't worry about making it too perfect; just make sure they're secure.
As you're assembling the bouquet, think about how special it will be for your mom. Each flower is a little piece of your love and creativity. You can add the leaves around the flowers to make the bouquet look even more full and beautiful. If you want, you can also add some extra decorations like glitter, stickers, or small buttons to make it extra special. This is the moment where your bouquet comes to life, and you can feel proud of the beautiful gift that you've created just for your mom. Remember, it’s the thought and effort that counts the most.
Creative Twists: More Ideas for Your Mother's Day Bouquet Craft
Creative Twists: More Ideas for Your Mother's Day Bouquet Craft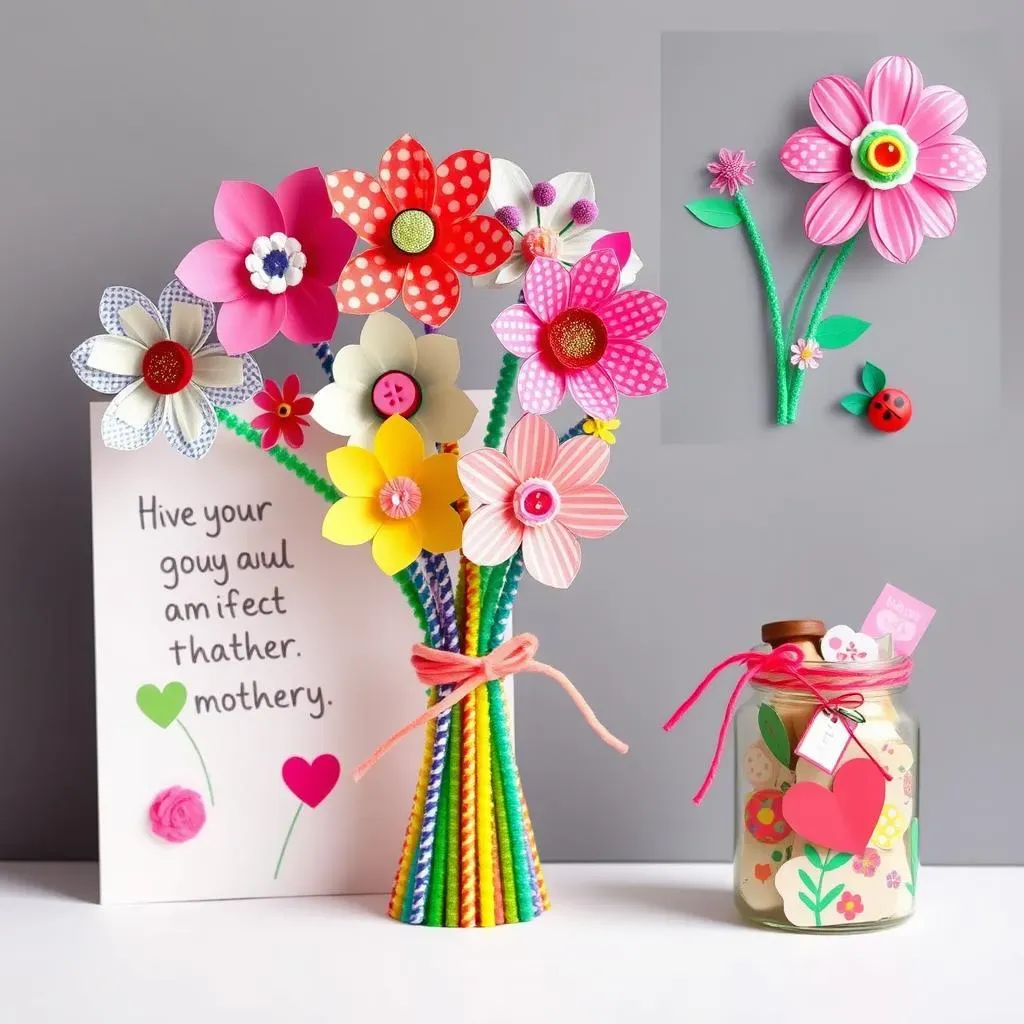
Adding Personal Touches
Alright, so you've got the basic bouquet down, but what if we want to make it *extra* special? Let’s brainstorm some cool ways to add your own unique flair. Instead of just using plain colors, how about adding some patterns to your flowers? Think polka dots, stripes, or even little hearts. You could also use different materials, like glitter glue or pieces of colorful tissue paper, to give your flowers some texture. Another fun idea is to add small photos of you and your mom to the center of the flowers. That way, it's not just a bouquet, but a collection of memories. Remember, it’s all about making it personal and from the heart.
And what about the stems? You don't have to stick with just green paper. You could use pipe cleaners for a bendable stem or wrap the paper stems with colorful yarn for added texture. Maybe you can even add some small, hand-drawn details on the leaves, like tiny ladybugs or flowers. Don't be afraid to experiment and try different things. This is your chance to be creative and show your mom just how much you care. Think about what makes your mom special and try to incorporate that into the bouquet. It's all these little touches that will make it a truly one-of-a-kind gift that she will love.
Idea | Description | Why it's cool |
|---|---|---|
Patterns | Add polka dots, stripes, or hearts | Makes it visually interesting |
Texture | Use glitter glue or tissue paper | Adds a tactile element |
Photos | Include small pictures of you and mom | Personal and memorable |
Unique Stems | Use pipe cleaners or yarn | Adds dimension and color |
Making it a Card and a Gift
Let’s face it, a card is great, but a card that is also a bouquet? Genius! Why not turn your flower bouquet into a card? You can do this by gluing your bouquet onto a folded piece of cardstock. Then, you have a beautiful space to write a heartfelt message to your mom. You can write about your favorite memories together, things that you love about her, or just a simple message of love and appreciation. You can even add some drawings or doodles to make it even more personal. This way, it's not just a gift; it's a card and a gift all in one!
Another idea is to make your bouquet a part of a bigger gift. You could present it in a decorated jar or vase, or you could attach it to a small gift bag filled with your mom’s favorite treats. You could also use it to decorate a breakfast tray for a special Mother’s Day breakfast. The possibilities are endless. Think about how you can incorporate your bouquet into a memorable experience for your mom. It’s the little details that make a big difference, and this is your chance to show her how much thought and care you put into her special day. Remember, it's all about making her feel loved and appreciated.
- Glue the bouquet to cardstock to make a card.
- Write a heartfelt message on the card.
- Present the bouquet in a decorated jar or vase.
- Attach the bouquet to a gift bag with treats.
- Use the bouquet to decorate a breakfast tray.