Table of Contents
Okay, let's be real. Trying to do anything crafty with a 2 or 3 year old can feel like herding cats, right? But, Mother's Day is coming, and we all want to make something sweet (and hopefully not too messy) for the amazing moms in our lives. So, if you're looking for some genuinely doable, utterly adorable mothers day crafts for 2-3 year olds, you've landed in the right spot. Forget the Pinterest-perfect projects that require a PhD in glitter application. This is about embracing the chaos and creating keepsakes that are as unique as your little one. We'll be exploring simple crafts that tiny hands can actually manage, think lots of handprints, footprints, and maybe a little bit of paint smearing (it's inevitable!). I'll share tips to keep things fun (and relatively clean), plus some ideas for turning those adorable creations into gifts that mom will treasure. This isn't about perfection; it's about capturing a moment in time and making some sweet memories together. Let's get crafting!
Why Simple Crafts are Perfect for 23 Year Olds
Why Simple Crafts are Perfect for 23 Year Olds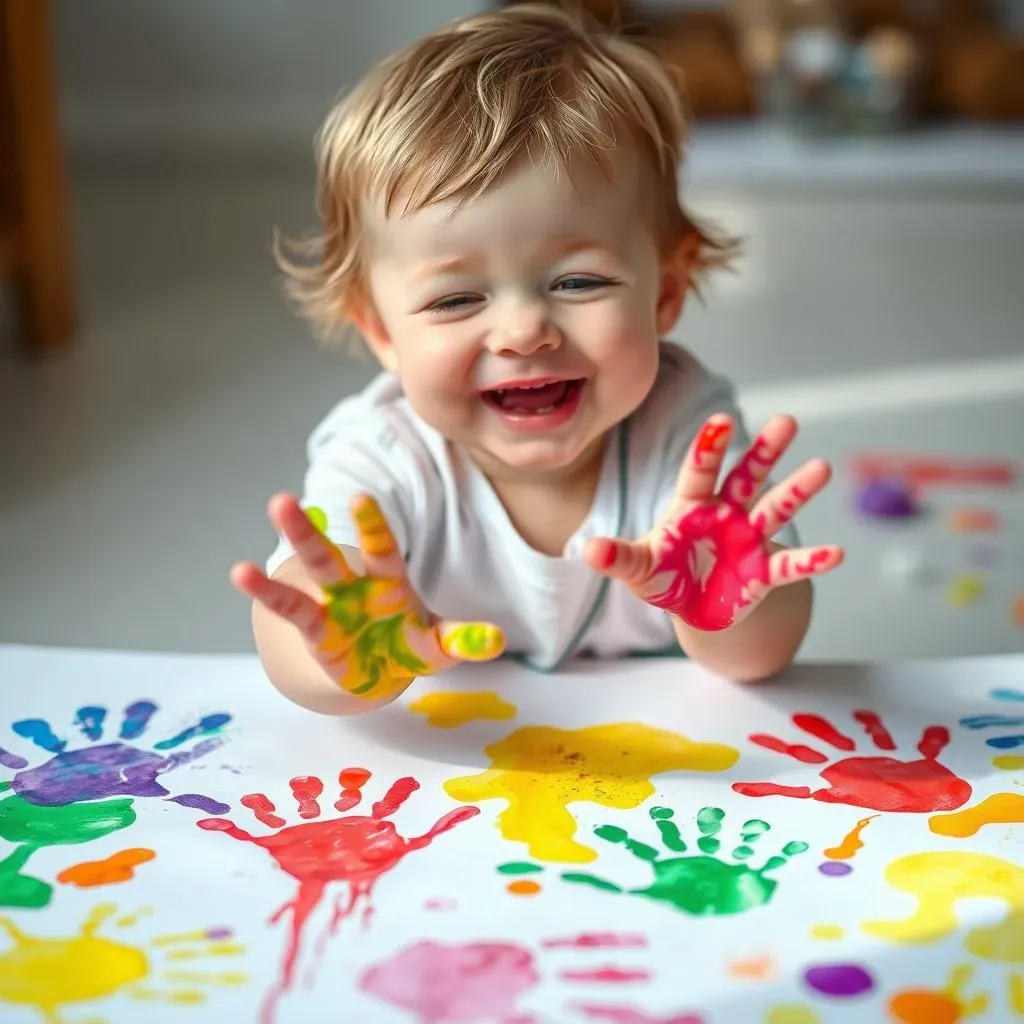
Okay, so why are we even talking about simple crafts for the 2-3 year old crowd? Well, let's face it, their attention spans are shorter than a goldfish's memory. Trying to get them to focus on anything too complicated is just asking for trouble. Simple crafts are perfect because they match their developmental stage. We're talking big, easy movements, not intricate detailing. Think chunky crayons, not fine-tipped markers. It's about the process, not the perfect product. And honestly, that's the beauty of it. Plus, they get to explore different textures and colors, which is a big win for their little brains. It’s really about fun, exploration, and creating something (even if it’s a little abstract) with their own hands. Let’s be real, a toddler's masterpiece might look like a colorful explosion, but it's a masterpiece nonetheless.
When you’re doing crafts with this age group, you’re not just making something; you're building skills. Simple actions like sticking things onto paper or swirling paint help improve their fine motor skills, which are super important for learning to write later on. It also helps them learn about cause and effect – "If I dip my hand in paint, I leave a handprint!" It might seem like just a bit of fun, but it’s actually a lot of learning disguised as play. And the best part? There's absolutely no pressure to create a perfect result, which makes it a positive and enjoyable experience for everyone involved. If you ask me, that's the best kind of crafting there is.
Benefit | Why it Matters |
|---|---|
Short Attention Spans | Simple crafts keep them engaged without frustration. |
Gross Motor Skills | Big movements like painting and sticking are perfect for their development. |
Fine Motor Skills | Actions like grasping and sticking improve hand dexterity. |
Cause and Effect | They learn what happens when they take an action. |
Adorable Mother's Day Craft Ideas Using Little Hands and Feet
Adorable Mother's Day Craft Ideas Using Little Hands and Feet
Handprint Flowers: A Blooming Masterpiece
Okay, let's talk about handprint flowers because they're seriously the cutest. Imagine a bouquet that never wilts, made entirely from your little one's handprints! You can do this super easily with some paint and paper. Just slather some paint on their hands (or, let's be honest, maybe you do the slathering while they wiggle), and then press those little mitts onto a piece of paper to make flower petals. Add some stems and leaves with a marker, and boom, you've got a flower that's uniquely theirs. You can even get creative with different colors for each flower, making it a vibrant and personalized gift. It’s such a simple concept but the result is just so darn precious. I promise, this one is always a winner.
For a little extra flair, try using different shades of green for the stems and leaves. Or, let your toddler chose the colors for the petals, it's all about letting their creativity shine. You can also do this on a canvas for a more lasting keepsake. We did this with my twins and turned them into wall art for Grandma's house. The best part? It's a reminder of how tiny their hands once were. Trust me, these handprint flowers are not just a craft; they're a memory in paint.
Materials | Tips |
|---|---|
Washable paint | Use non-toxic paint. |
Paper or Canvas | Cardstock works best for durability. |
Markers | For stems and details. |
Footprint Butterflies: Fluttering with Love
Next up, let's get those tiny feet involved! Footprint butterflies are another adorable and super easy craft. You simply paint the bottom of their little feet and then press them onto paper to make the wings of the butterfly. The best part? You can have them do one foot at a time, overlapping them slightly to create the butterfly shape. Then, you can add the body and antennae with a marker. These little butterflies are not just cute, they're also a fun way to see how much your little one has grown. Every time you look at it, you’ll be reminded of those tiny toes!
I remember the first time we tried this, my little one thought it was hilarious to have paint on his feet. It turned into a bit of a tickle fest, but we got some adorable butterflies out of it! You can also use different colors for each foot to make it a rainbow butterfly. And, if you’re feeling extra fancy, you can add some glitter for a bit of sparkle. These footprint butterflies make a great card or a sweet addition to any Mother’s Day gift. They're a perfect way to show how much love is packed into those little feet.
- Use a damp cloth for quick paint clean up.
- Try using a sponge to apply the paint on the feet.
- Add googly eyes to the butterfly for extra fun.
Thumbprint Hearts: Little Prints, Big Love
And finally, let’s talk about thumbprint hearts. These are so simple, even the littlest crafters can participate. You just need some paint and paper, and your little one can press their thumb onto the paper to make little hearts. You can make a whole bunch of them to create a heart-filled picture, or you can arrange them in the shape of a bigger heart. It's such a sweet and simple way to show love. And, let's be honest, it's pretty darn cute to see those tiny thumbprints turned into something special.
I like to do this on a card, making it a super personal and heartfelt Mother's Day greeting. You can also use different colors to make a rainbow of thumbprint hearts. I find that this craft is the least messy, so it's perfect for those days when you’re not feeling up for a huge clean-up. Plus, it's a great way to get the older siblings involved too. They can help guide the little one's thumb and add their own prints to the mix. It's all about making something together, and that's what makes these crafts so special.
Making Mother's Day Memories: Tips for Crafting with Toddlers
Making Mother's Day Memories: Tips for Crafting with Toddlers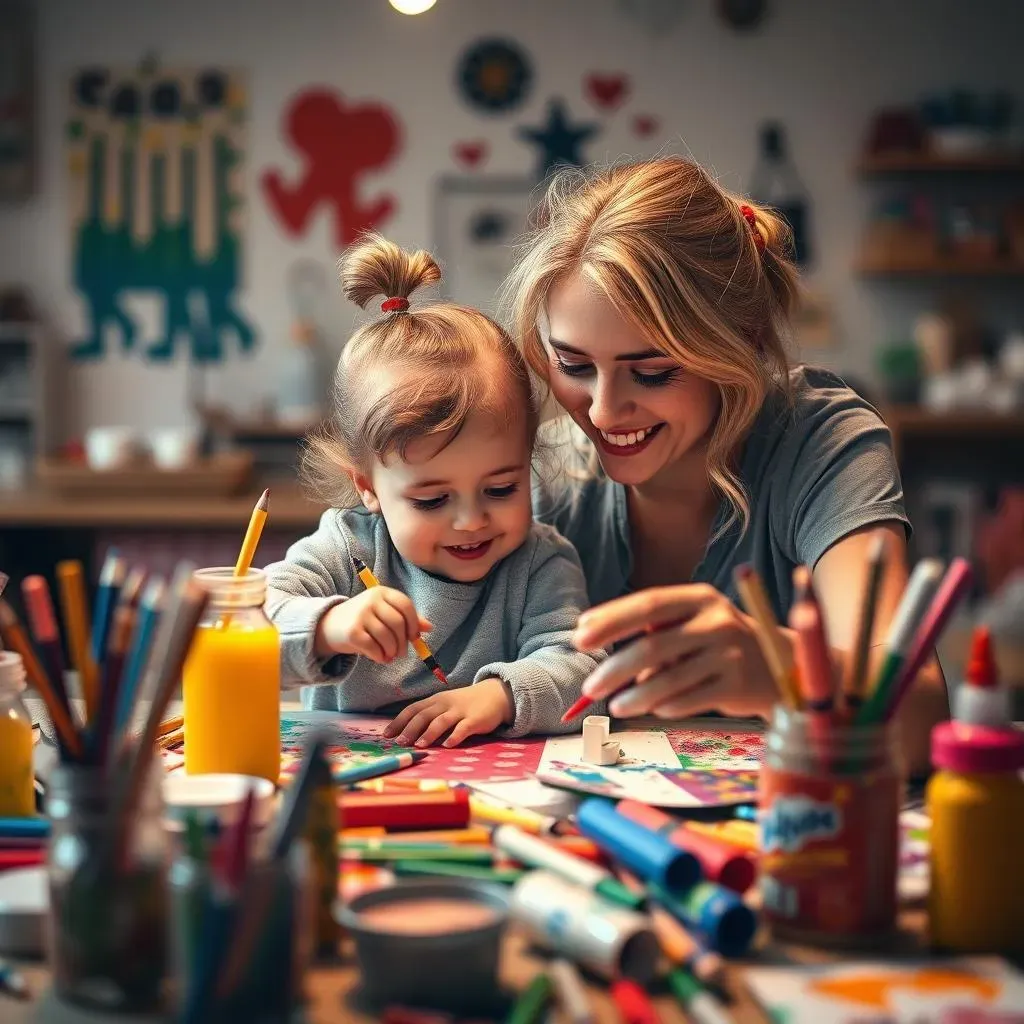
Alright, let's talk strategy because crafting with toddlers isn't always rainbows and unicorns. First off, embrace the mess! Seriously, it's going to happen. Wear old clothes, cover your surfaces, and just accept that paint might end up in places you didn't expect. Think of it as part of the artistic process, you know? And, speaking of mess, keep things simple. The more steps involved, the more likely your little one is to lose interest (or start eating the paint). Have all your materials ready before you even get started. That way, you’re not scrambling for the glue while your toddler is trying to turn the paint into a body lotion. Preparation is your best friend, trust me on this one.
Another key thing? Keep your expectations realistic. Your 2-year-old probably isn’t going to create a gallery-worthy masterpiece, and that's totally okay. It's about them exploring, having fun, and making something with their own hands. Don’t try to force them to do something they’re not into. If they just want to smear paint on the paper, let them smear! It’s all about the experience, not the end result. Also, involve them in the process as much as possible. Let them pick the colors, let them do the painting (even if it's a bit messy), and let them stick things onto the paper. The more involved they are, the more they’ll enjoy it. Remember, it's all about making memories, not perfect crafts.
Tip | Why it Matters |
|---|---|
Embrace the Mess | Reduces stress and allows for more fun. |
Keep it Simple | Maintains their interest and avoids frustration. |
Realistic Expectations | Focuses on the process, not perfection. |
Involve Them | Makes it more engaging and enjoyable for them. |
Now, let’s talk about timing. Don’t try to craft when your toddler is tired or hungry. It’s a recipe for disaster. Pick a time when they’re well-rested and in a good mood. And keep the crafting sessions short. You don’t want to push them past their limit. 15-20 minutes is usually plenty for this age group. If you try to go longer, you might end up with a grumpy toddler and a half-finished craft. Also, don't feel like you have to do everything in one go. You can break the craft into smaller steps over a couple of days. This can help keep your toddler engaged and prevent burnout.
Finally, remember to celebrate their efforts! Even if the craft looks like a hot mess to you, make a big deal about it. Show them how proud you are of what they created. This helps build their confidence and makes them want to do it again. And, most importantly, enjoy the process! It's not just about creating a gift for Mother's Day; it's about spending quality time with your little one and making some sweet memories together. These are the moments that you will cherish, and that’s what makes it all worthwhile. As they say, "The best crafts are made with love and a little bit of chaos."
- Craft during their "happy time".
- Keep the session short and sweet.
- Break down crafts into smaller steps.
- Praise and celebrate their effort.