Table of Contents
Looking for the perfect way to celebrate the amazing moms in your life? Forget store-bought cards; this year, let's get those little hands involved! We're diving into the world of "mothers day crafts for preschoolers handprints," where tiny hands become adorable works of art. This isn't just about making something; it's about capturing a moment in time, a sweet memory that moms will cherish forever. Think colorful, creative, and oh-so-personal. We'll explore why handprint crafts are a fantastic choice for this special occasion, and we will walk you through some simple yet stunning projects. From charming handprint flower bouquets to mixed-media masterpieces, there's something here for every little artist. We’ll also share some tips to make crafting with preschoolers a joyful, mess-embracing experience. Let’s get started and create some unforgettable Mother's Day magic together!
Why Handprint Crafts are Perfect for Mother's Day
Why Handprint Crafts are Perfect for Mother's Day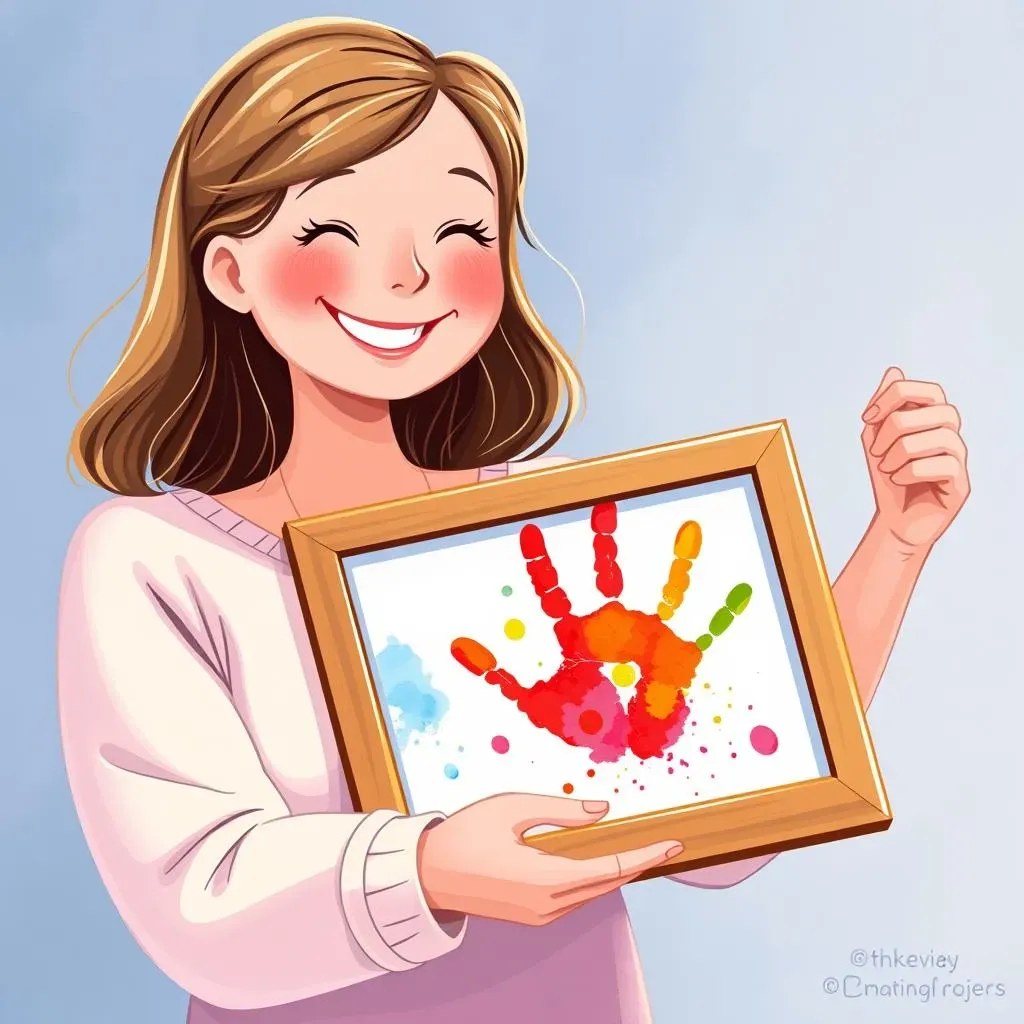
A Touch of Personalization
Let's be real, store-bought gifts are nice, but they don't have that *heart* you know? Handprint crafts? They're like a warm hug captured on paper. Each little hand is unique, and that's what makes it so special. It's a tiny imprint of your child's love and growth, a snapshot in time that moms can look back on and smile. It's more than just a craft; it's a personal, heartfelt message.
I remember when my nephew made a handprint card for my sister, she was over the moon. It wasn't about the perfect execution; it was about the effort and the love that went into it. You can't buy that kind of feeling. It really does shows that extra effort.
Easy and Fun for Little Ones
Preschoolers aren’t exactly known for their long attention spans, are they? That’s where handprint crafts shine. They're super simple, quick, and engaging. No complicated techniques or tools needed. Just a bit of paint, paper, and those adorable little hands. This makes it a win-win for everyone, the kids get to have fun getting messy, and the adults will get a adorable gift. It’s a crafting activity that keeps them entertained and allows them to express their creativity without frustration.
Plus, let’s be honest, who doesn’t love a little bit of controlled mess? It’s all part of the fun, right? Embrace the chaos, and you'll have a great time creating something special.
Benefit | Why it Matters |
|---|---|
Personal Touch | Creates a unique, heartfelt gift. |
Simplicity | Easy for preschoolers to participate. |
Engaging | Keeps kids entertained and creative. |
Memory | Captures a moment in time. |
A Lasting Keepsake
Think about it, a handprint is more than just a cute design. It's a memory captured. It’s a tiny piece of your child’s history. Moms can look back at these crafts years later and remember those tiny hands, the way their kids giggled while getting paint all over themselves, and the sweet, messy love that went into each piece. These aren't just crafts; they're time capsules of precious moments. They're the type of gift that keeps on giving.
I still have a handprint ornament my daughter made when she was in preschool, it’s one of my most prized possessions. Every year when I put it on the tree, it brings back a flood of wonderful memories. It's the perfect example of how a simple craft can become a cherished keepsake.
Simple Handprint Flower Bouquet for Mother's Day
Simple Handprint Flower Bouquet for Mother's Day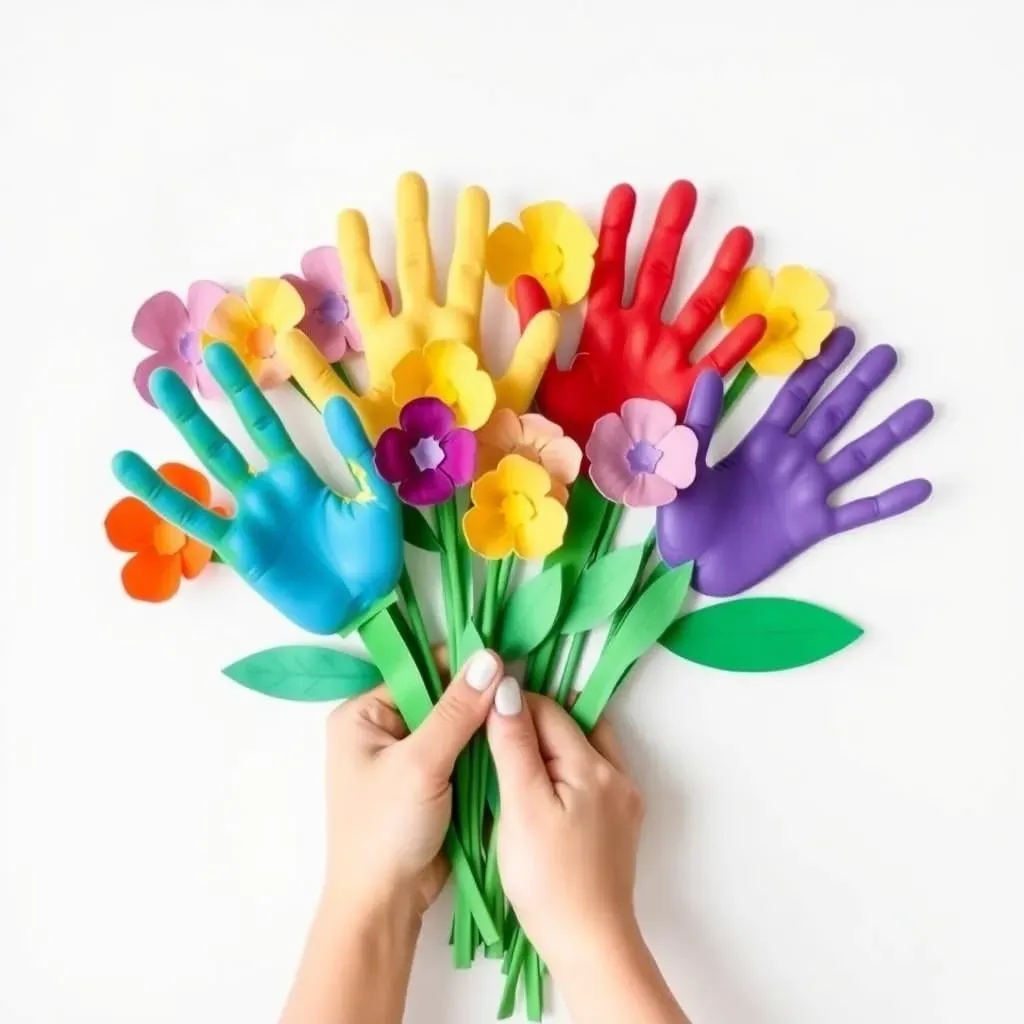
Gather Your Supplies
Alright, let's talk about making a super cute handprint flower bouquet! First things first, you'll need to gather your supplies. Think colorful construction paper – greens for stems and leaves, and any color your little one fancies for the flowers. Grab some non-toxic paint in various shades, a paintbrush, some scissors, and glue or tape. Oh, and don't forget a paper plate or something similar to put the paint on. This way, it’s easy for the little ones to use, and your table stays a little cleaner. If you have some googly eyes or glitter, those can add an extra touch of sparkle, because who doesn't love glitter?
I always like to have a wet wipe or a damp cloth nearby, because things can get messy quickly. And trust me, the last thing you want is a trail of paint all over your house, unless you do not mind it!. Having everything ready before you start is the key to a smoother crafting experience, especially when you are working with preschoolers. It makes it easier for the kids, and the adults too!
Creating the Handprint Flowers
Now for the fun part: creating the flowers! Just spread a thin layer of paint on the paper plate and help your preschooler press their hand firmly onto the paint. Then, gently press their painted hand onto the construction paper to create a handprint. Repeat this process with different colors to make a variety of flowers. Once the handprints are dry, cut them out. Don’t worry if the edges aren’t perfect; that's part of the charm! Think of each handprint as a unique petal in your bouquet.
My niece once insisted on mixing all the paint colors together. The result was a somewhat muddy but completely unique set of handprint flowers. The point is to have fun! Let your child’s creativity shine through, and don't worry too much about perfection. The memories created are what truly matter, not the perfectness of it.
Supply | Purpose |
|---|---|
Construction Paper | Base for flowers and stems. |
Non-Toxic Paint | To create the handprints. |
Scissors | To cut out the handprints. |
Glue or Tape | To assemble the bouquet. |
Assembling the Bouquet
Once you have your handprint flowers cut out, it's time to assemble the bouquet. Cut out some green strips of paper for the stems and a few leaf shapes. Arrange the handprint flowers and stems on a larger piece of paper or cardstock, and glue or tape everything in place. You can add a small ribbon or bow at the bottom for an extra touch. Feel free to get creative with the arrangement; there's no right or wrong way to do it.
I’ve seen some people use a small paper cup as a vase to hold the bouquet. It adds a really cute 3D element to the craft. Whether you keep it flat or make it stand up, the most important thing is that it is made with love. This simple handprint flower bouquet is a gift that any mom will adore, because it is personal and made with love.
Creative MixedMedia Handprint Art Projects
Creative MixedMedia Handprint Art Projects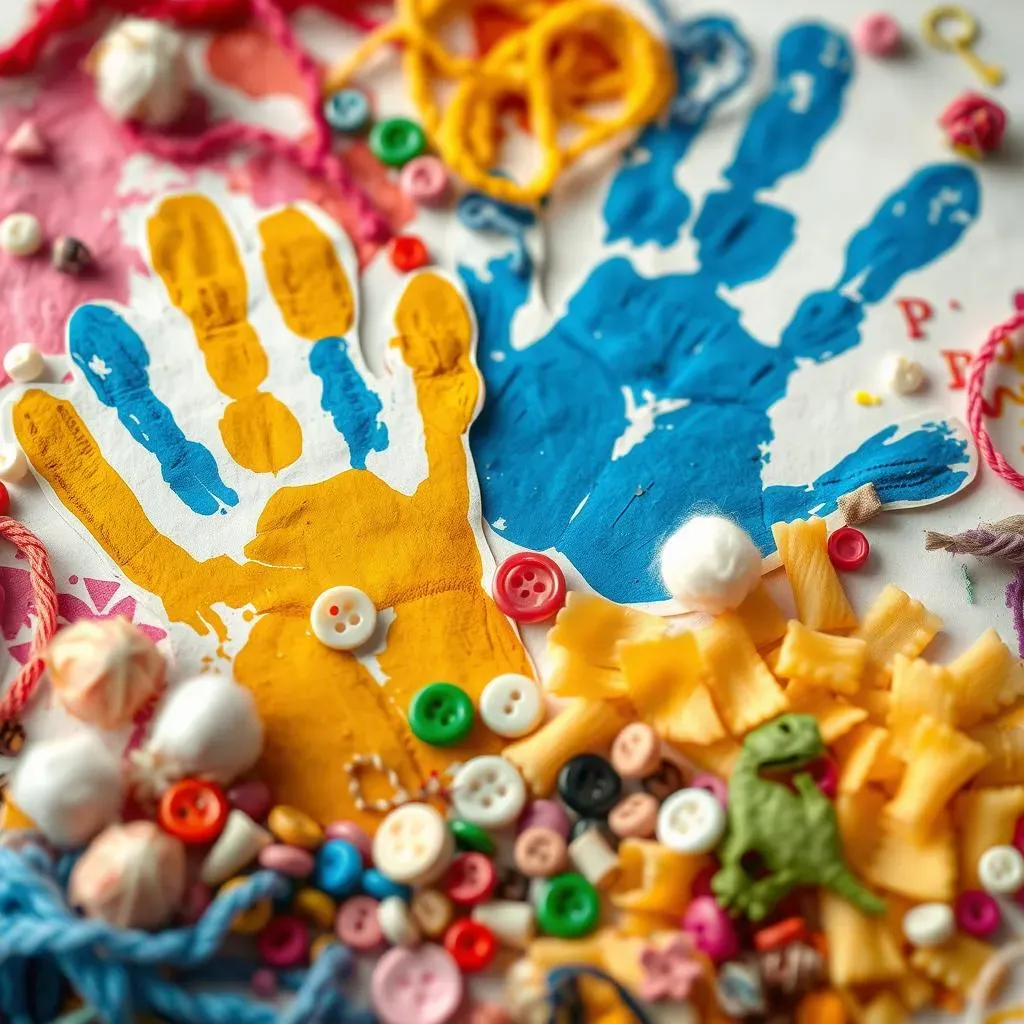
Adding Texture and Dimension
Okay, so you've mastered the basic handprint, right? Now, let's kick things up a notch with some mixed-media magic! I'm talking about adding texture and dimension to those adorable handprints. Think beyond just paint and paper. We can use things like cotton balls to create fluffy clouds, buttons for the center of flowers, or even pieces of yarn to make hair on a handprint portrait. The possibilities are endless, and this is where you can really let your creativity shine. It's like turning a simple craft into a miniature masterpiece with a variety of textures. You'll be surprised how much a little texture can change the whole feel of the artwork.
I remember one time, my son used sand to create a beach scene around his handprint. It was a bit messy, but the result was amazing, it was so unique, and it really added a tactile element to the artwork. It's those little unexpected details that make these crafts so special and memorable. It's those details that gives it the wow factor.
Exploring Different Materials
Let's get into the nitty-gritty of materials. Don't be afraid to experiment with different things you already have around the house. Scraps of fabric, pieces of ribbon, dried pasta, and even small pebbles can add an interesting touch to your handprint art. You could even use things like bubble wrap to create a unique textured background before adding the handprint. The goal here is to encourage kids to explore different textures, and what different materials can do. This not only makes the craft more engaging but also helps with sensory development. It’s a great way to make art more interactive and fun.
For example, I once saw a handprint butterfly made with glitter and sequins. It looked absolutely dazzling. The kids loved it because it was so sparkly and fun to make, and it was a big hit with the moms as well. It really elevates the whole handprint idea to a next level. So, get creative and see what kind of textures and materials you can incorporate into your project.
Material | Idea |
|---|---|
Cotton Balls | Clouds, sheep's wool. |
Buttons | Flower centers, eyes. |
Yarn | Hair, stems. |
Fabric Scraps | Clothing, patterns. |
Dried Pasta | Flower petals, borders. |
Creating a Handprint Scene
Why stop at just a single handprint? Let's create a whole scene! Imagine a handprint tree with leaves made of fingerprints, or a handprint family with each member uniquely decorated. This is where you can tie in a bit of storytelling as well. Think of a handprint fish in a sea of blue paint, with little drawn-on bubbles. Or maybe a handprint bird flying in a sky made of cotton balls. The key here is to let your imagination run wild and encourage your little ones to do the same. It’s about creating a whole new world with those little handprints as the main characters.
I remember one time my kids made a handprint garden scene for their grandma. They used their fingers to make little flowers and the whole picture came together so well, it was truly heart warming. It was more than just a craft; it was a little story they created for their grandma. This is why I love mixed-media crafts, they allow you to make something truly unique and memorable.
Tips for Making Mother's Day Handprint Crafts with Preschoolers
Tips for Making Mother's Day Handprint Crafts with Preschoolers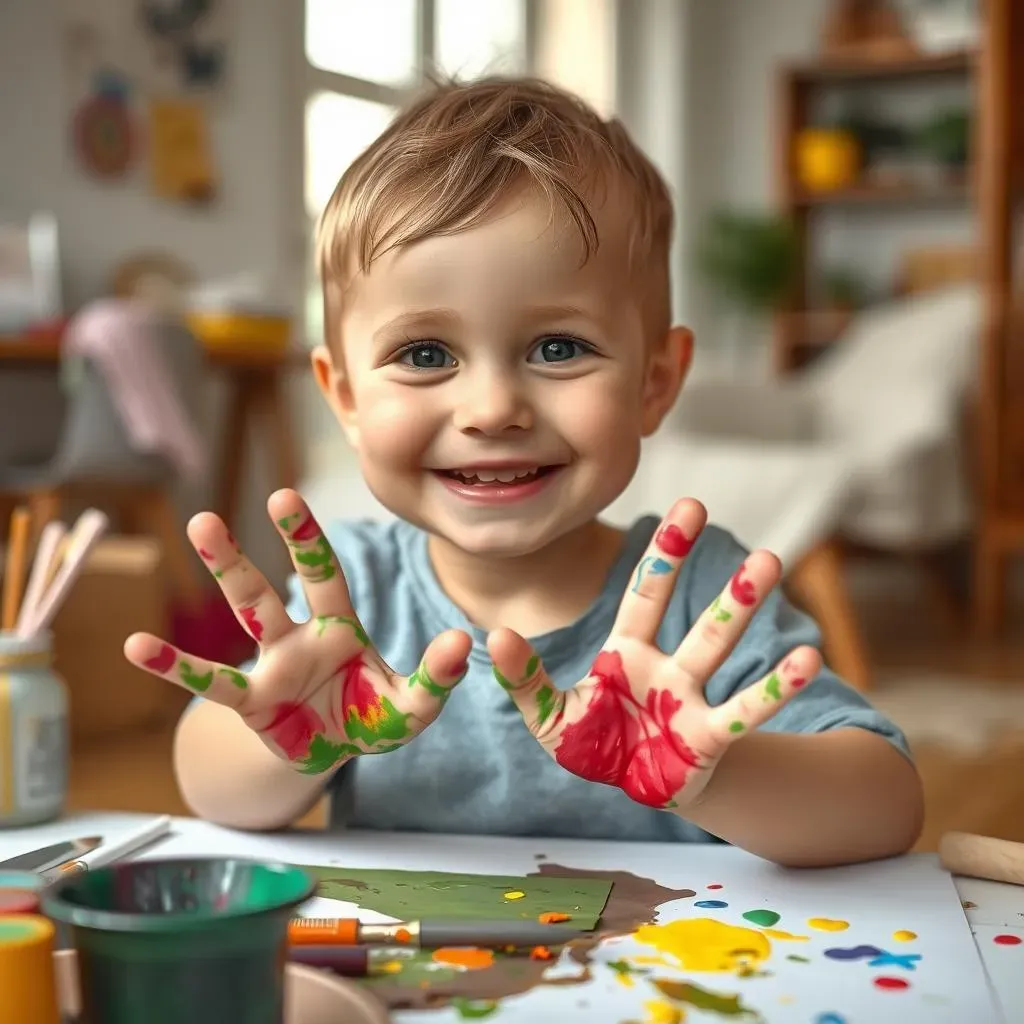
Alright, let's talk about the real deal – crafting with preschoolers. It's not always sunshine and rainbows, right? Sometimes it's more like paint splatters and giggles, and that's perfectly okay! The key to a successful crafting session is all in the preparation and the approach. First things first, choose a time when your little ones are well-rested and not too hungry. A hangry preschooler is not a happy crafter. Make sure you have everything set up beforehand, from the paint and paper to the wipes and the smocks. This way you will minimize the amount of chaos. I always lay down an old tablecloth or newspaper to catch any stray paint droplets, because I really do not want to clean paint off of the floor.
Also, remember to keep it simple. Preschoolers aren't known for their patience or their ability to follow complex instructions. The simpler the project, the more likely they are to stay engaged. And most important, embrace the mess! Let the kids explore and get their hands dirty. This is all part of the fun, and it’s a great way for them to express themselves. Don't worry about perfection; it’s the process that matters, and the memories you're creating along the way. It’s about having fun and making something from the heart, not about creating a flawless masterpiece.
Tip | Why It Helps |
|---|---|
Prepare Ahead | Minimizes chaos and keeps kids engaged. |
Keep it Simple | Prevents frustration and maintains interest. |
Embrace the Mess | Encourages creativity and exploration. |
Choose the Right Time | Ensures kids are rested and happy. |
Another important tip is to use non-toxic, washable paint. This is a must, especially when you're working with little ones who might decide to taste the paint (because let's be honest, it happens). Also, consider using a sponge or a wide paintbrush for applying the paint to their hands. This can make the process a little quicker and a bit less messy. And if you’re like me, you want to minimize the mess as much as possible! When it comes to the handprints themselves, don't expect perfection. Some kids might wiggle, some might smudge, and that’s perfectly fine. It's part of the charm! The goal is to capture their little handprints, not to create a flawless replica.
And if you have any concerns about the little ones being too messy, you can always try the technique where you paint the hand and press it on the paper, instead of having them dip their hands in paint. This is a good method if you want to keep them less messy. Remember, the point is to have fun, create memories, and make something special for the moms in your lives. So, relax, enjoy the process, and embrace the little imperfections, because they make the craft unique and special.