Table of Contents
Christmas is a time for joy, celebration, and sharing the message of hope. For children's church leaders, finding engaging and meaningful activities that reinforce this message can be a delightful challenge. This article is your guide to creating a memorable Christmas experience through simple, fun, and faith-filled crafts! We'll explore a range of simple Christmas crafts for children's church, perfect for all ages and skill levels. Get ready to unleash your creativity and inspire young hearts with hands-on projects that celebrate the true meaning of Christmas. Whether you're looking for adorable angel creations, festive nativity scenes, or easy-to-make ornaments, this guide offers step-by-step instructions and helpful tips to make your Christmas crafts a resounding success. Prepare to transform your children's church into a wonderland of creativity and faith, making this Christmas truly unforgettable. Each craft is designed not only to be fun but also to subtly weave in the story of Jesus' birth, reinforcing the central message of the season. Let's dive into a world of simple Christmas crafts for children's church and watch the magic unfold!
Simple Christmas Crafts for Children's Church: Easy Ornament Ideas
Simple Christmas Crafts for Children's Church: Easy Ornament Ideas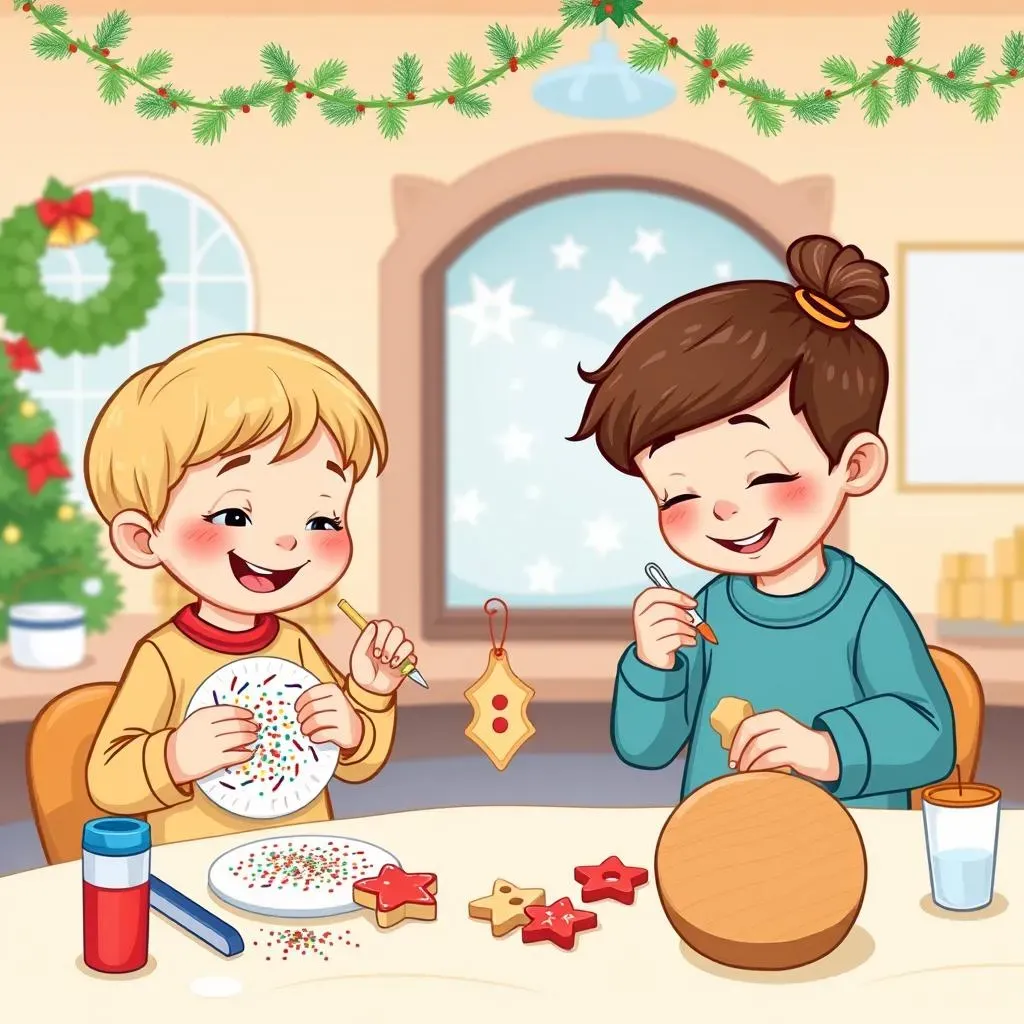
Paper Plate Ornaments: A Festive and Fun Approach
Let's start with a classic: paper plate ornaments! These are incredibly versatile and easy for little hands to manage. You can create anything from simple stars and snowflakes to more intricate designs like angels or even nativity scenes. The key is to keep it simple. Think bold colors, easy-to-trace shapes, and minimal cutting. Prepare the plates beforehand by cutting out the center, leaving a festive ring. You can then use glitter glue, markers, paint, or even construction paper scraps to add detail. Don't forget the hole punch for hanging!
To make it extra special, let the kids personalize their ornaments. Maybe they want to write a Christmas message, draw their favorite character, or add their name. This adds a personal touch and makes the craft even more meaningful. A great tip? Use sturdy paper plates; they hold up better to the decorating process and are less likely to tear. Consider providing different colored plates to let the kids choose their favorite.
Material | Quantity | Notes |
|---|---|---|
Paper Plates | 1 per child | Choose festive colors! |
Glitter Glue | 1 bottle | Various colors are fun! |
Markers/Crayons | Assorted | For adding details |
Hole Punch | 1 | For hanging |
Salt Dough Ornaments: A Classic with a Twist
Salt dough ornaments are another fantastic option. They’re incredibly easy to make, requiring just flour, salt, and water. Kids can help mix the dough, roll it out, and use cookie cutters to create festive shapes like stars, trees, or even reindeer. Once baked and cooled, the ornaments are ready for decorating. Think paint, glitter, sequins, or even tiny pom-poms. The possibilities are endless!
A fun twist on this classic is to let the kids imprint their own handprints or footprints onto the dough before baking. This creates a unique and memorable keepsake. Remember to bake the ornaments until they're completely dry and hard to prevent cracking. A thin coat of sealant after decorating will help preserve the ornaments and add a nice shine. Consider having different cookie cutters available, offering a variety of shapes for the kids to choose from.
- Mix 1 cup flour, ½ cup salt, and ½ cup water.
- Roll out the dough and use cookie cutters.
- Bake at 250°F (120°C) for 1-2 hours, or until completely dry.
- Decorate once cooled!
Fun and Festive Nativity Scene Crafts for Children's Church
Fun and Festive Nativity Scene Crafts for Children's Church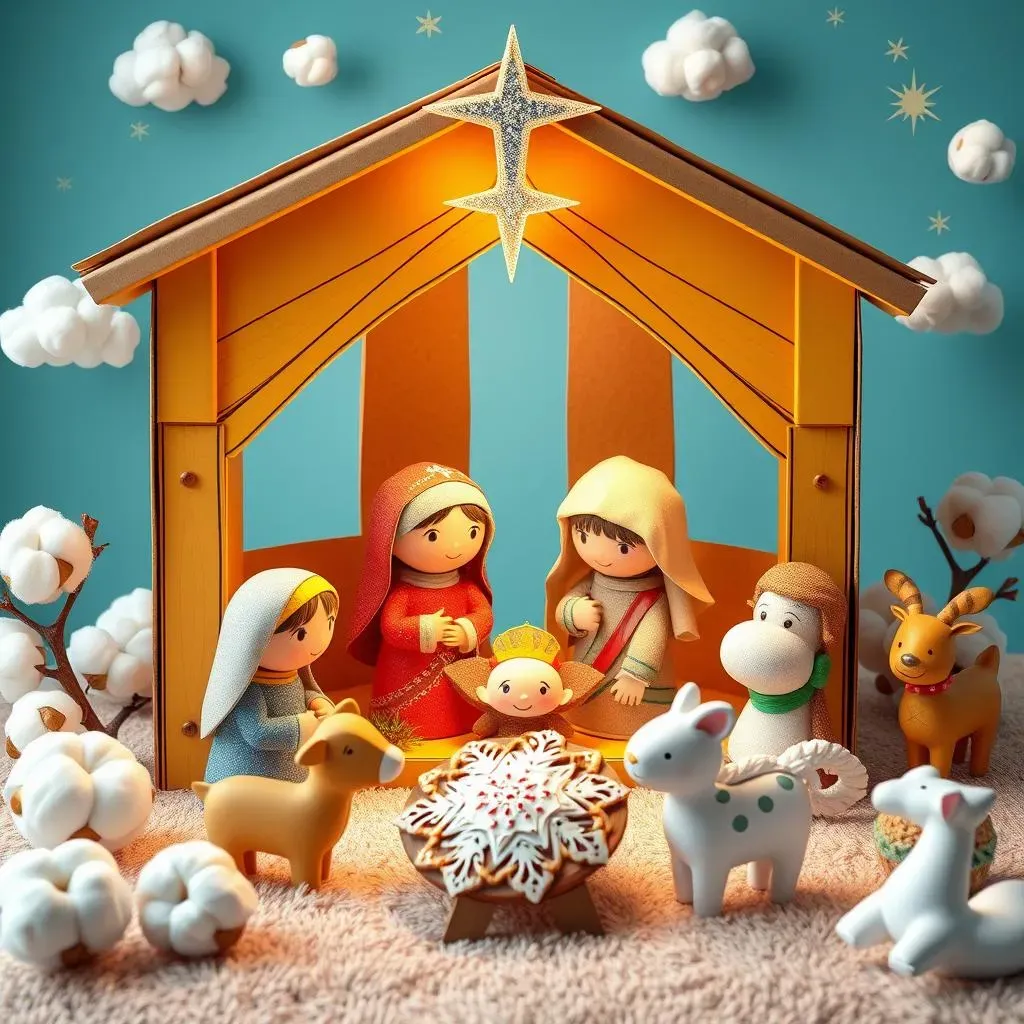
DIY Nativity Scene with Cardboard Boxes
Transform simple cardboard boxes into a charming nativity scene! This is a fantastically adaptable craft, allowing for different levels of complexity depending on the age of the children. Younger kids can focus on painting the boxes and adding simple details, while older children can tackle more intricate designs, perhaps even adding small figures made from clay or felt. The boxes themselves can be repurposed from the recycling bin, making it an eco-friendly option too!
To get started, gather a variety of cardboard boxes in different sizes. One large box can form the stable, while smaller boxes can be used for the figures (Mary, Joseph, baby Jesus, shepherds, and animals). Let the kids decorate the boxes with paint, markers, glitter, or even construction paper. They can add details like straw for the stable roof or small toys for the animals. For added dimension, consider using cotton balls to represent clouds or fluffy wool for the sheep. Don't forget to add a star to represent the Star of Bethlehem!
Material | Quantity | Notes |
|---|---|---|
Cardboard Boxes | Various sizes | Repurpose from recycling! |
Paints | Assorted colors | Acrylic or tempera work well. |
Markers/Crayons | Assorted | For adding details |
Cotton Balls/Wool | Optional | For added texture |
Paper Plate Nativity: Simple and Sweet
Paper plates offer a wonderfully simple and accessible medium for creating a miniature nativity scene. Each child can create their own individual scene, making it a truly personal and engaging project. The simplicity of the materials means that focus can be placed on the storytelling aspect, allowing children to connect with the narrative of Jesus' birth. The paper plates can easily be shaped and decorated to represent various aspects of the nativity story.
Start by providing each child with several paper plates. They can then cut and shape the plates to represent different elements of the nativity scene – a stable, Mary, Joseph, baby Jesus, shepherds, and animals. Encourage creativity! Let them use paint, markers, glitter, and other craft supplies to add details and personalize their creations. This activity promotes fine motor skills, creative expression, and a deeper understanding of the Christmas story. Consider providing small figurines or templates to help guide the children's creations.
- Paper Plates (various sizes)
- Paints, Markers, Glitter
- Scissors
- Glue
- (Optional) Small Figurines or Templates
Simple Christmas Crafts for Children's Church: Adorable Angel Creations
Simple Christmas Crafts for Children's Church: Adorable Angel Creations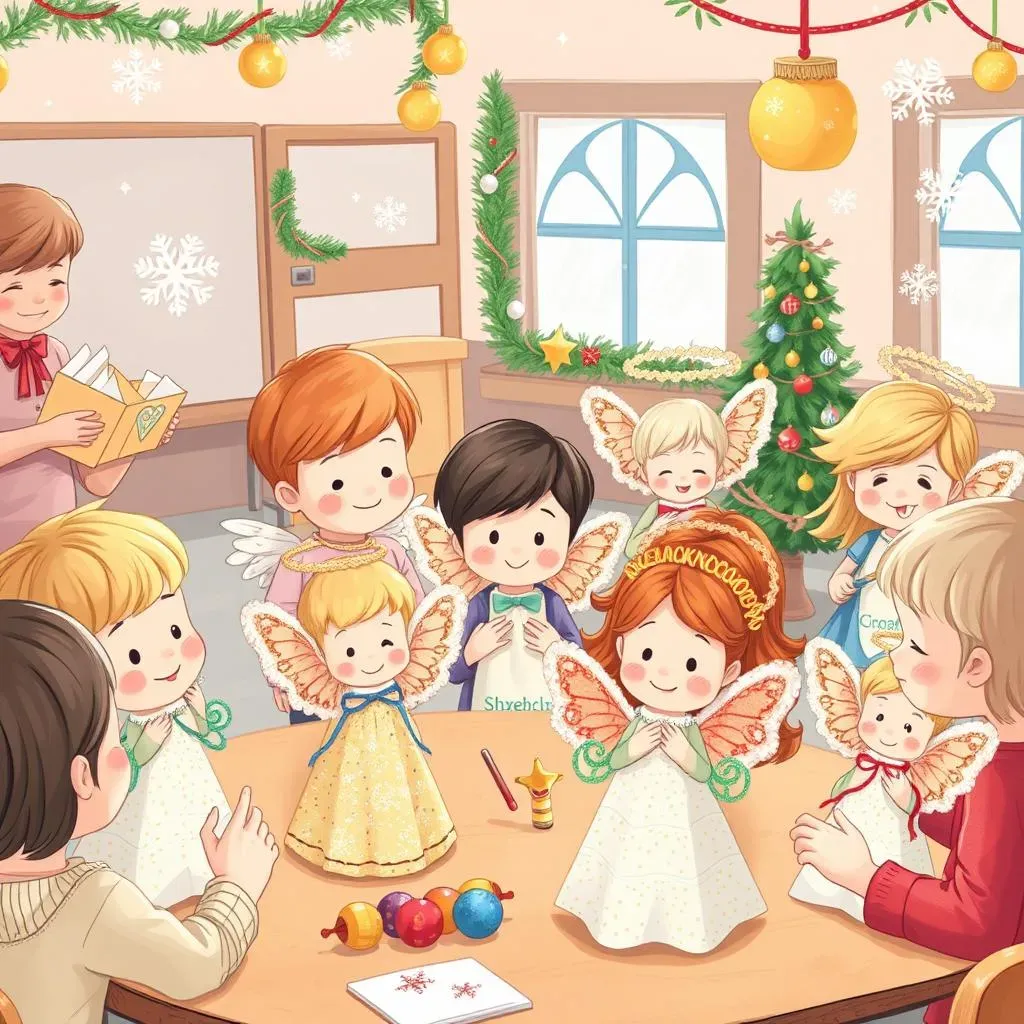
Pipe Cleaner Angels: A Feathery Flight of Fancy
Pipe cleaner angels are a delightful craft that's both quick and easy. Even the youngest children can participate, making it perfect for a mixed-age group. The simple construction allows for plenty of creative freedom; kids can experiment with different colors and embellishments. The wire-like nature of pipe cleaners means they’re easy to shape and manipulate into the desired angel form. A simple halo can be made by creating a small circle from a piece of pipe cleaner and attaching it to the angel's head.
To make a pipe cleaner angel, simply bend a pipe cleaner in half to form the body. Twist the two ends together to create the head. Then, bend two more pipe cleaners in half to create the wings. Attach the wings to the back of the angel's body by twisting them around the body. You can embellish your angels with glitter, beads, or small pom-poms. These little angels make charming ornaments or can be used to decorate a Christmas tree. They're also a perfect representation of the angelic message of Christmas.
Material | Quantity | Notes |
|---|---|---|
Pipe Cleaners | 3 per angel | Various colors! |
Glitter/Beads/Pom-poms | Optional | For added embellishment |
Glue | 1 bottle | For securing embellishments |
Paper Bag Angels: A Creative and Crafty Approach
Paper bag angels are a fantastically creative project that transforms ordinary brown paper bags into beautiful angelic figures. The malleable nature of the paper bags allows for a variety of designs, from simple silhouettes to more elaborate angels with detailed features. The craft is perfect for developing fine motor skills and encourages children to think creatively about how to shape and decorate their creations. The use of recycled materials also makes it an eco-friendly choice.
To create a paper bag angel, start by cutting the bottom of a brown paper bag to create a flat surface. Then, draw and cut out an angel shape from the bag, leaving a small tab at the top for hanging. The children can then decorate their angel using paint, markers, glitter, or even fabric scraps. They can add details like hair, wings, and a halo. A small piece of yarn or string can be used to create a halo. This craft provides a wonderful opportunity to discuss the message of peace and hope that angels represent during Christmas.
- Brown Paper Bags
- Scissors
- Paints, Markers, Glitter, Fabric Scraps
- Yarn or String (for halos)
- Glue