Table of Contents
Hey there, fellow crafters! Get ready to dive into a world of awesome Thanksgiving fun, specifically designed for all you amazing 5th graders. Forget those boring, same-old crafts; we're talking about projects that are as unique and creative as you are. This isn't just about cutting and pasting; it's about making memories and adding your personal touch to the Thanksgiving season. We've got everything from turkeys that show off what you're thankful for, to art projects that’ll make your fridge look like a mini-museum. Think colorful leaves, cool patterns, and maybe even a pop art pumpkin or two. We're also going to explore ways to use stuff you probably already have around the house, like toilet paper rolls. So, if you're ready to transform your classroom or home into a Thanksgiving wonderland, then keep reading! This guide will walk you through some super cool thanksgiving crafts for 5th graders that are easy to follow and will definitely impress everyone.
Thankful Turkey Crafts for 5th Graders
Thankful Turkey Crafts for 5th Graders
Feathered Friends of Gratitude
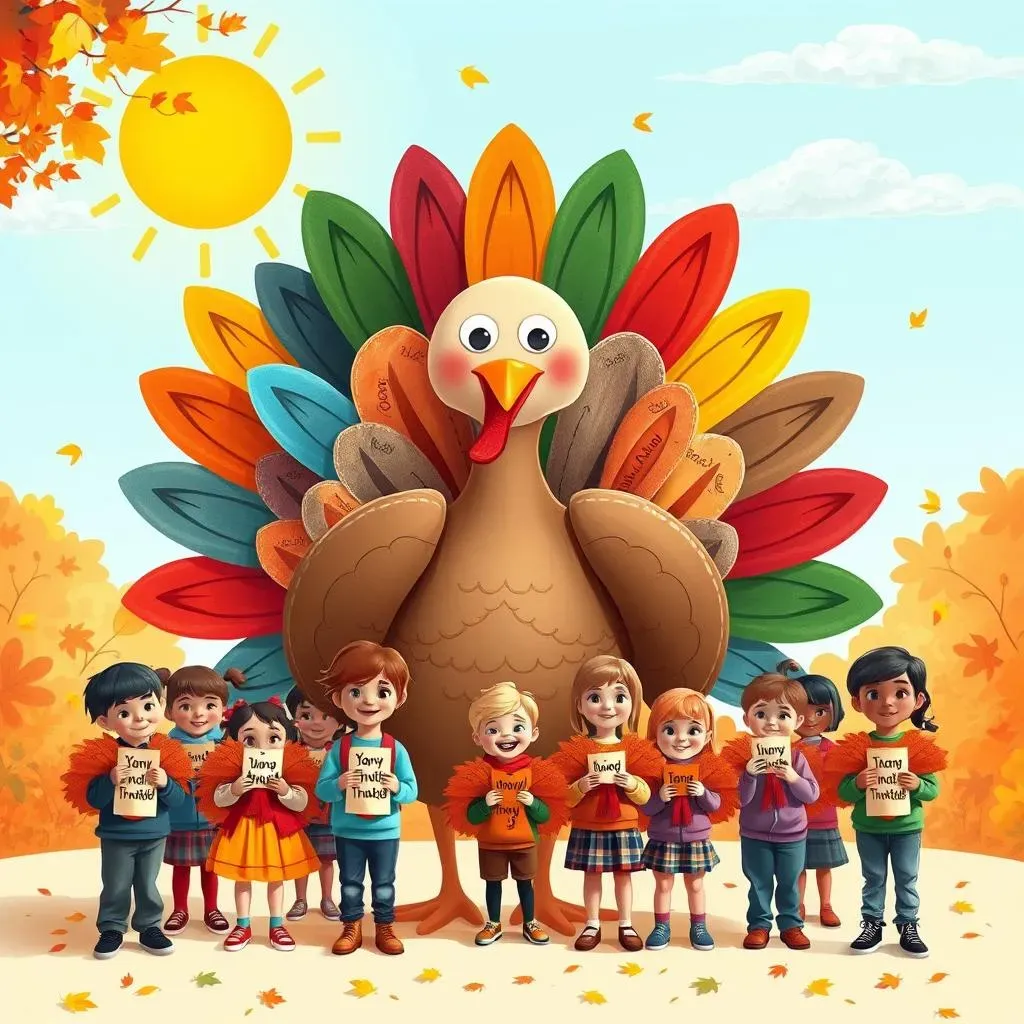
Okay, so we're kicking things off with the classic: the thankful turkey! But hold up, we're not making just any old turkey; these birds are going to be bursting with all the awesome things we're grateful for. Think of each feather as a little note of thanks. We'll be using paper, of course, but let's get creative with it. You can use construction paper in all sorts of fall colors, or even try patterned scrapbook paper for a bit of extra flair. And don't just scribble on them – get fancy! Use markers, crayons, glitter, whatever makes you happy. This isn't just a craft; it's a way to think about all the good stuff in our lives.
Now, for the body of the turkey, you can go a few ways. You could draw a simple oval and cut it out, or if you're feeling ambitious, try a more detailed turkey shape. The real fun starts when you attach the feathers. Each student can write down something they're thankful for on each feather, and then glue them onto the turkey's body. It could be anything – your family, your friends, your pets, even pizza! It’s all about expressing your appreciation. And here’s a tip: make the feathers big enough so you can write clearly. You can even add little drawings or designs to make each feather even more unique. The goal is to create a turkey that's not just visually appealing but also filled with heartfelt gratitude.
Material | Purpose |
|---|---|
Construction Paper (various colors) | Base for turkey and feathers |
Scissors | Cutting out shapes |
Glue or Tape | Attaching feathers to the turkey |
Markers, Crayons, Glitter | Decorating and writing thankfulness |
Turkey Door Decoration
Let's take our thankful turkeys to the next level: making a door decoration! Imagine your classroom door (or your bedroom door) transformed into a giant, feathery turkey. It's like a welcome mat of gratitude. To do this, we'll need a big piece of paper or cardboard for the turkey's body. Then, each of you will get to create a feather, just like before. But this time, instead of attaching them to a small paper turkey, we're going to be making a massive turkey that takes over the whole door. This is a great way to show off all the things our class is thankful for, and it makes for a really awesome and welcoming entrance.
To make it extra special, consider adding some googly eyes to the turkey. Maybe even a silly hat! We can make the feathers super colorful and add different patterns and designs. The key thing is to make it collaborative. Everyone's feather goes into the mix, and together, they create one big, beautiful display of thankfulness. It's a super fun project to work on together, and it's a great way to get everyone in the Thanksgiving spirit. Plus, it's a fantastic conversation starter. People will walk by and see all the cool things you're thankful for. It’s a real-life example of how being grateful can be a fun and creative process.
Creative Thanksgiving Art Projects for 5th Grade
Creative Thanksgiving Art Projects for 5th Grade
Pumpkin Drawing Fun
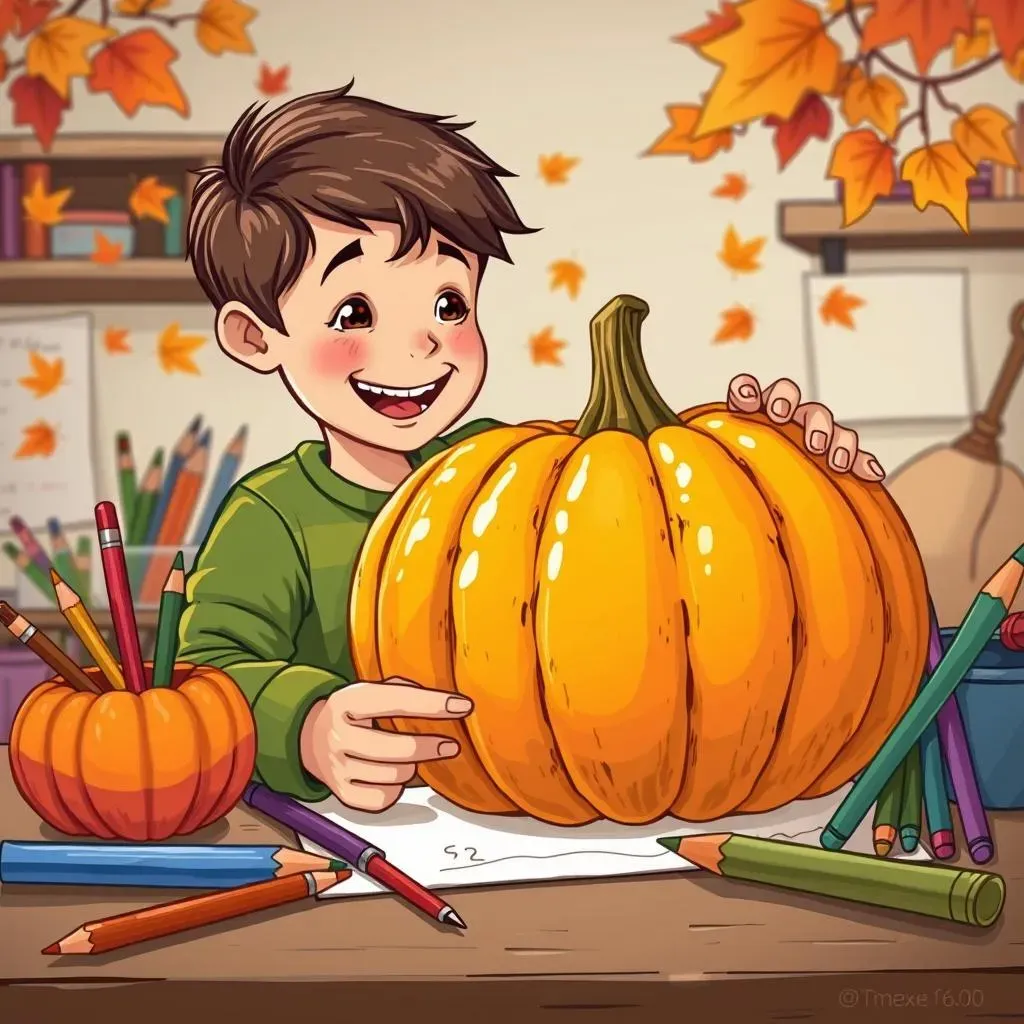
Alright, let's move on from turkeys and talk pumpkins! But not just any pumpkins – we're going to learn how to draw them like pros. Forget those basic, round blobs; we're aiming for realistic, detailed pumpkins. Start with a simple oval, then add curves and lines to create those ridges you see on real pumpkins. Think about the different shapes and sizes of pumpkins you've seen – some are tall and skinny, others are short and round. This isn't just about copying; it's about understanding how to create different shapes and how light and shadow work.
Once you've got the basic shape down, it’s time to get detailed. Add the stem, which can be twisty and bumpy, and then think about the texture of the pumpkin. Are there any lines or spots? Use your pencil to create light and shadow by shading and adding depth. This project is a great way to sharpen your drawing skills, and you can use these skills for all sorts of other things. It’s like learning a secret code to make your drawings pop! You can even experiment with different angles and positions of your pumpkins. Imagine a whole patch of pumpkins in a variety of shapes and sizes, each one unique and beautifully drawn.
Pattern Pumpkin Art
Now, let's take those pumpkins and crank up the creativity a notch! We're not just drawing pumpkins; we're turning them into canvases for awesome patterns. Think of your pumpkin as a blank space waiting to be filled with all kinds of cool designs. Start by dividing your pumpkin into sections – you could use lines, curves, or even zigzags. Then, fill each section with a different pattern. You could use dots, stripes, swirls, or even your own unique designs. The sky's the limit. It’s like giving your pumpkin a super cool outfit!
This project is all about experimenting with different patterns and colors. You can use colored pencils, markers, or even paint to bring your designs to life. Don’t be afraid to mix and match different patterns and colors. The more variety, the more eye-catching your pumpkin will be. This activity is a great way to explore your artistic side and to see how different patterns can create different moods. Plus, it’s a ton of fun! You could even try using some of the patterns you see in your everyday life. Look around your house or school; there are patterns everywhere. It’s a fun way to see the world with a creative eye.
Materials | Techniques |
|---|---|
Pencils | Sketching and outlining |
Erasers | Correcting mistakes |
Colored Pencils/Markers/Paint | Adding colors and patterns |
Rulers (optional) | Creating straight lines |
Leaf Template Magic
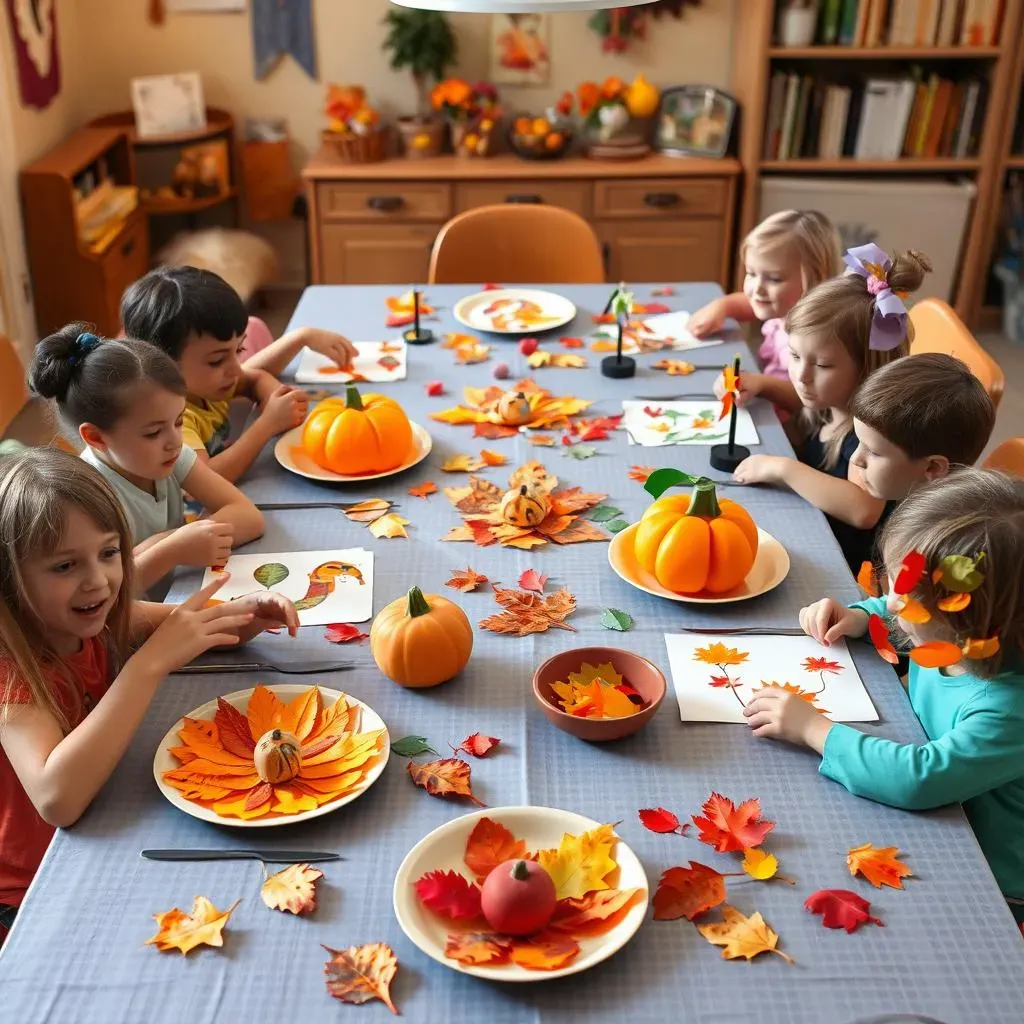
Let’s talk about leaves! Autumn is all about the beautiful colors of the leaves, and we're going to capture that beauty with some fun leaf template art. Instead of just drawing leaves, we're going to use templates to create consistent shapes, but then we're going to make them unique with our own artistic flair. You can use real leaves as templates, or you can create your own leaf shapes on cardboard. Then, trace those shapes onto paper and get ready to decorate!
Once you have your leaf outlines, it's time to get creative. You can use different shades of fall colors to fill in your leaves. Think about how leaves change color in the fall – from green to yellow to orange to red and brown. You can even mix colors together to create your own unique shades. This is a great way to learn about color mixing and to see how different shades can create different effects. It's like being a scientist and an artist at the same time! And don't just stick to coloring inside the lines; you can add patterns, textures, and even some fun designs to your leaves. The goal is to make each leaf a small work of art.
Easy Thanksgiving Crafts Using Everyday Materials for 5th Grade
Easy Thanksgiving Crafts Using Everyday Materials for 5th Grade
Changing Leaves with Crayon and Paint
Okay, let’s get a little artsy with some science! We’re going to create our own changing leaves, using a technique that’s both fun and a bit magical. Grab some white paper and a black crayon. We're going to draw some leaves, any kind you like, using the black crayon. Make them bold and dark. Now, here's the trick: we’re going to use watercolor paints to color the paper. But here's the cool part – the crayon will resist the paint! This means the leaves will stay black while the background bursts with beautiful fall colors. It’s like a secret code that's revealed when you add water.
This project is a fantastic way to see how different materials interact. The waxy crayon repels the watery paint, creating a cool effect. You can experiment with different colors, mixing and blending them to create a vibrant autumn scene. You can also try adding some details to the background, like little trees or maybe even some fall leaves falling from the sky. It’s a simple project, but it allows you to explore a cool technique and to create your own unique artwork. It’s like you’re a scientist and an artist all rolled into one!
Materials | Techniques |
|---|---|
White Paper | Base for the artwork |
Black Crayon | Drawing the leaf outlines |
Watercolor Paints | Adding color to the background |
Paintbrushes | Applying the paint |
Water | Mixing and diluting the paint |
Pop Art Pumpkins
Now, let's get inspired by the amazing artist Romero Britto and create some pop art pumpkins! His style is all about bold colors, patterns, and a whole lot of fun. We're going to start by drawing a basic pumpkin shape, but then we're going to fill it with all sorts of bright, vibrant designs. Think about using geometric shapes, lines, dots, and swirls. The crazier, the better! The goal is to make your pumpkin look like it jumped right out of a pop art painting.
This project is a great way to explore different patterns and color combinations. Use markers, colored pencils, or even paint to bring your pumpkin to life. Don’t be afraid to use super bright, contrasting colors. That's what makes pop art so eye-catching! You can even add some black outlines to make your patterns really stand out. It’s a fantastic way to learn about a famous artist and to create a piece of art that is both unique and fun. Plus, it's a great way to unleash your inner artist and to see how different colors and patterns can create different moods and effects.
Rubber Band Art
Ready for a super cool and unexpected art project? Let's make art with rubber bands! This is not your typical art supply, but that’s what makes it so fun. You’ll need a piece of paper and a bunch of rubber bands. You can start by dipping the rubber bands in different colors of paint. Then, stretch them out and snap them onto the paper. This creates all sorts of interesting patterns and splatters. The result is a unique, abstract piece of art that's full of energy and movement.
This project is all about experimenting and seeing what happens. You can try using different sizes of rubber bands and different colors of paint. You can even try layering the colors by snapping more rubber bands on top of the first layer. The key thing is to have fun and see what kind of designs you can create. It’s a great way to use everyday materials in a creative way and to create art that is both unique and surprising. Plus, it's a great activity that gets you moving and thinking in a different way. It’s like a mini-science experiment with a colorful twist!
Toilet Paper Roll Leaf Stamping
Don’t throw away those toilet paper rolls! We’re going to turn them into leaf-shaped stamps. This is a super easy and fun way to create a bunch of beautiful leaves in no time. Just take a toilet paper roll and fold it slightly to make a leaf-like shape. You can use a clothespin to hold it in place. Dip the end of the roll in paint and then stamp it onto paper. You can use different colors to create a whole forest of colorful leaves. It’s like making your own little printing press!
This project is not only fun, but it’s also a great way to reuse materials. You can create all sorts of different leaf designs by just changing the way you fold the toilet paper roll. Experiment with different colors and layering techniques. You can even add some details to your stamped leaves with markers or colored pencils. It’s a simple project, but it’s full of possibilities. It’s a great way to get creative with everyday items and to see how you can turn something ordinary into something extraordinary. Plus, it’s a great way to make a lot of leaves quickly, which is perfect for bigger projects.
Q-Tip Autumn Trees
Let’s make some trees using an unexpected tool: Q-tips! This is a super fun and easy way to create textured artwork. First, draw the trunk and branches of a tree on a piece of paper. Then, take a bunch of Q-tips and dip the tips into different colors of paint. Use the Q-tips to dab the paint onto the branches, creating the leaves. The Q-tips create small, circular shapes that look just like leaves. It's like painting with a miniature stamp!
This project is a great way to explore different textures and colors. You can use different shades of fall colors to make your tree look like it’s changing. Try layering the colors, dabbing on some yellow, then some orange, and then some red. This will make your tree look more realistic and vibrant. The Q-tips create a unique texture that you wouldn't get with a paintbrush. It's a fun way to see how you can use different tools to create different effects. Plus, it’s a really relaxing activity that allows you to create a beautiful fall scene. And it’s a great way to use up those extra Q-tips!